
I have limited space in my home, since it’s a two bedroom, 1 story, 900 square foot top half of a house that serves as a working studio for both me and my husband. He uses the extra bedroom as a woodworking shop, and the living room is my studio for my art business. It’s tight quarters, so every inch counts. No space doesn’t stop me from wanting to build biology based systems in my house, though, so I’ve committed to only building systems that 1) can fit inside the existing footprint of our furniture, and 2) is functional as well as interesting to look at and care for. Enter aquaponics! The theory behind aquaponics is using the waste created by fish to fertilize a soiless grow bed that houses vegetables. The fish create waste – aka ammonia – which is filtered to vegetables take up the ammonia and turn it into nitrites and then into nitrates. In large scale systems, people often use food fish like tilapia in their tanks so that they produce another food source. But I’m a vegetarian and have limited space (see above) so my proof of concept test has been a micro 5 gallon system that fits on my desk. It’s a simple system that uses a small pump to feed tank water to the grow bed, housed above the tank, where the spinach I’m growing is held, and then the water is gravity fed back into tank through a hole in the bottom of the grow bed. I’m about 3 weeks in at this point and am waiting for the tank to finish cycling before I add the fish. Here’s my progress so far:
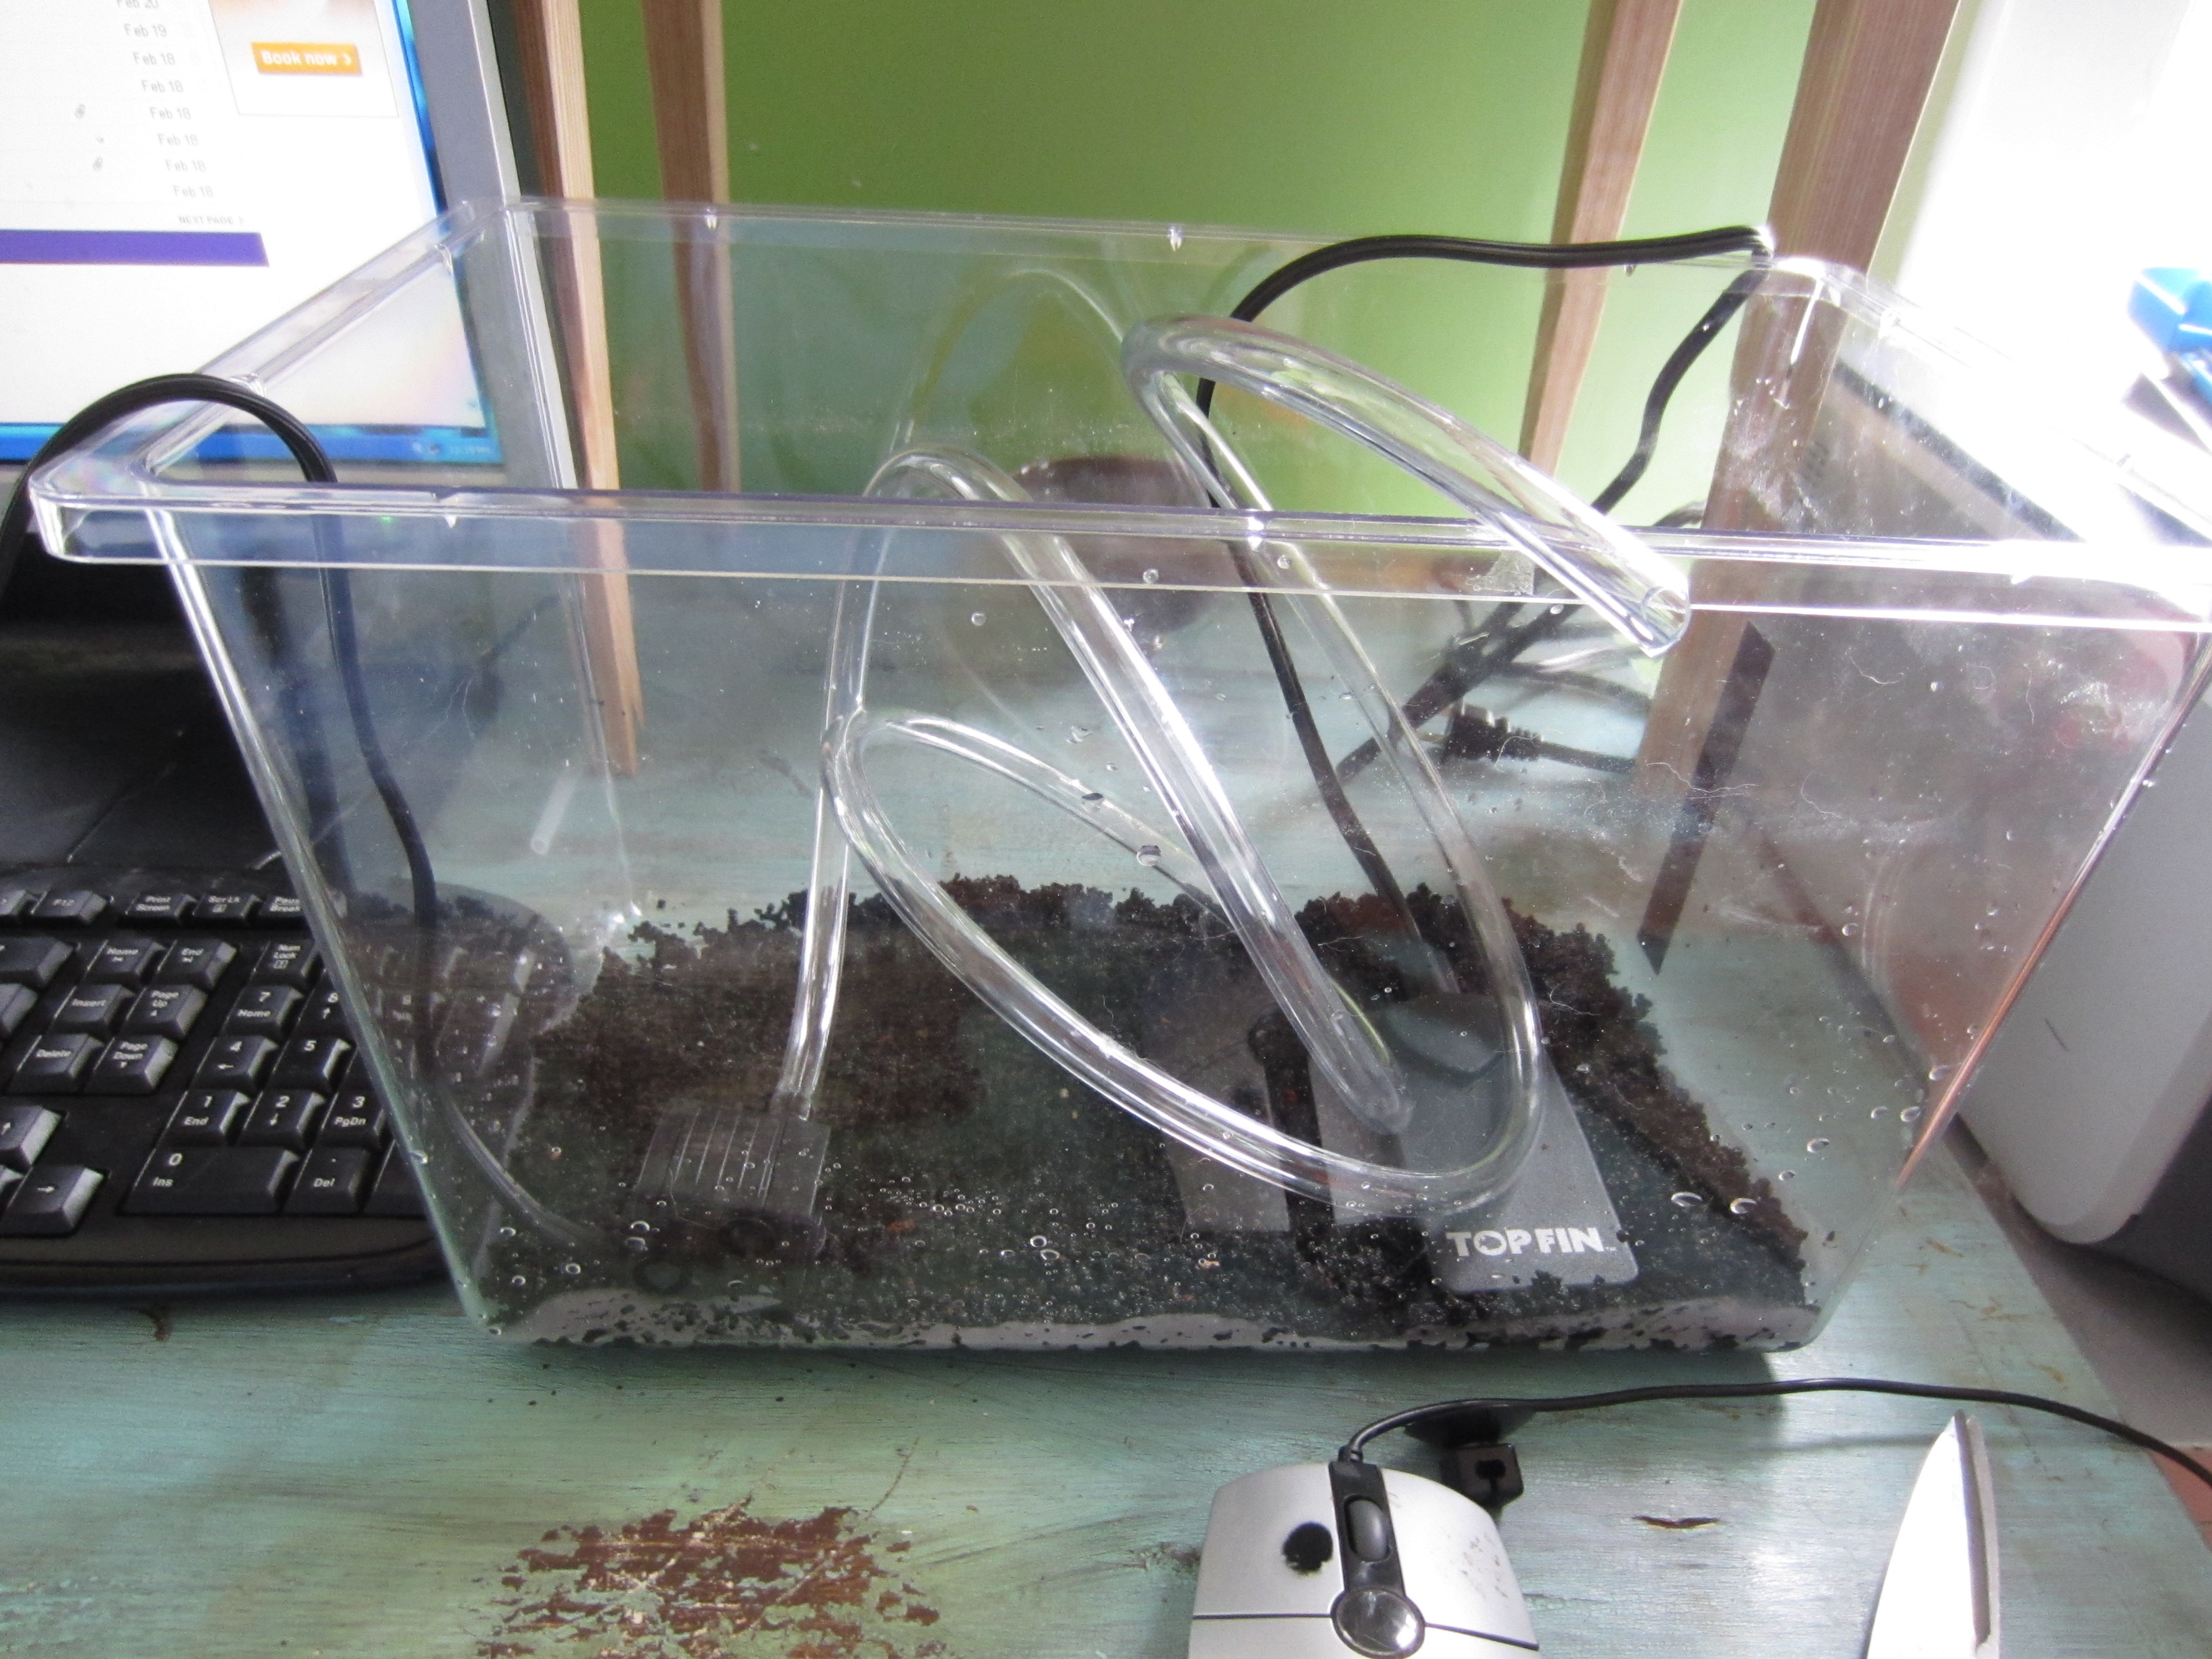
I’m using a pretty cheap 5 gallon acrylic critter keeper as my tank. Since this is just one piece of the set up, I didn’t feel like spending a boat load on a fancy tank.
Since I would have been horrified if I had to buy a container for a grow bed, given the number of containers I have stashed around the house, I searched and found this tupperware case hiding behind my couch (don’t ask. I don’t know why it was there either).
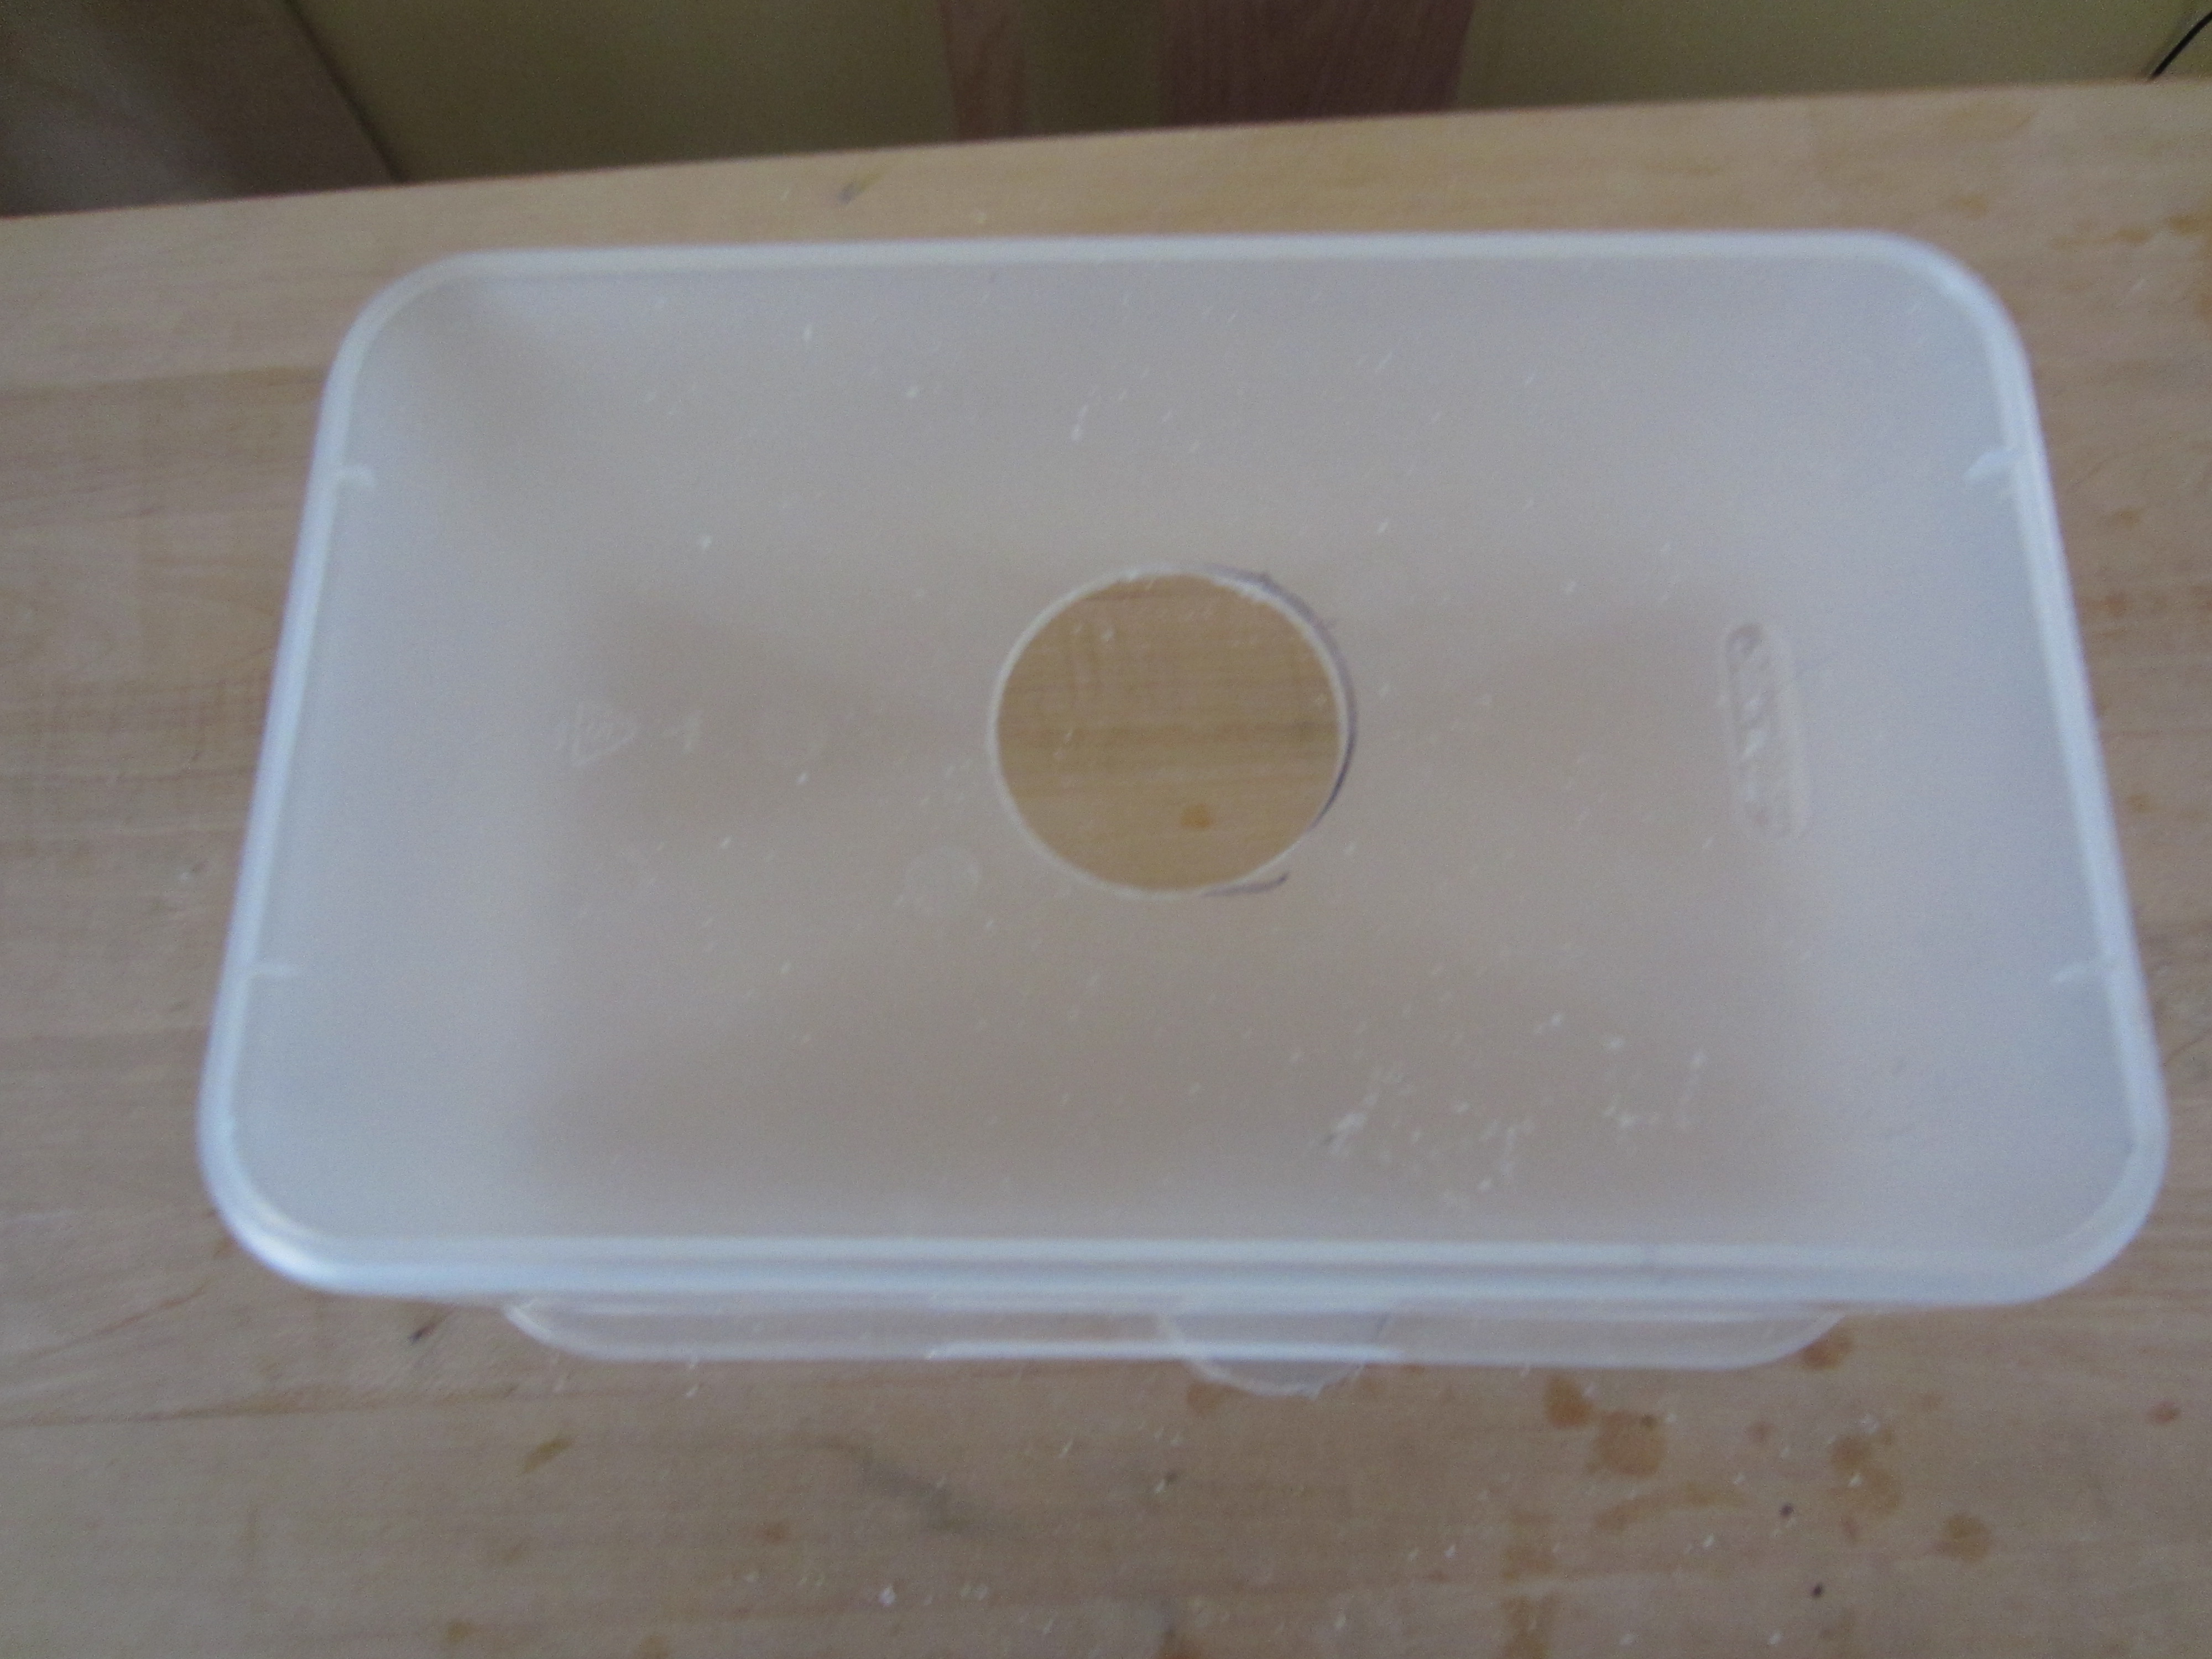
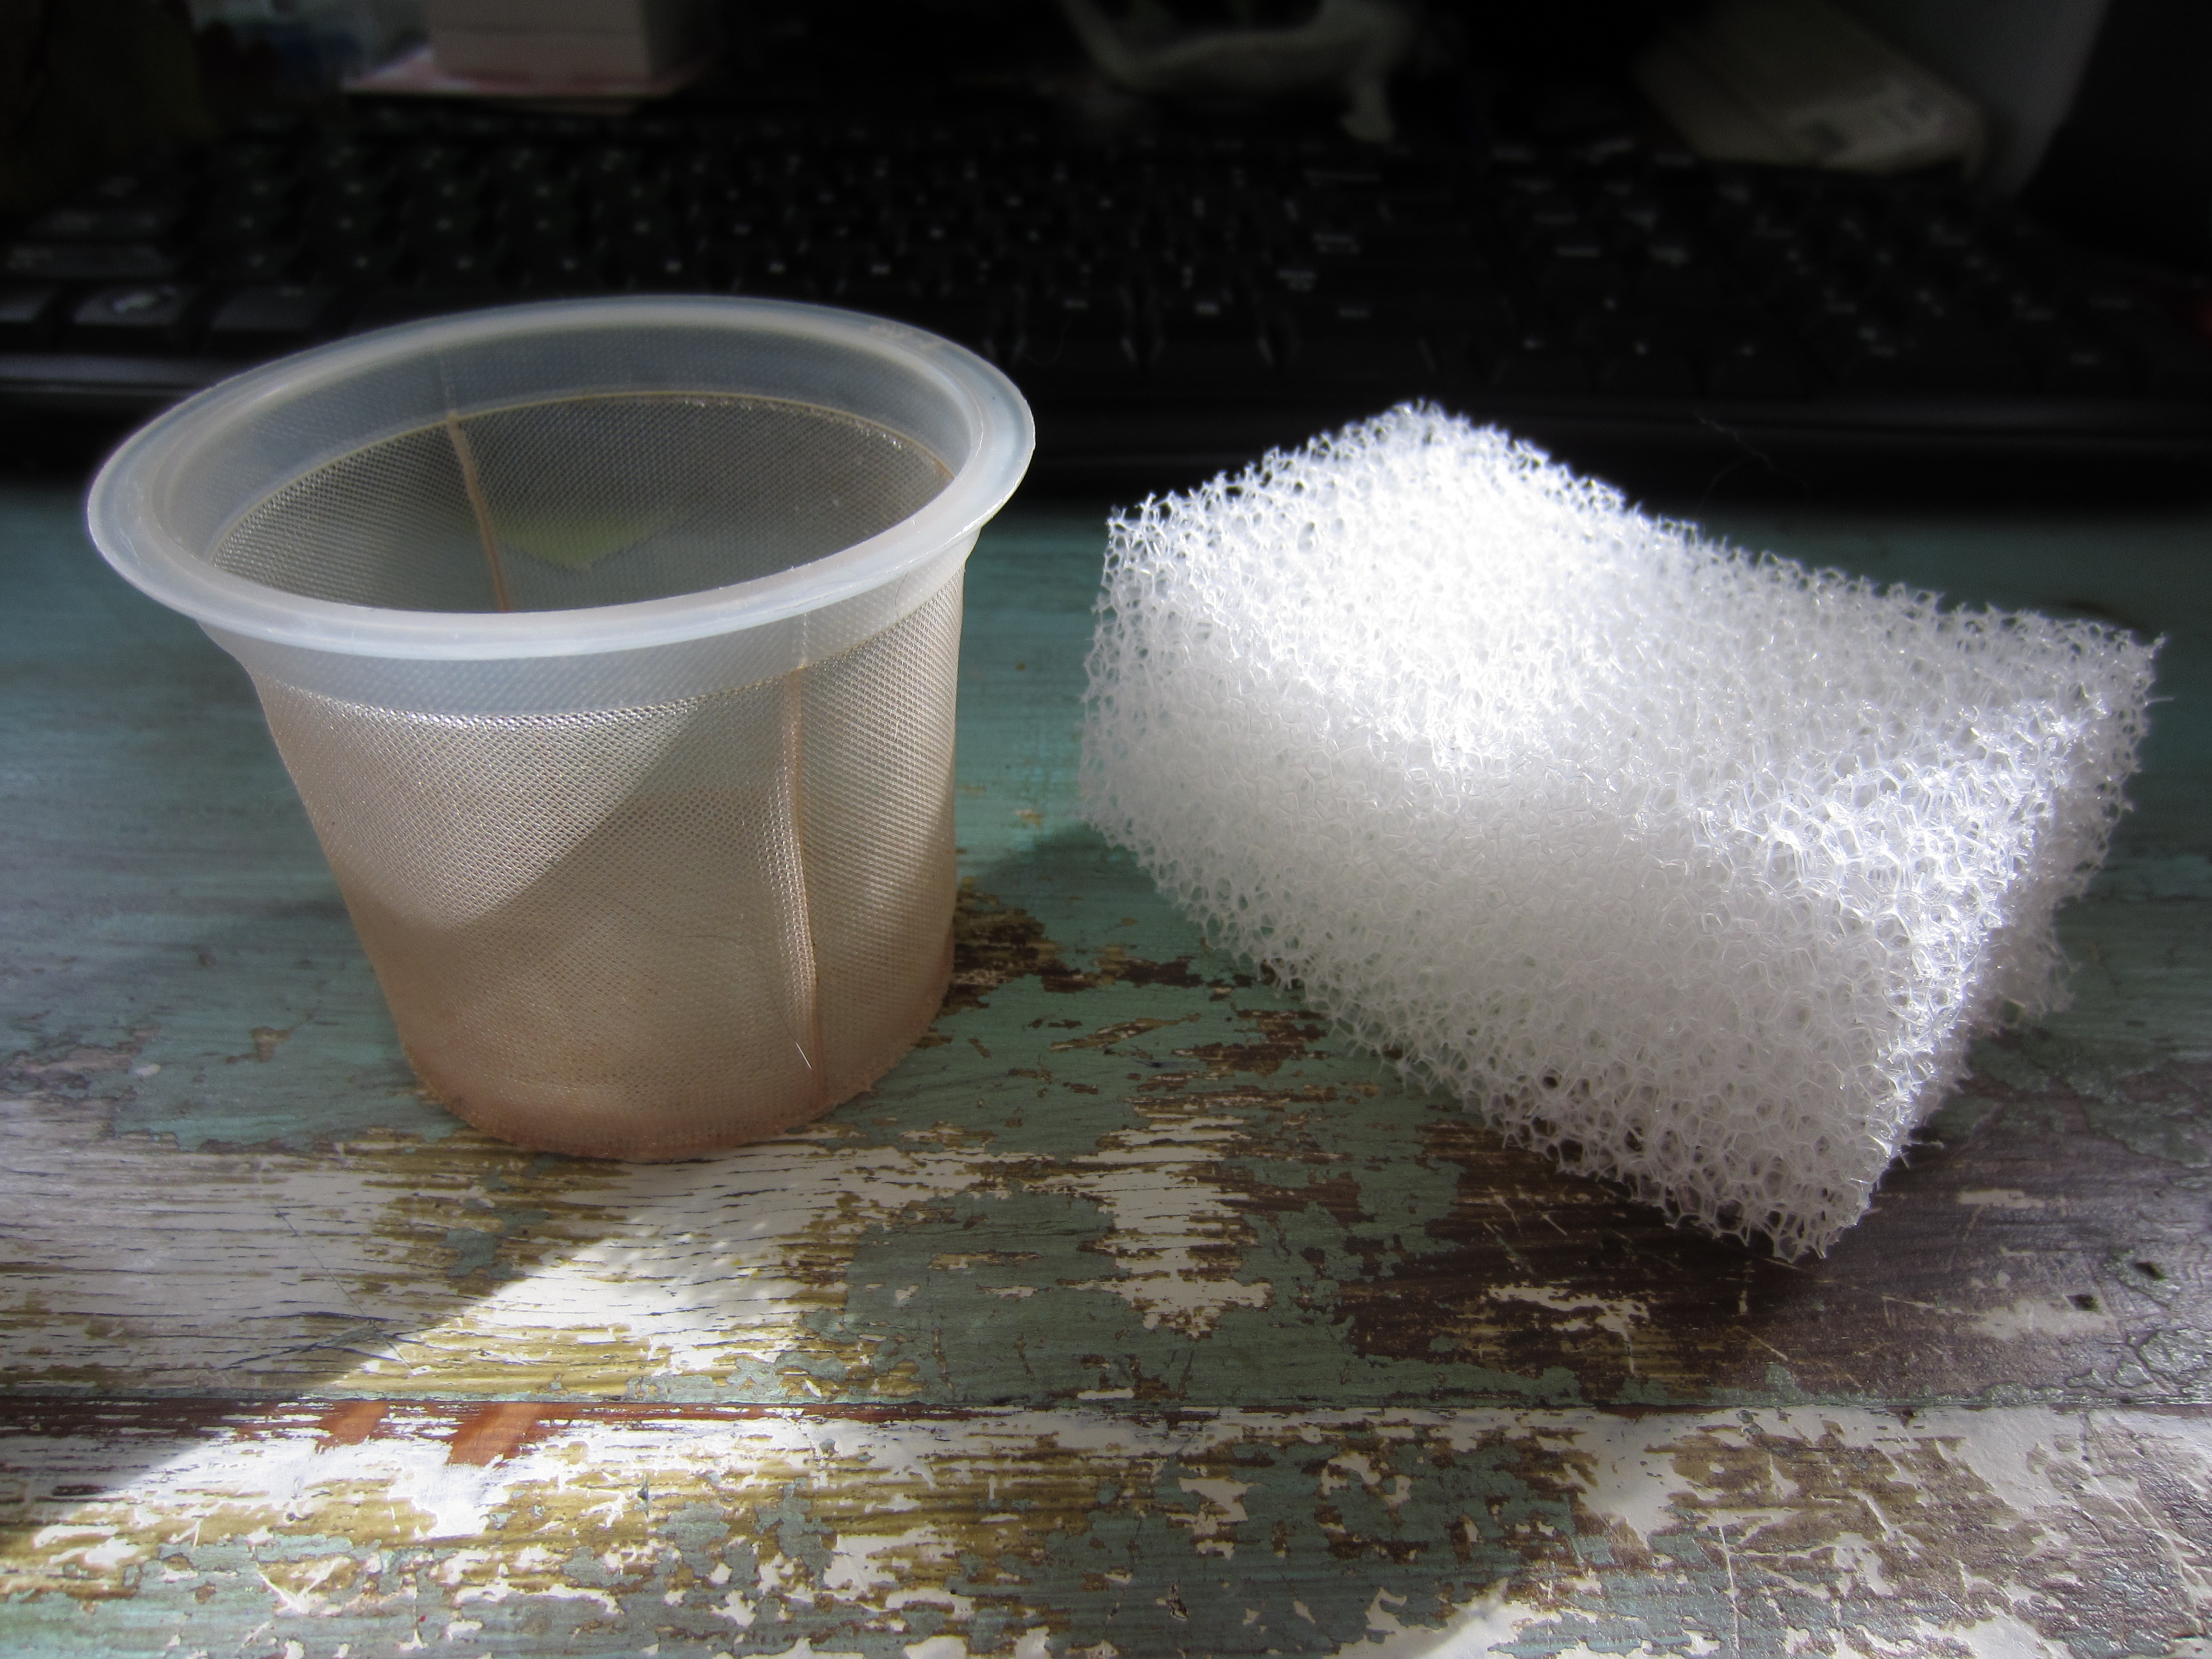
I decided to use an old tea strainer as the mechanical filter at the bottom of the grow bed, so I measured and cut a hole in the bottom of the plastic using a hole saw:
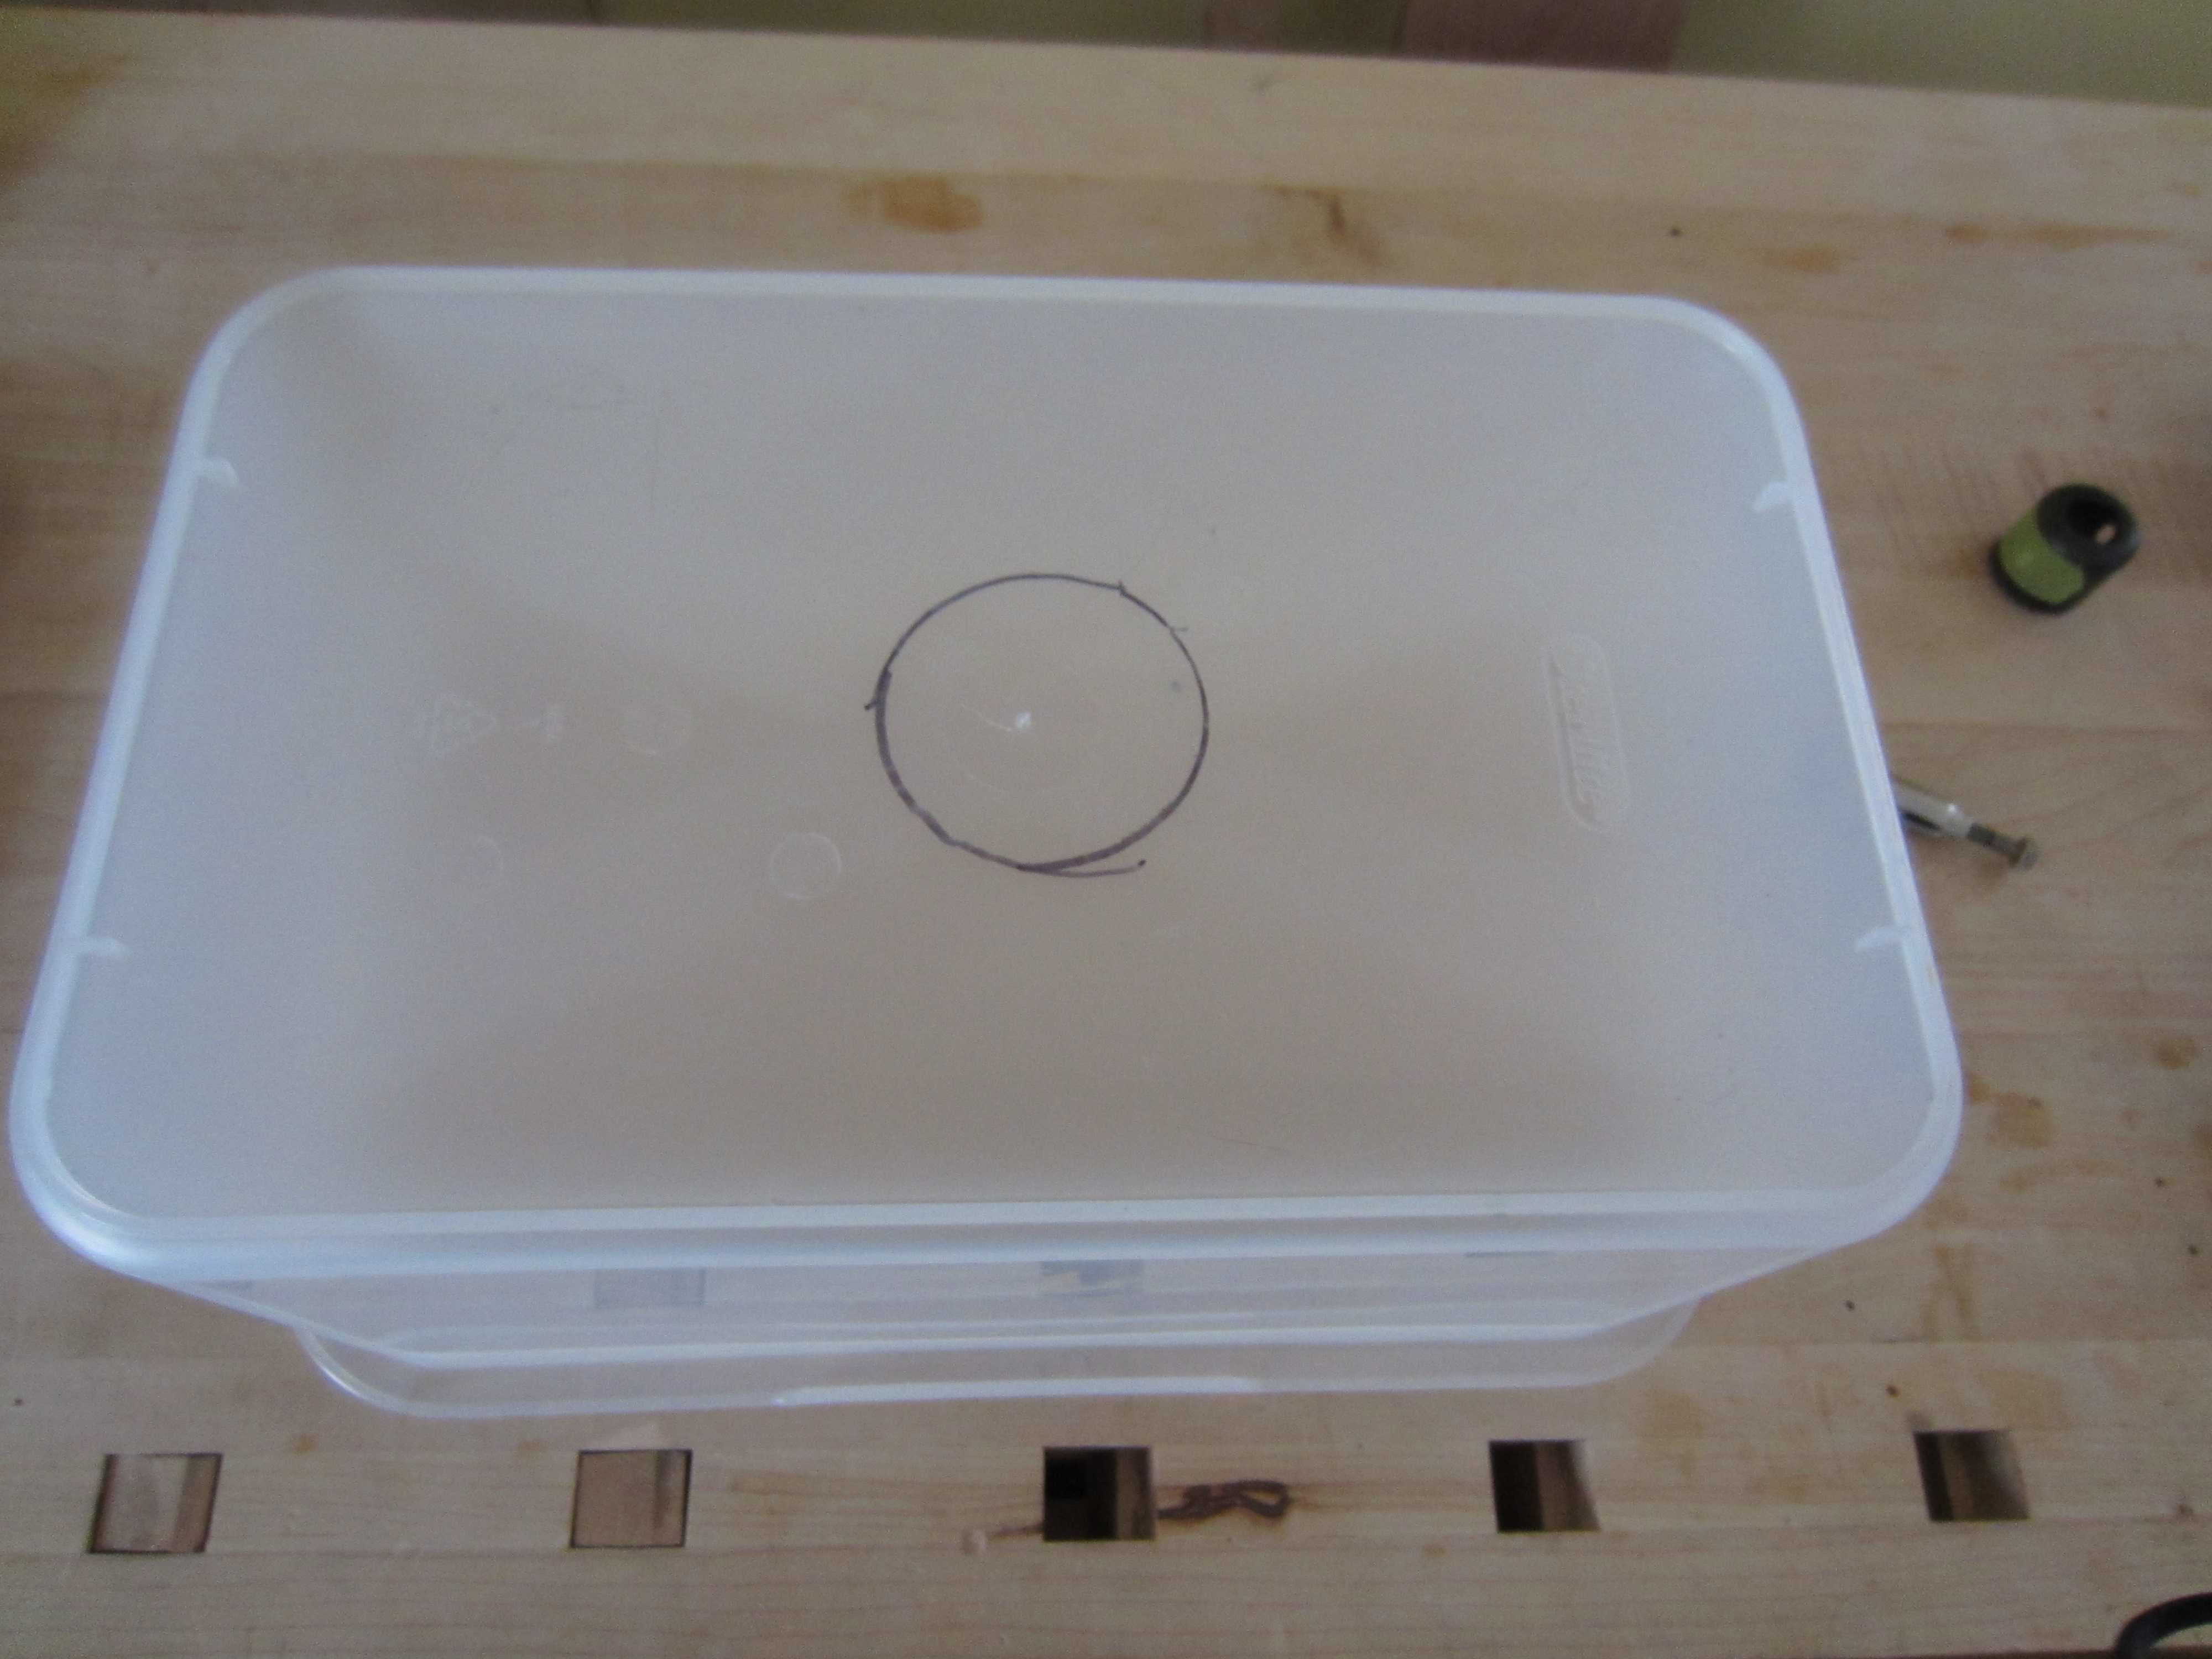

The key to drilling through plastic and acrylic is to very, very slowly. If you rush, you crack it. This worked like a charm!
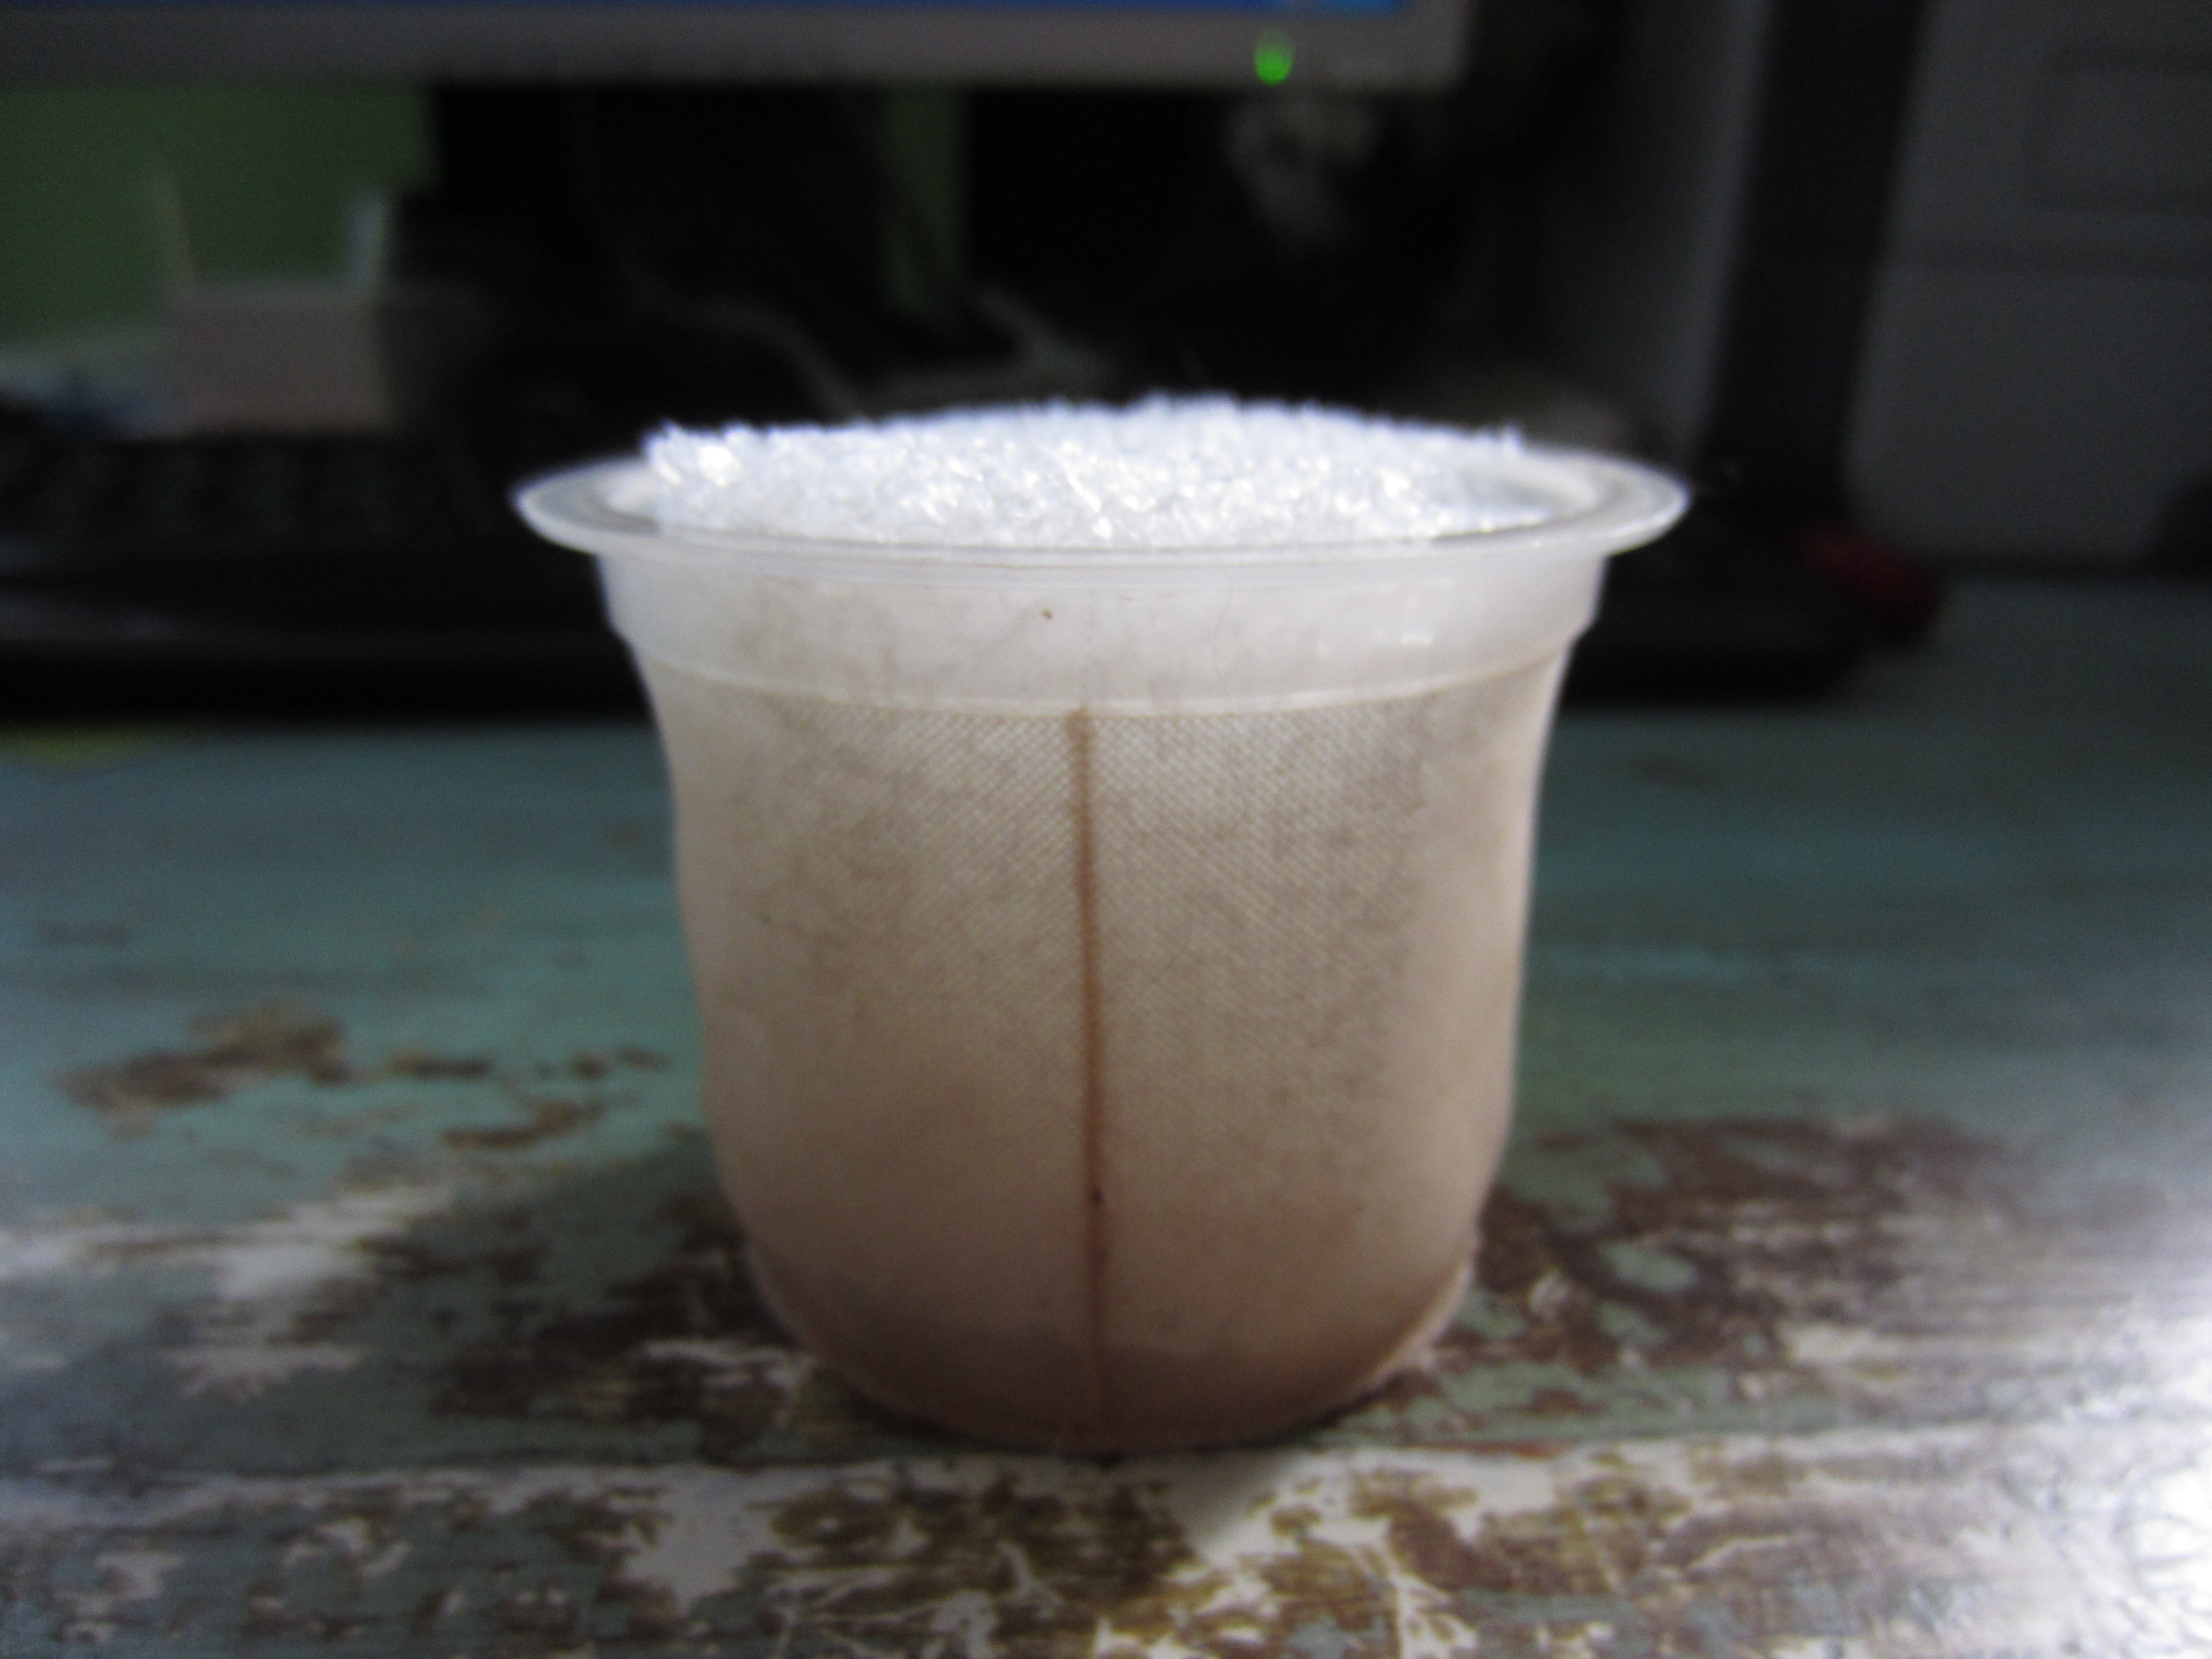
I’ve learned how important mechanical filtration is for removing solids from the system, so I added a filter sponge to the tea strainer.
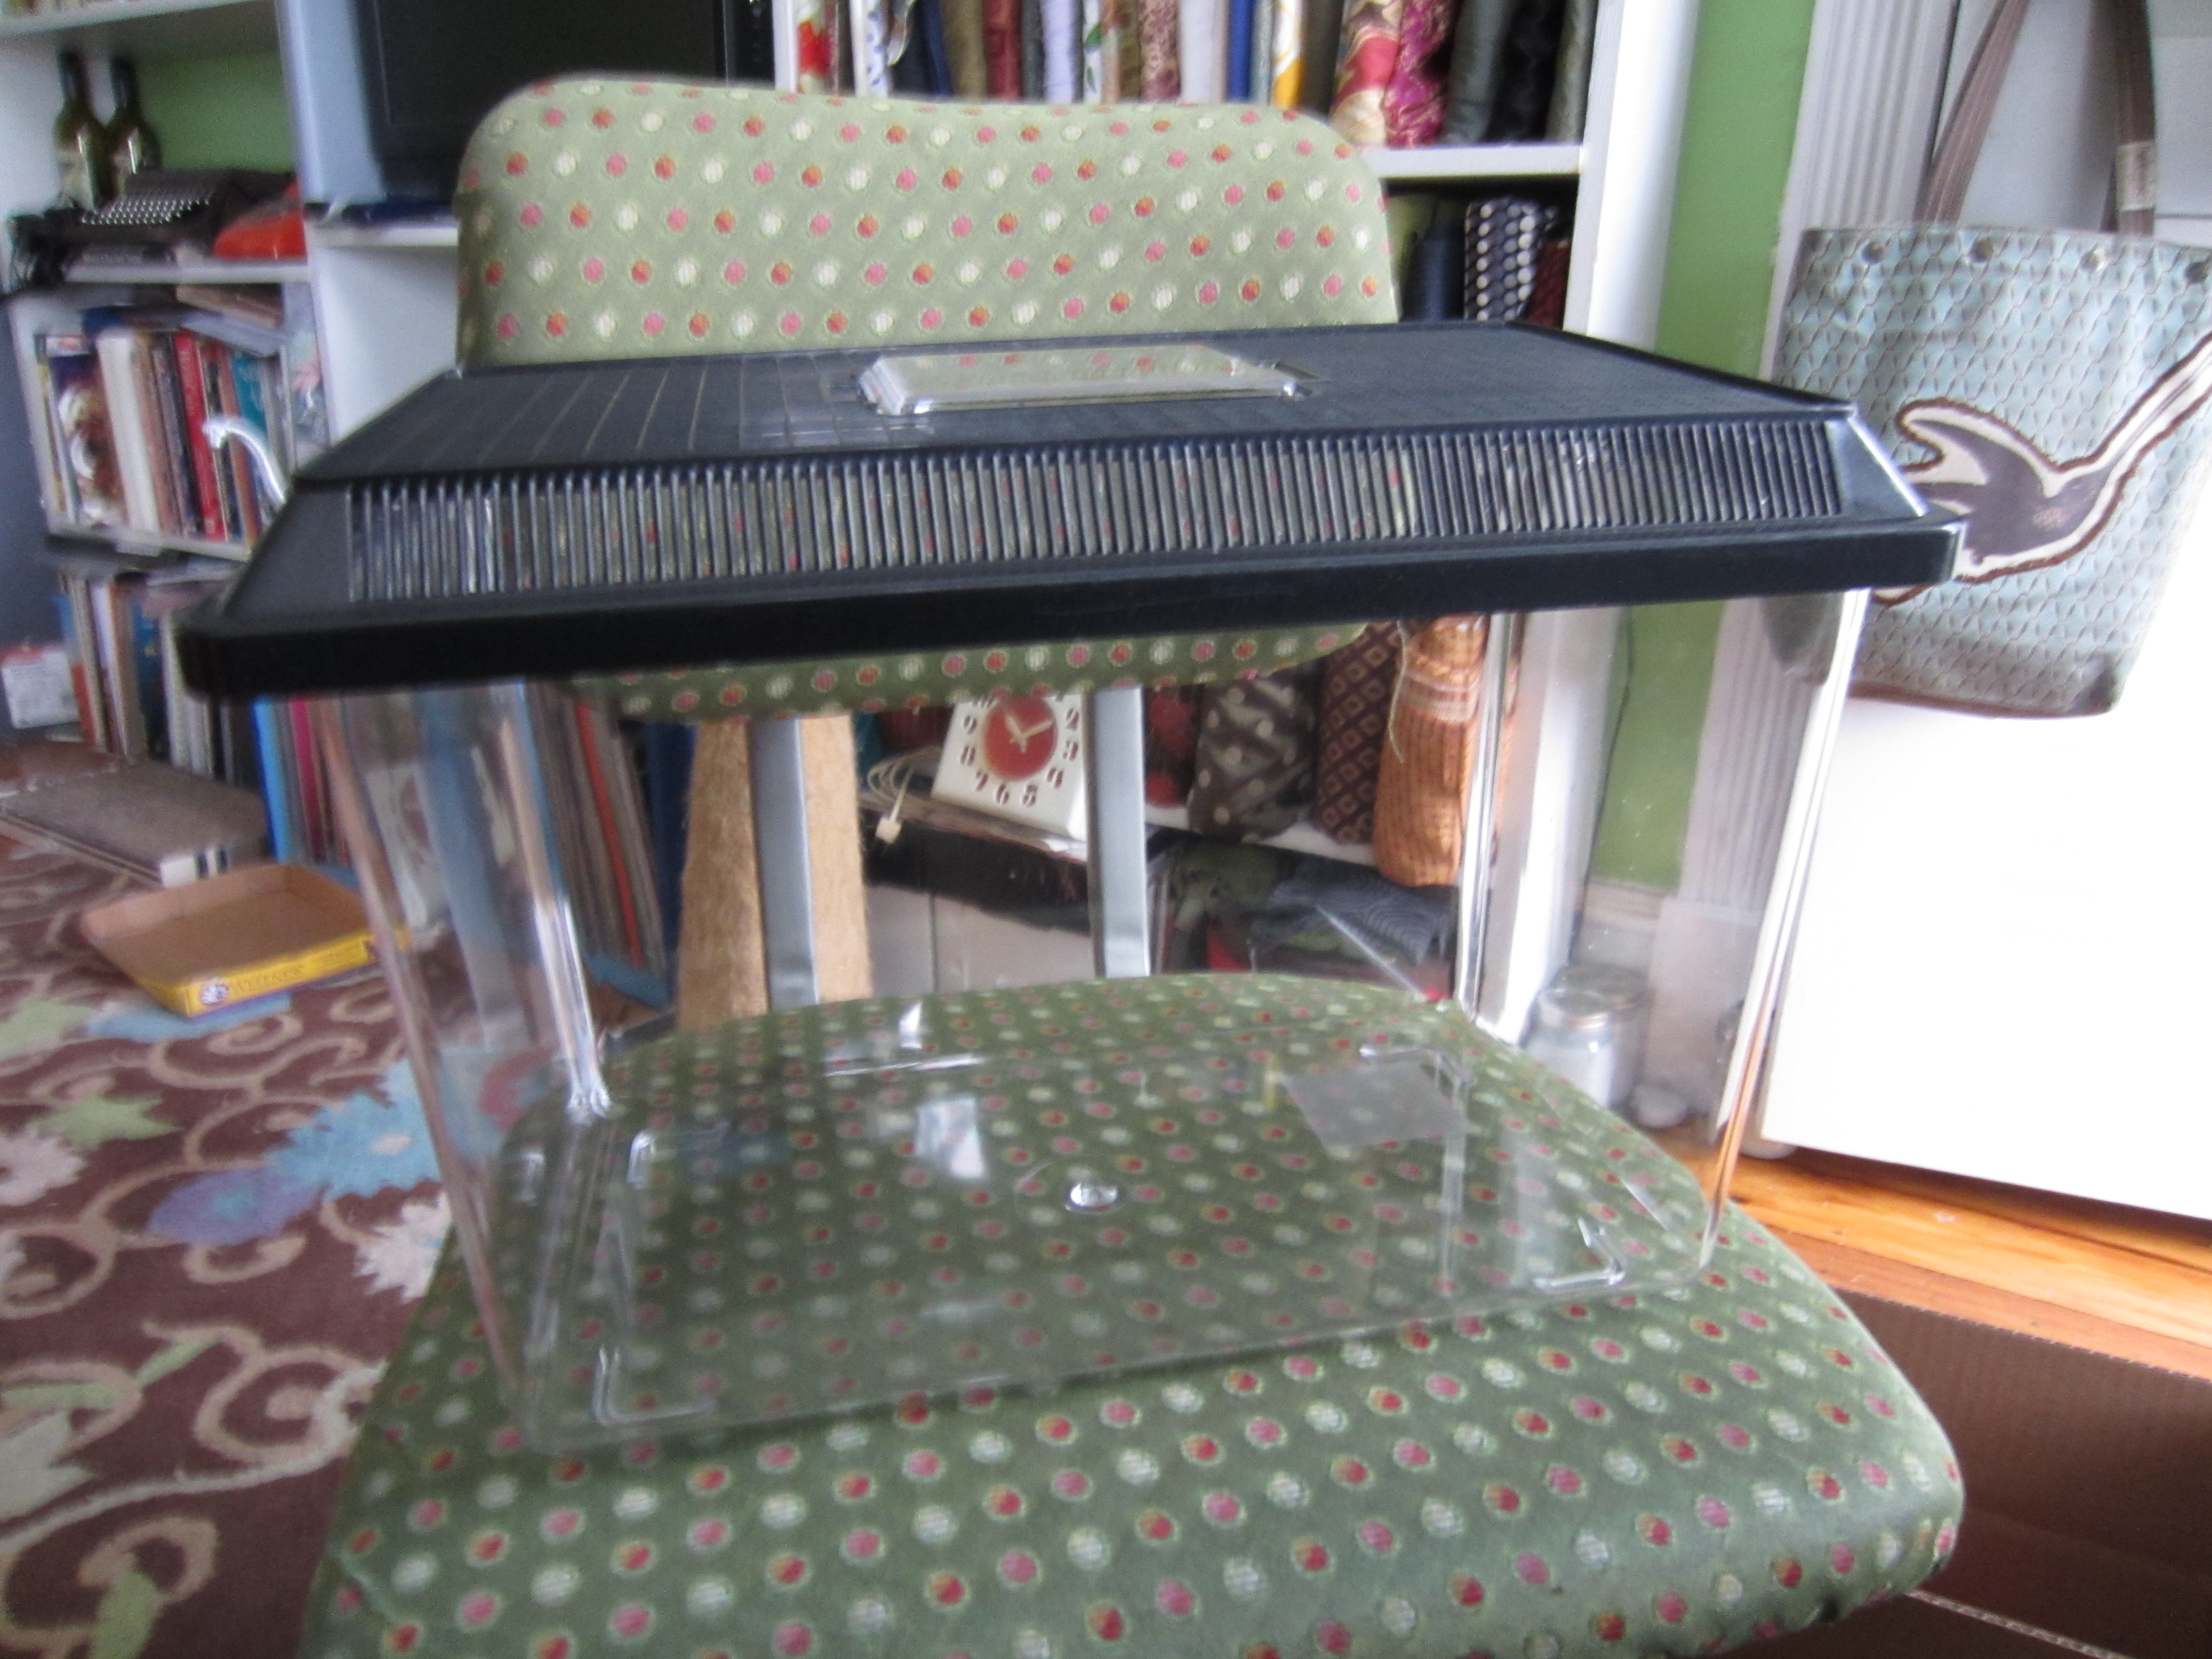
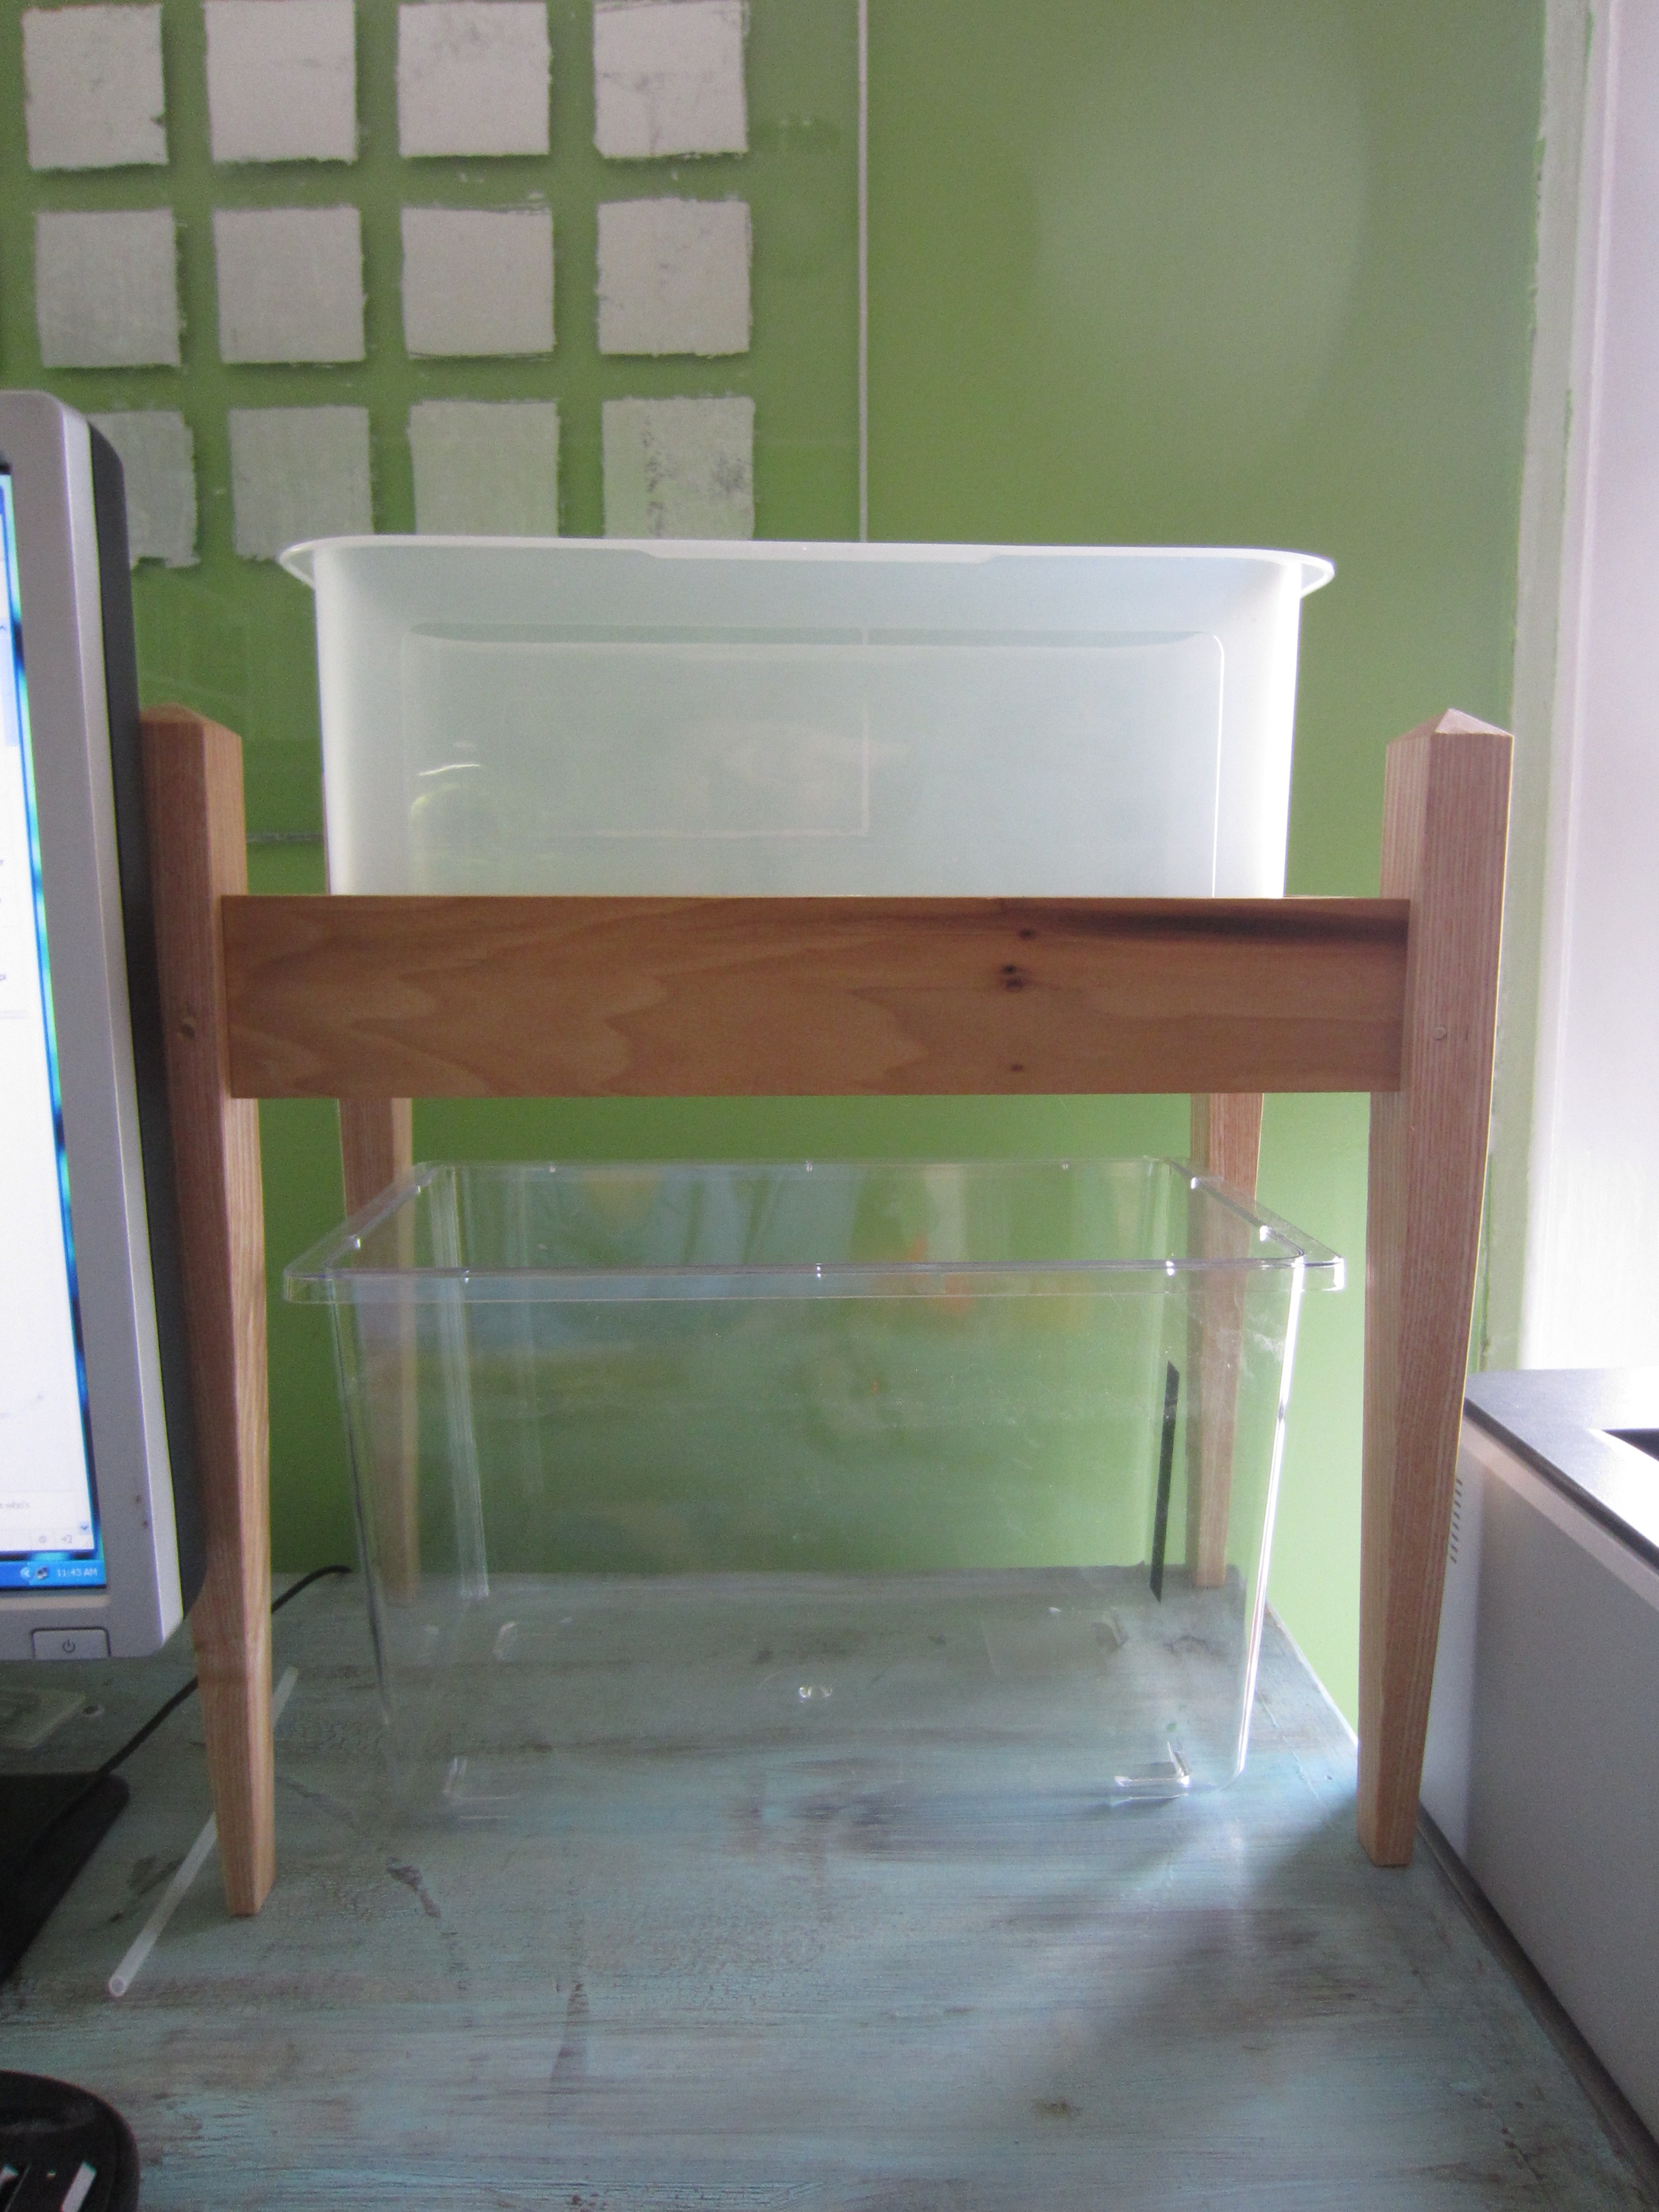
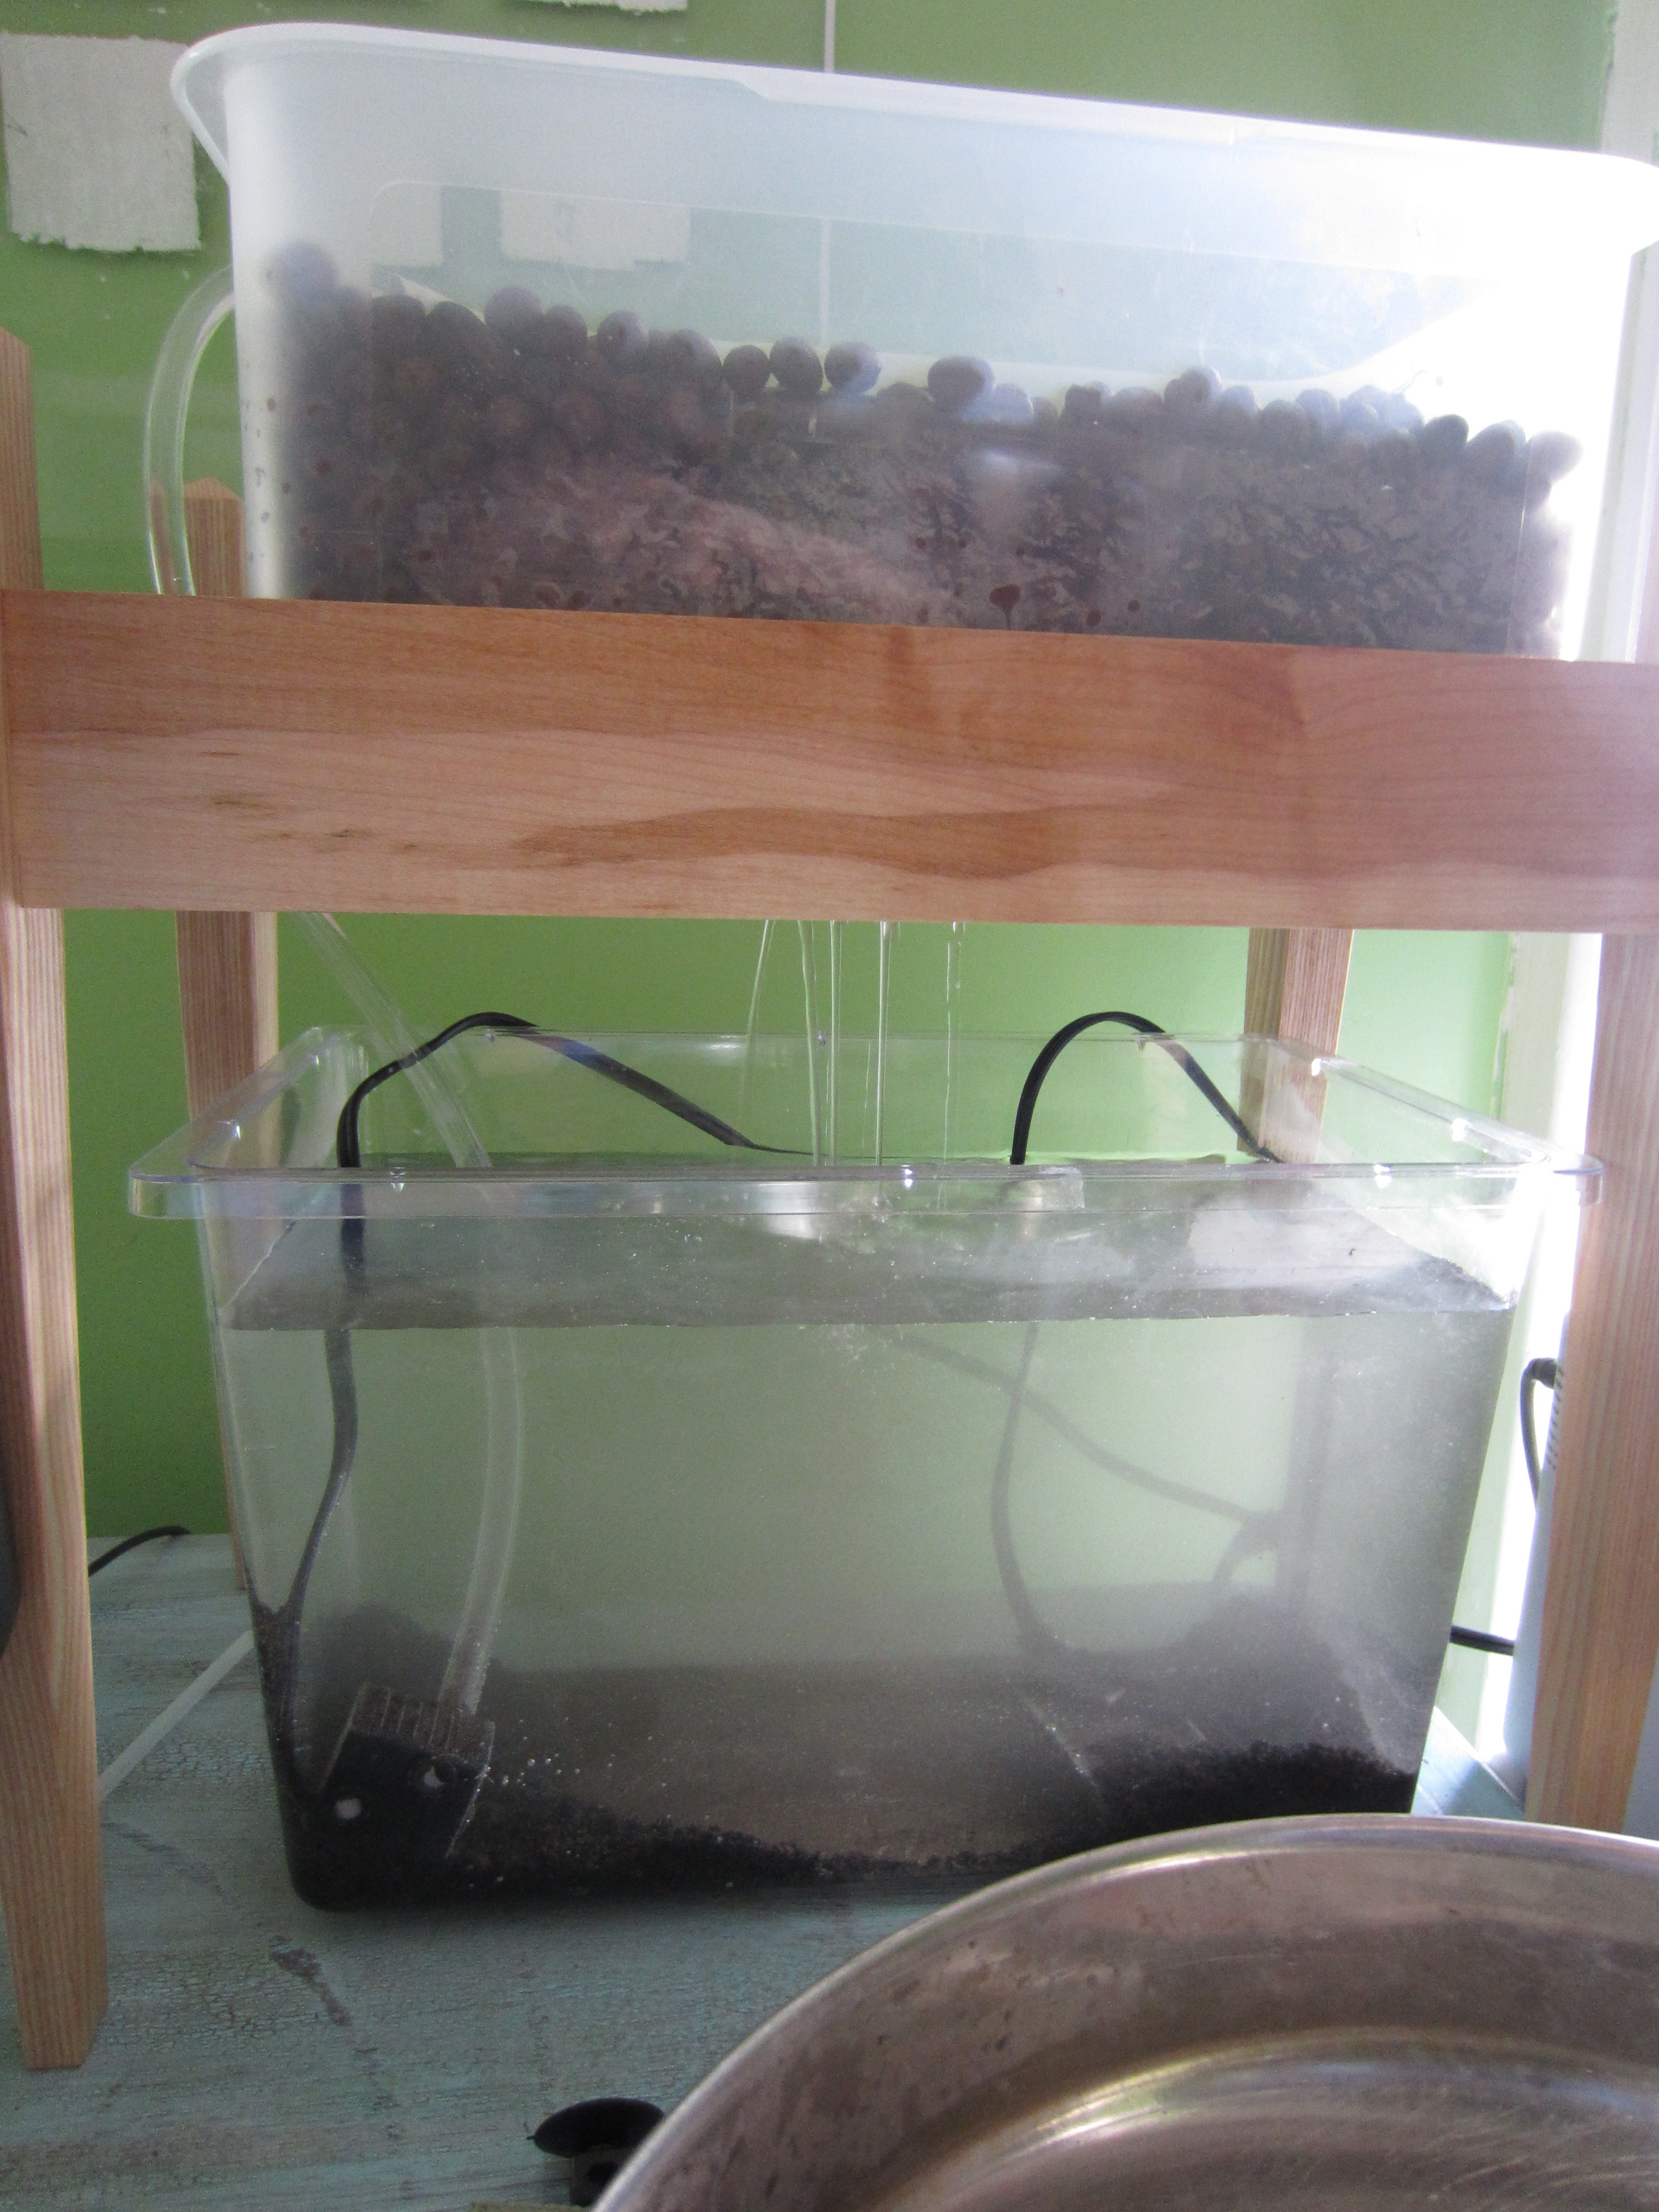
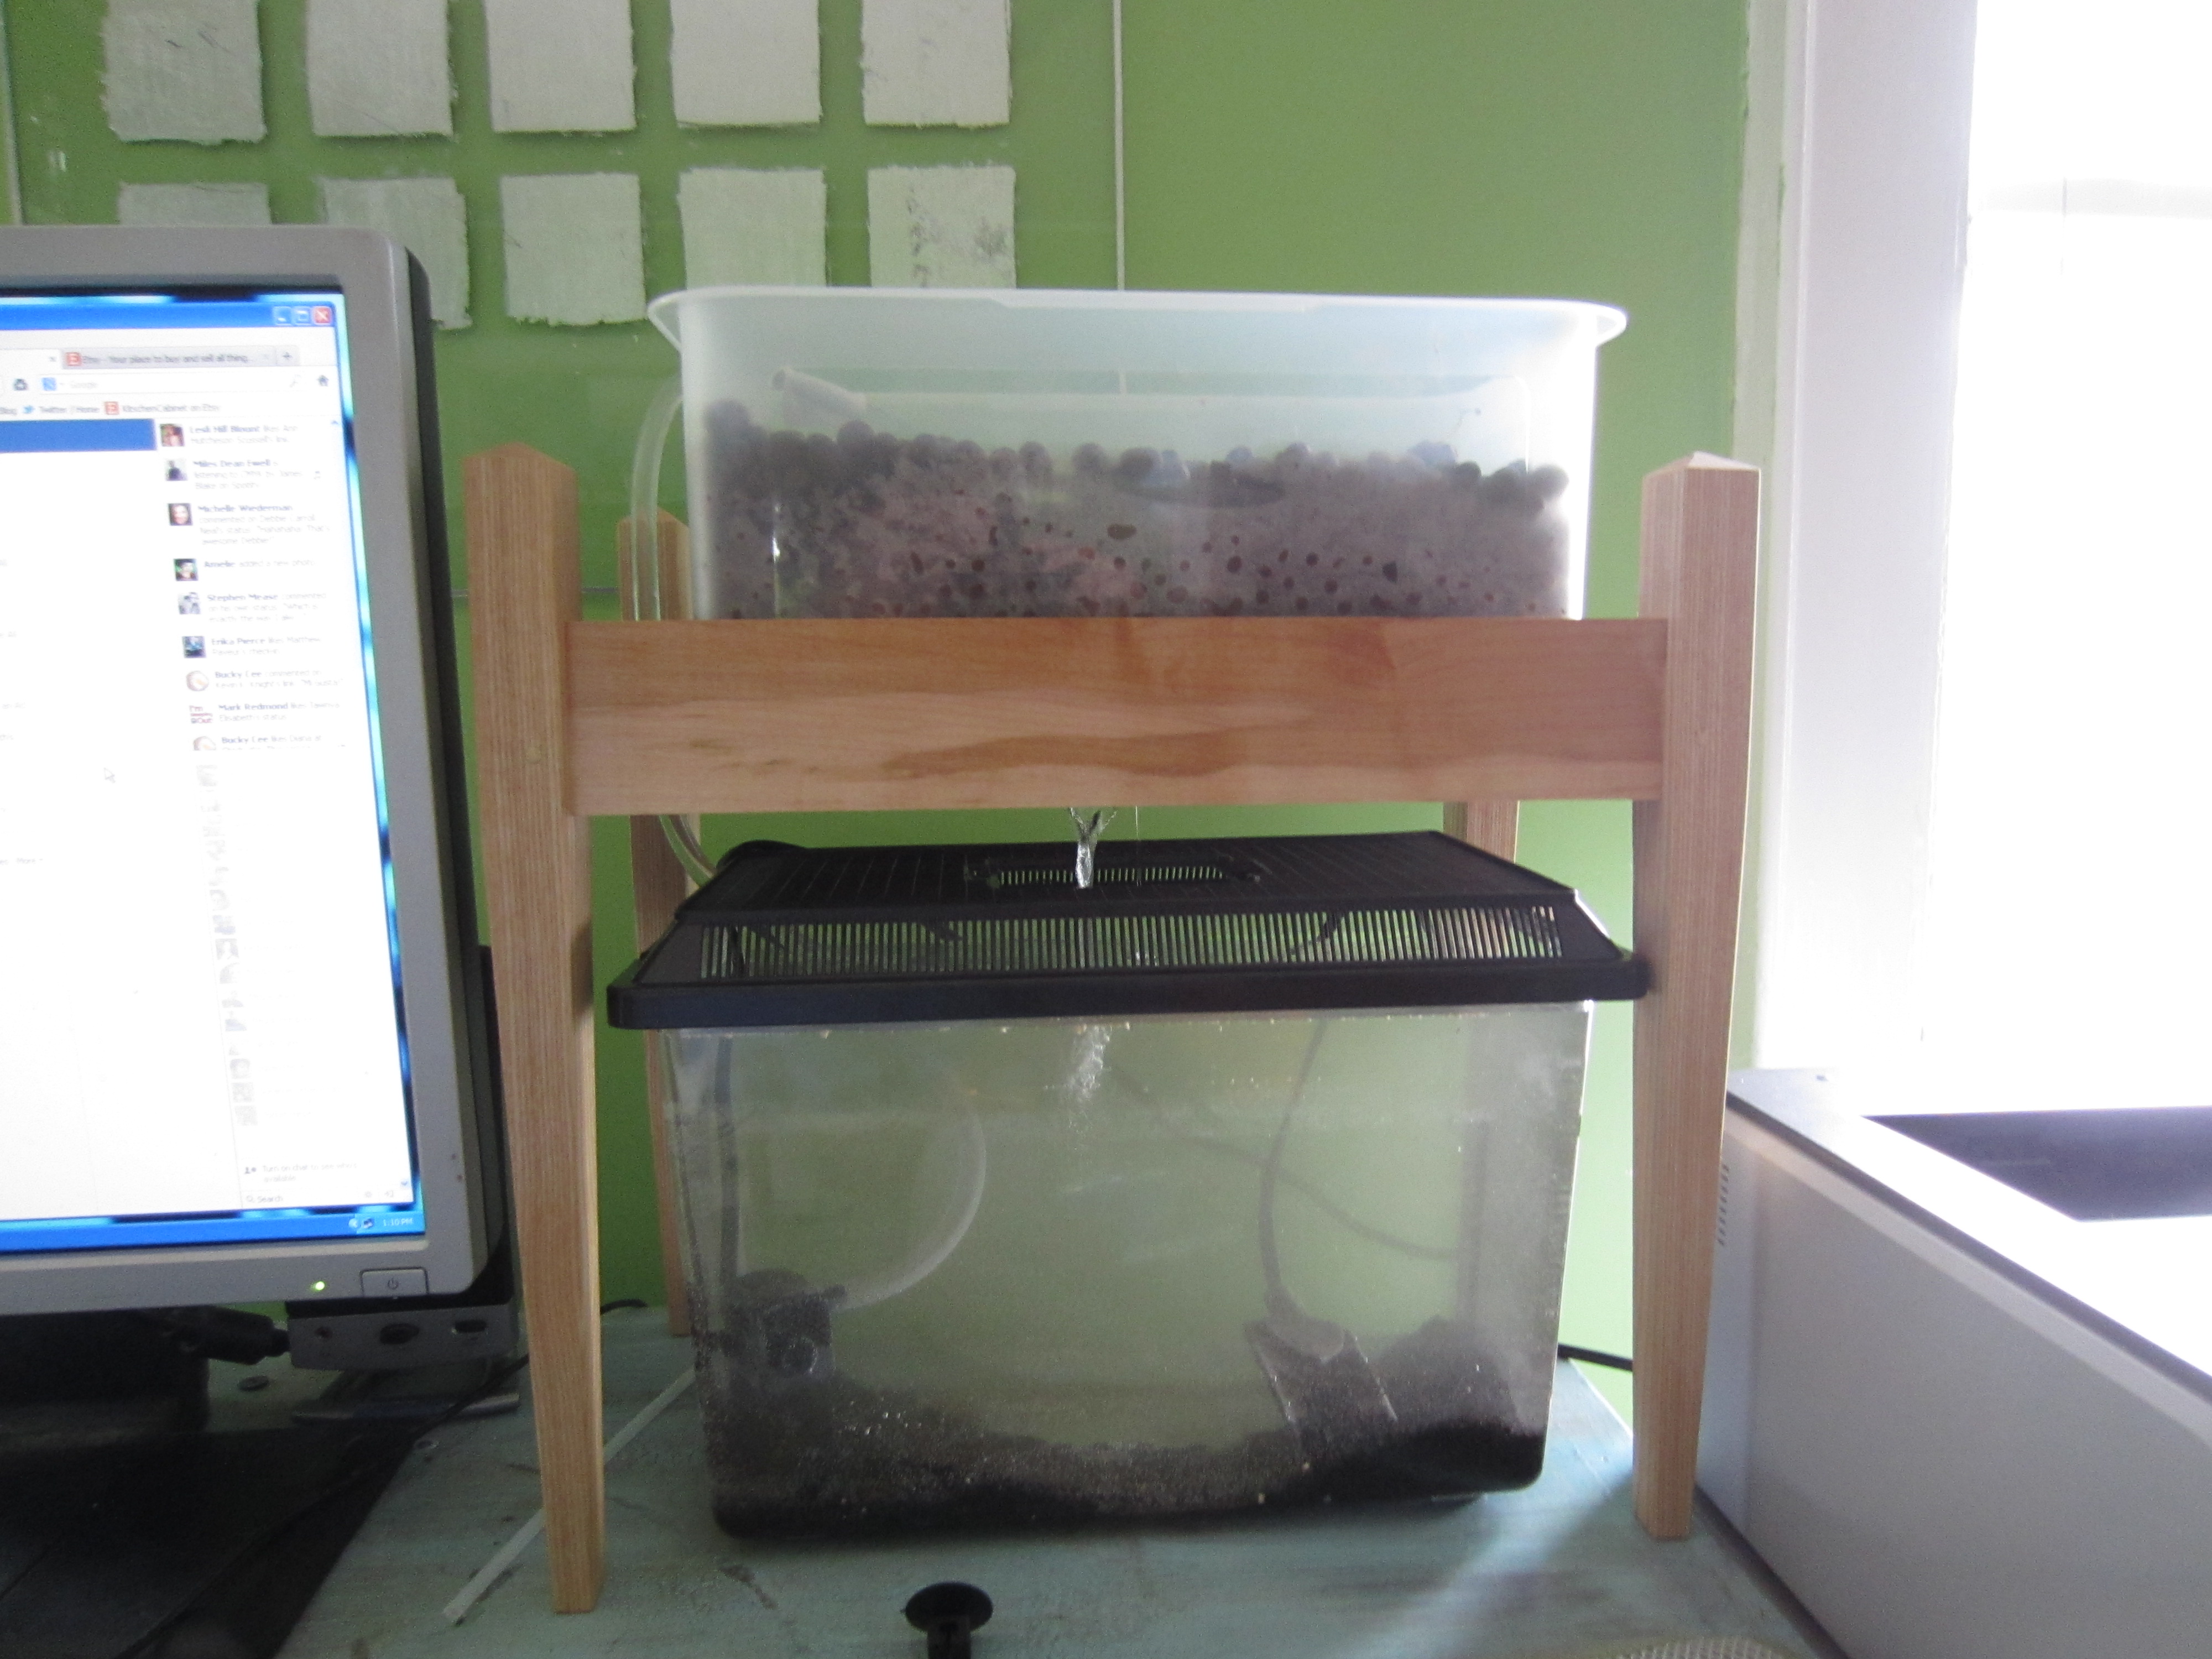
Here’s the set up with the tank below and grow bed above. My partner was kind enough to build me this kick ass stand. Much better than the stand I was going to build by heating and bending sheet plexi…
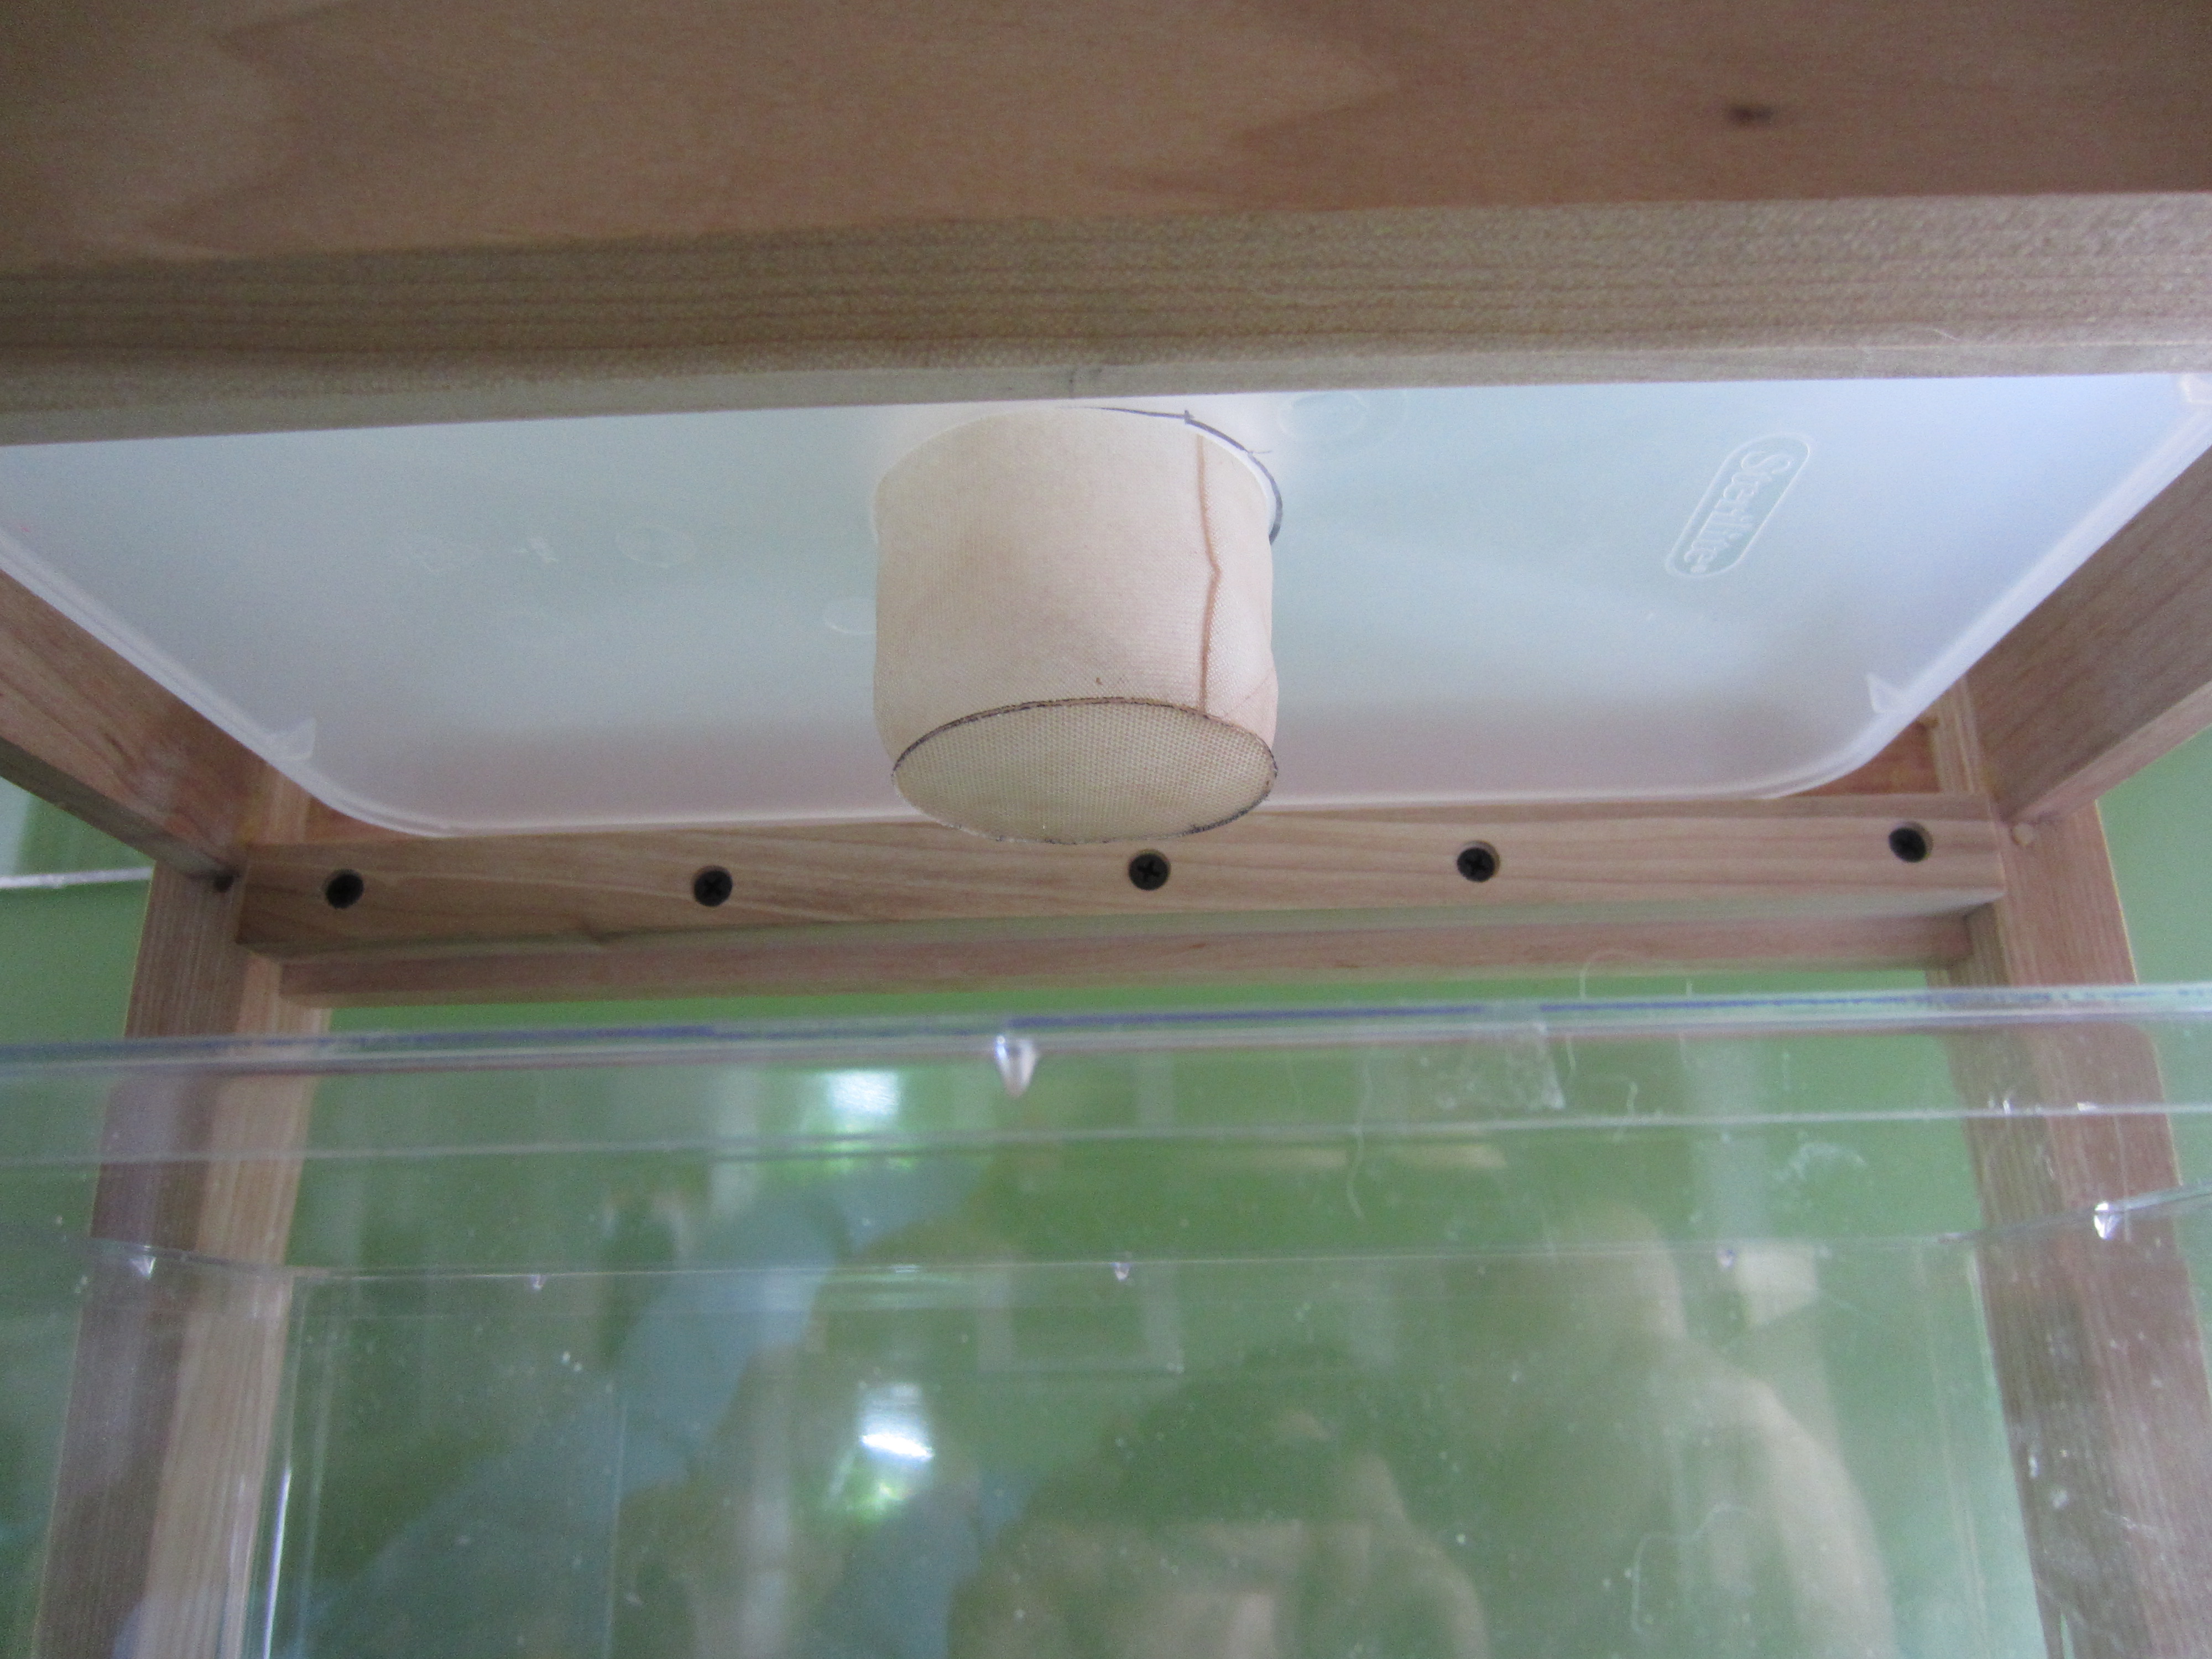
A view of the strainer:
Next up – adding the pump and the heater! I used a very small 10 gph pump since I wanted a very slow flow, and added a 7.5 watt heater to keep everyone nice and toasty. I also added a layer of gravel to the bottom of the tank to give bacteria an extra surface to grab onto.
I used a pair of kitchen shears to slice the tubing every inch so that the tube will drip slowly around the perimeter of the grow bed.

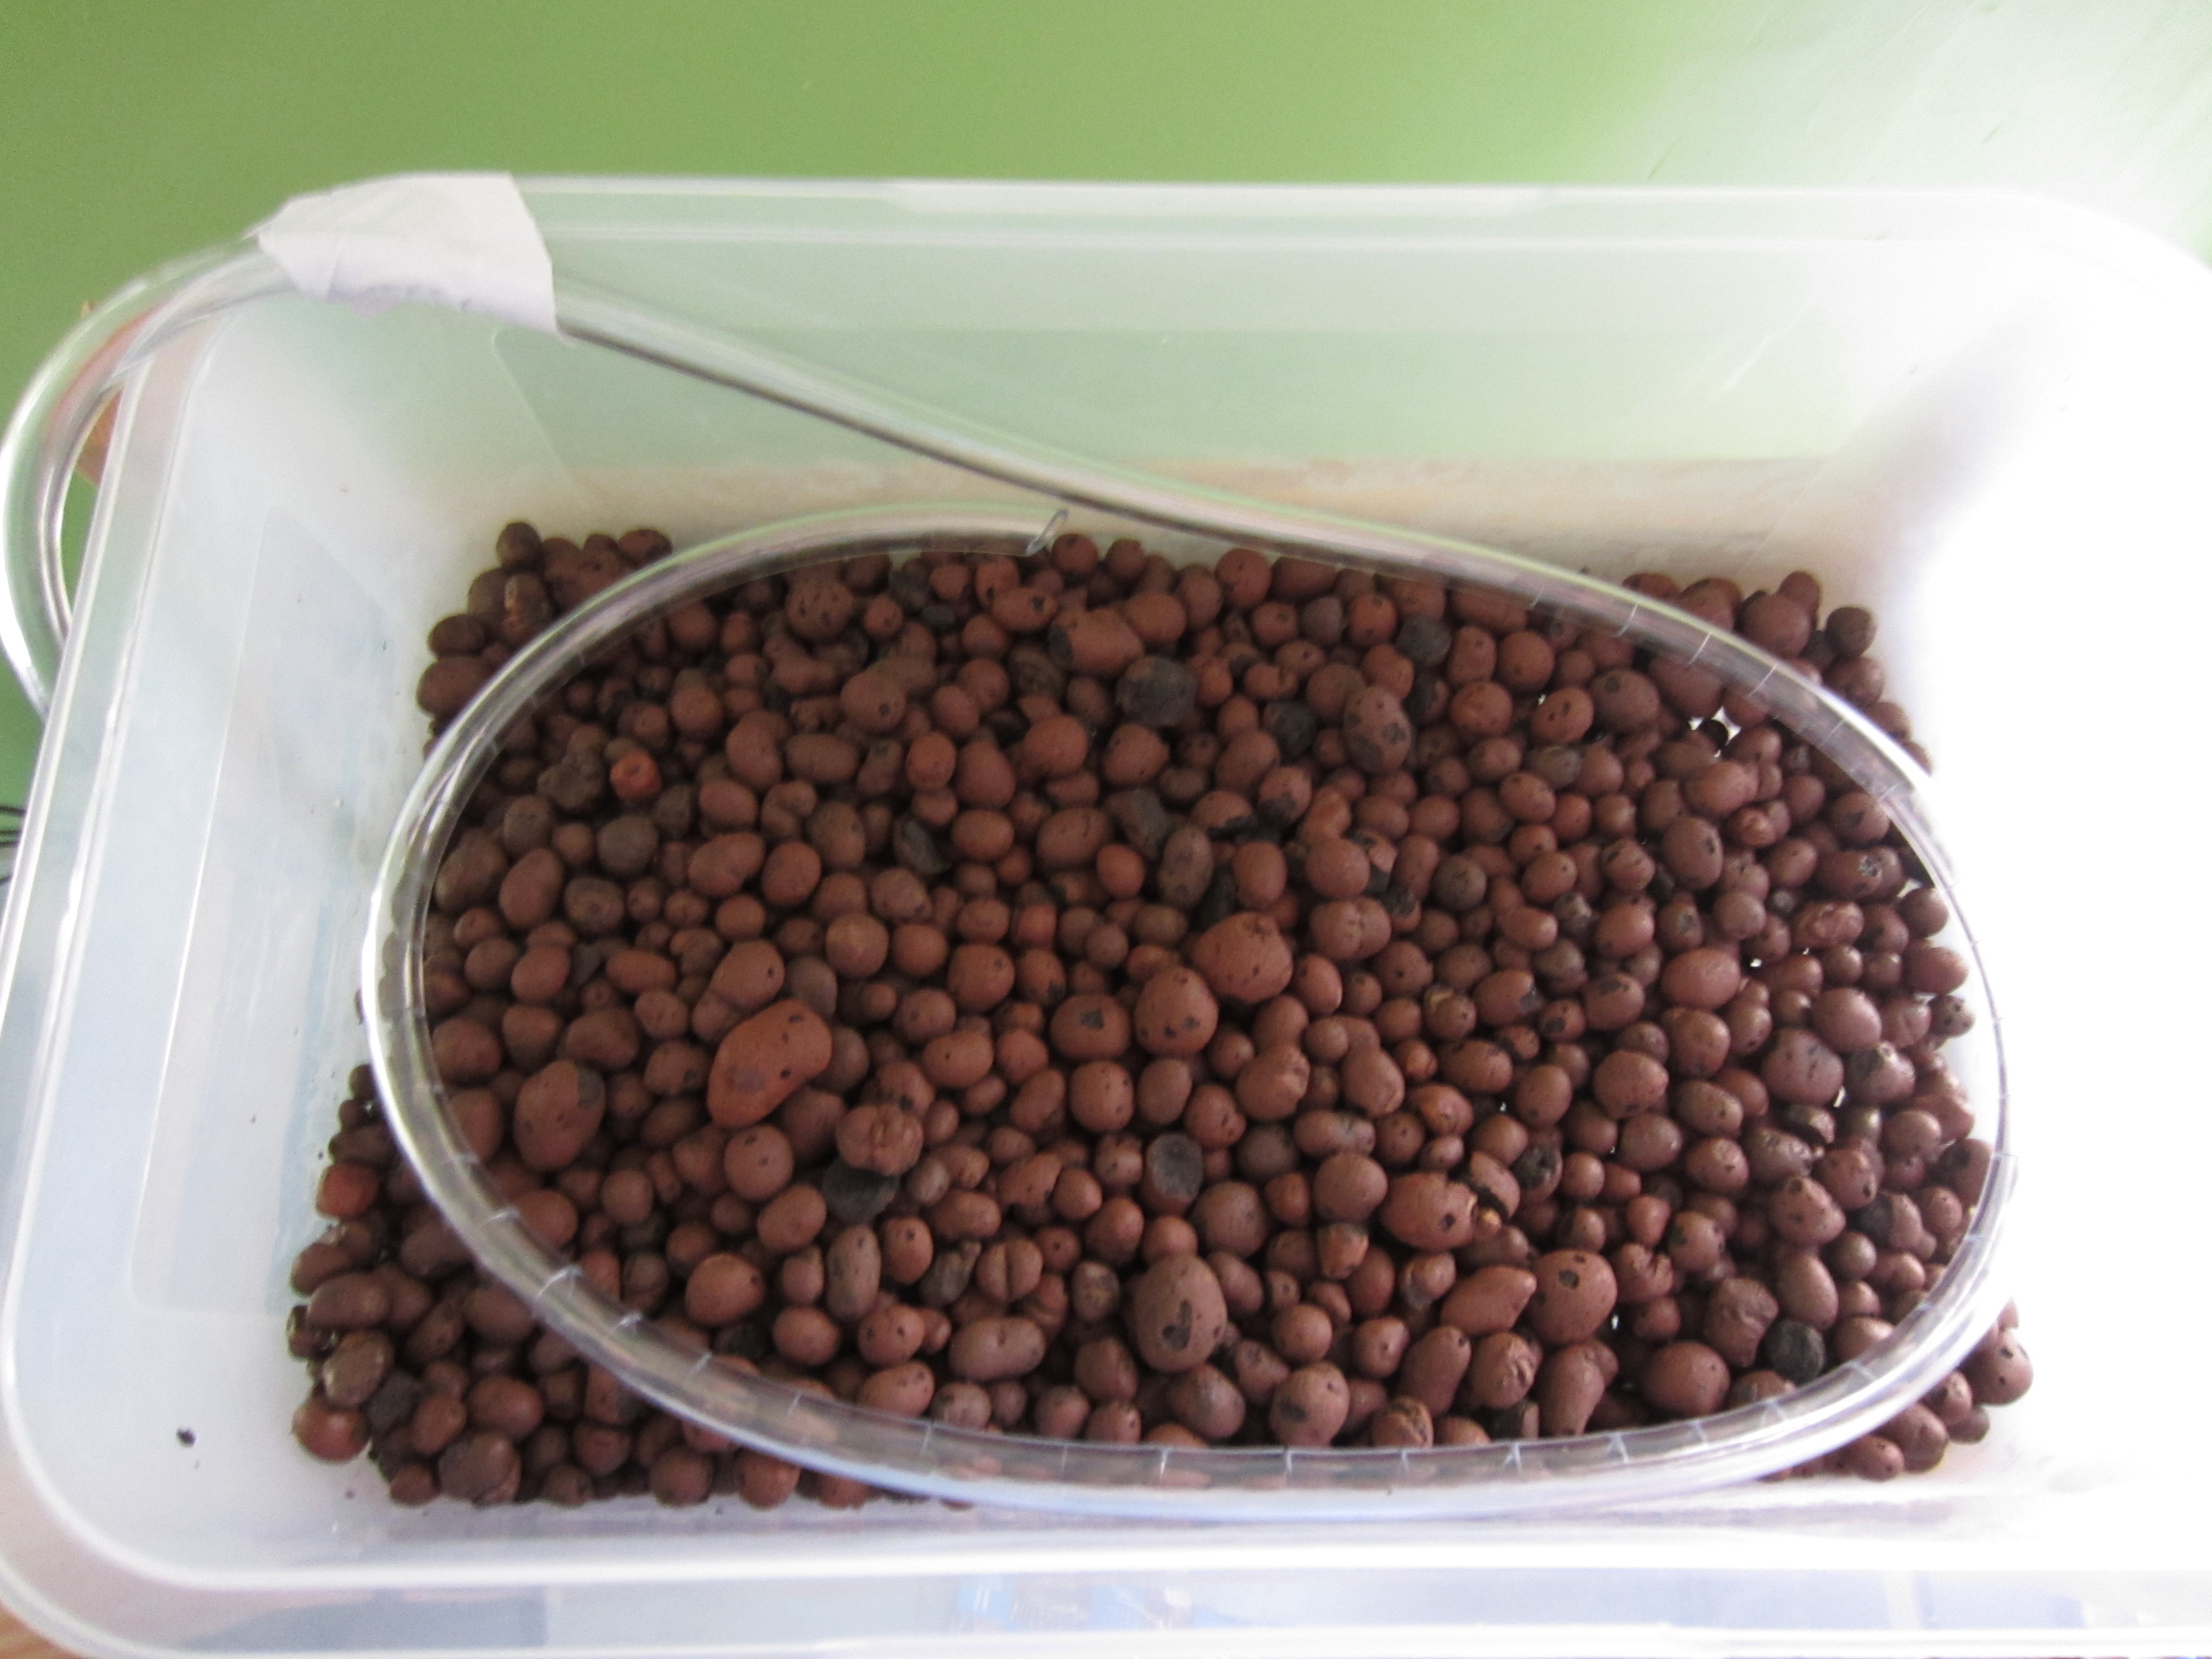
I looked at a lot of different growing media and chose hydroton. I used 5 lbs to fill the 13″ x 8″ container half way.
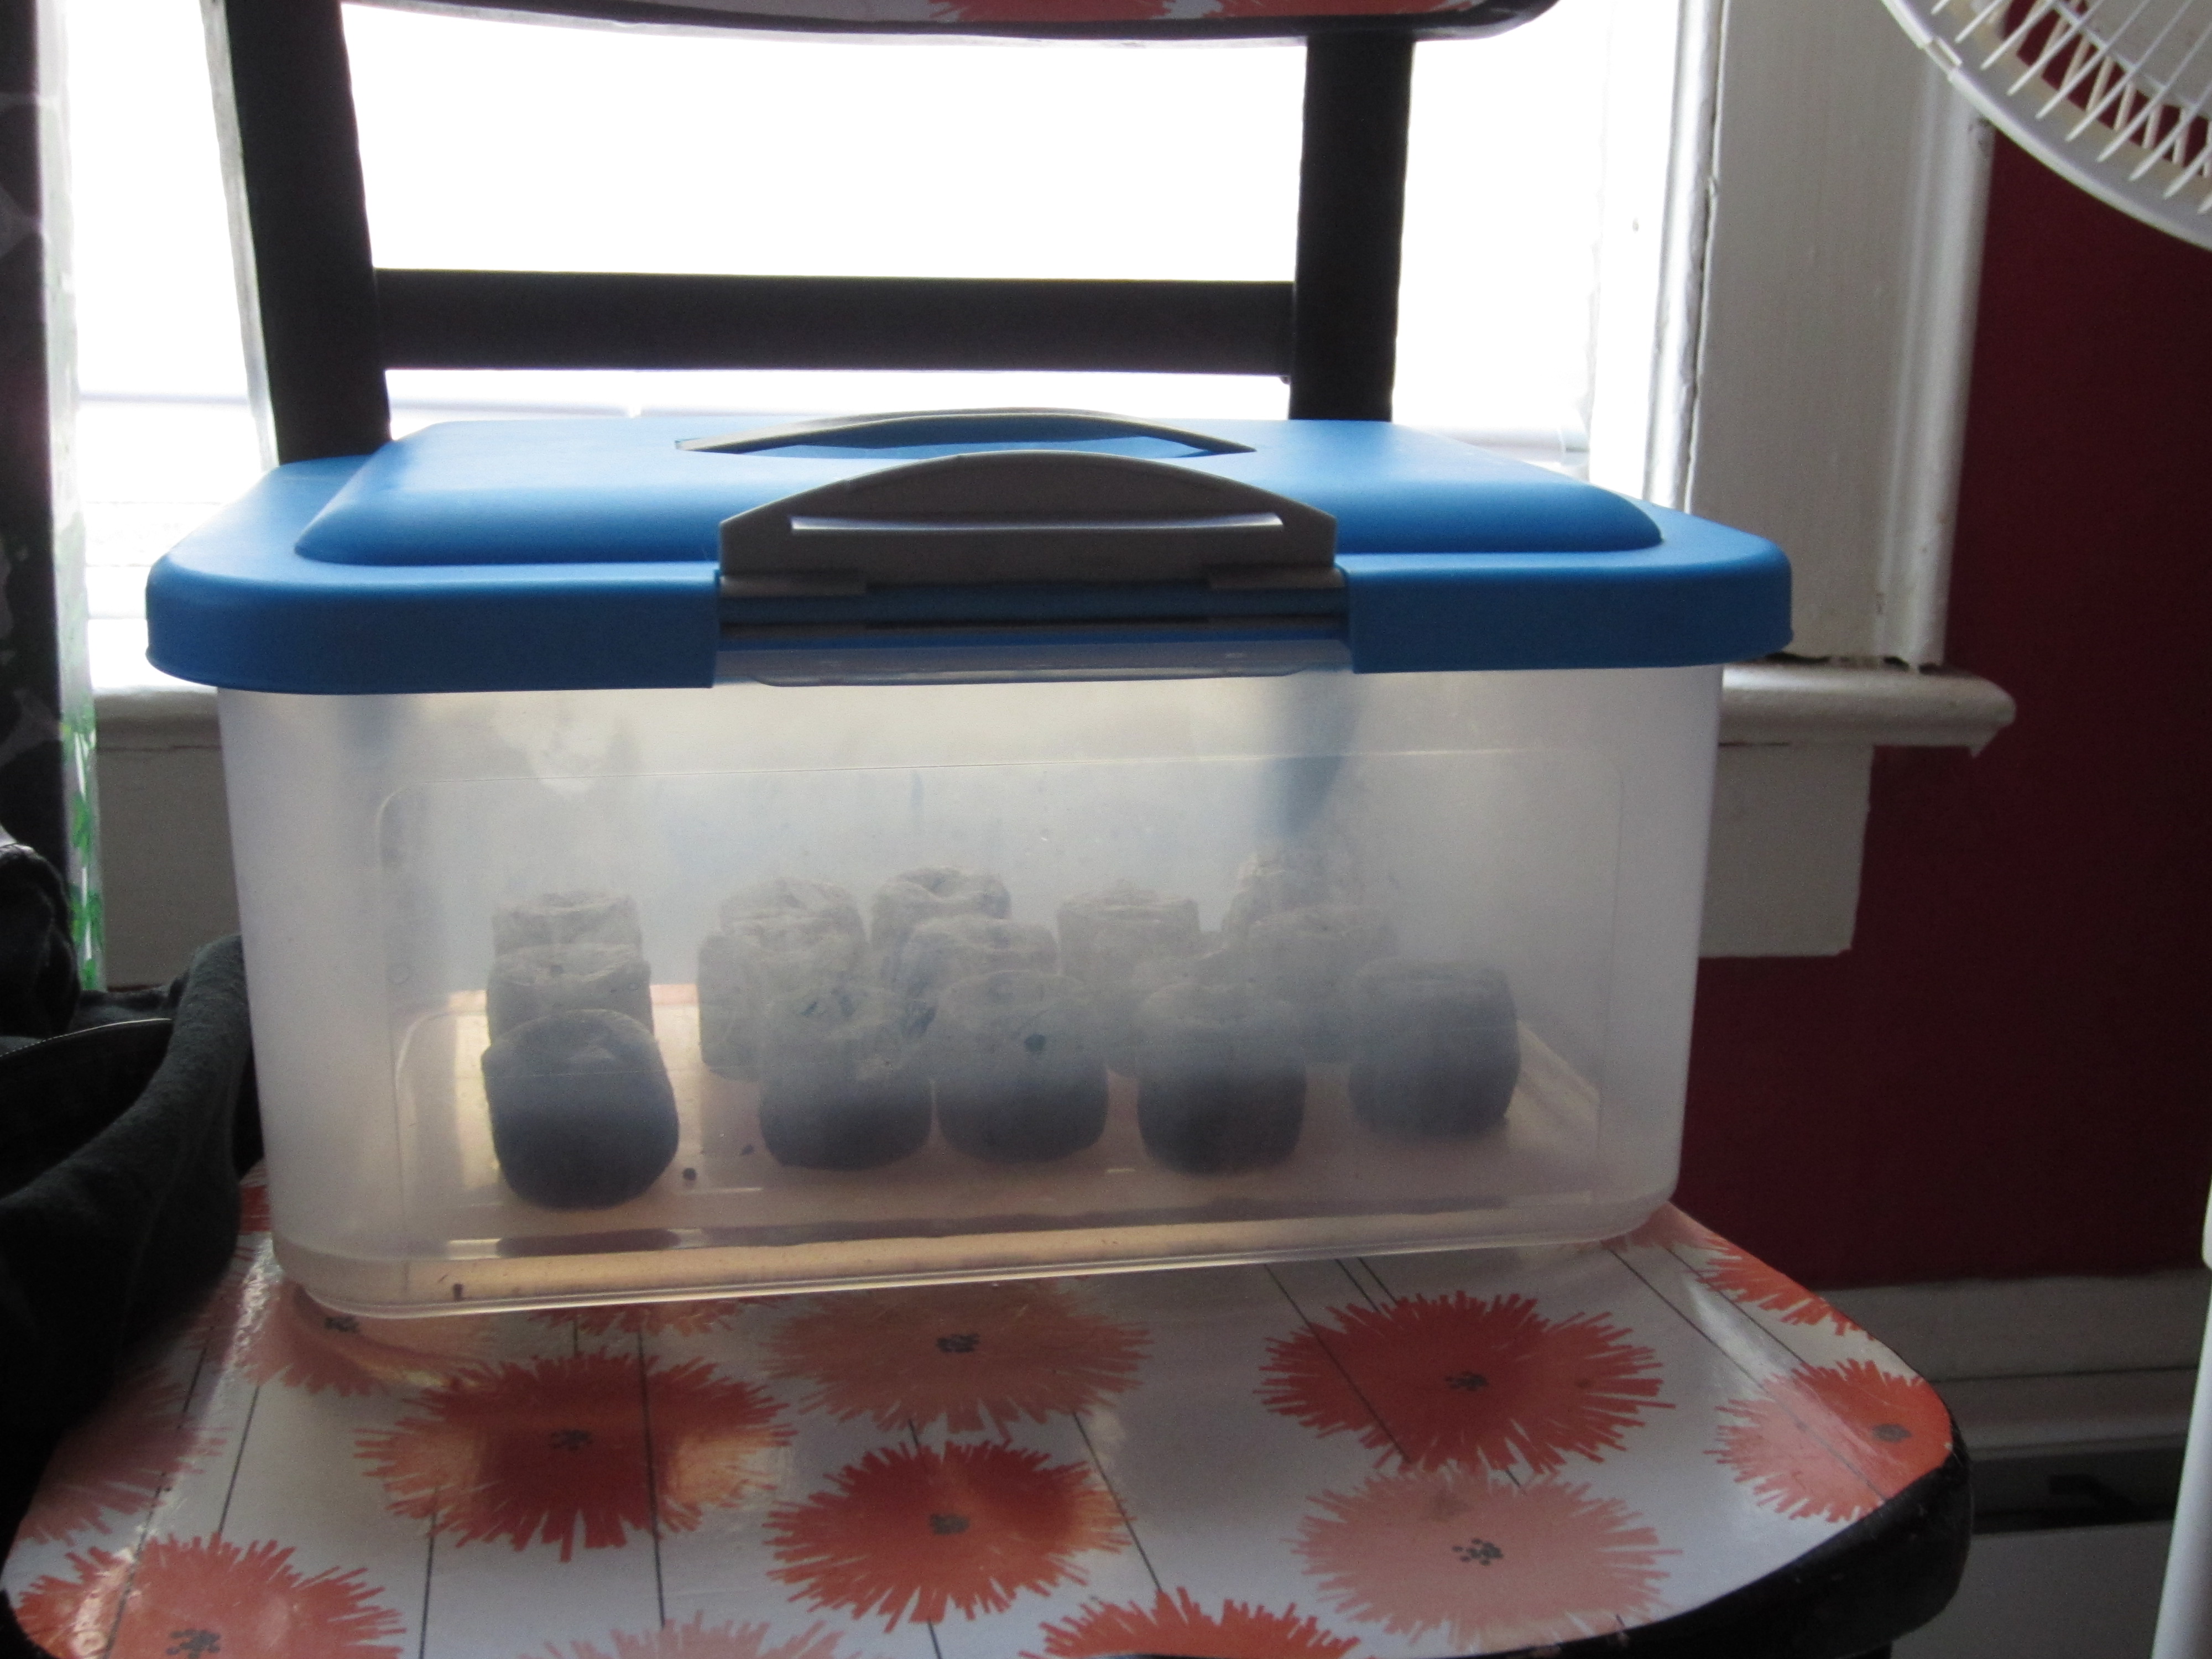
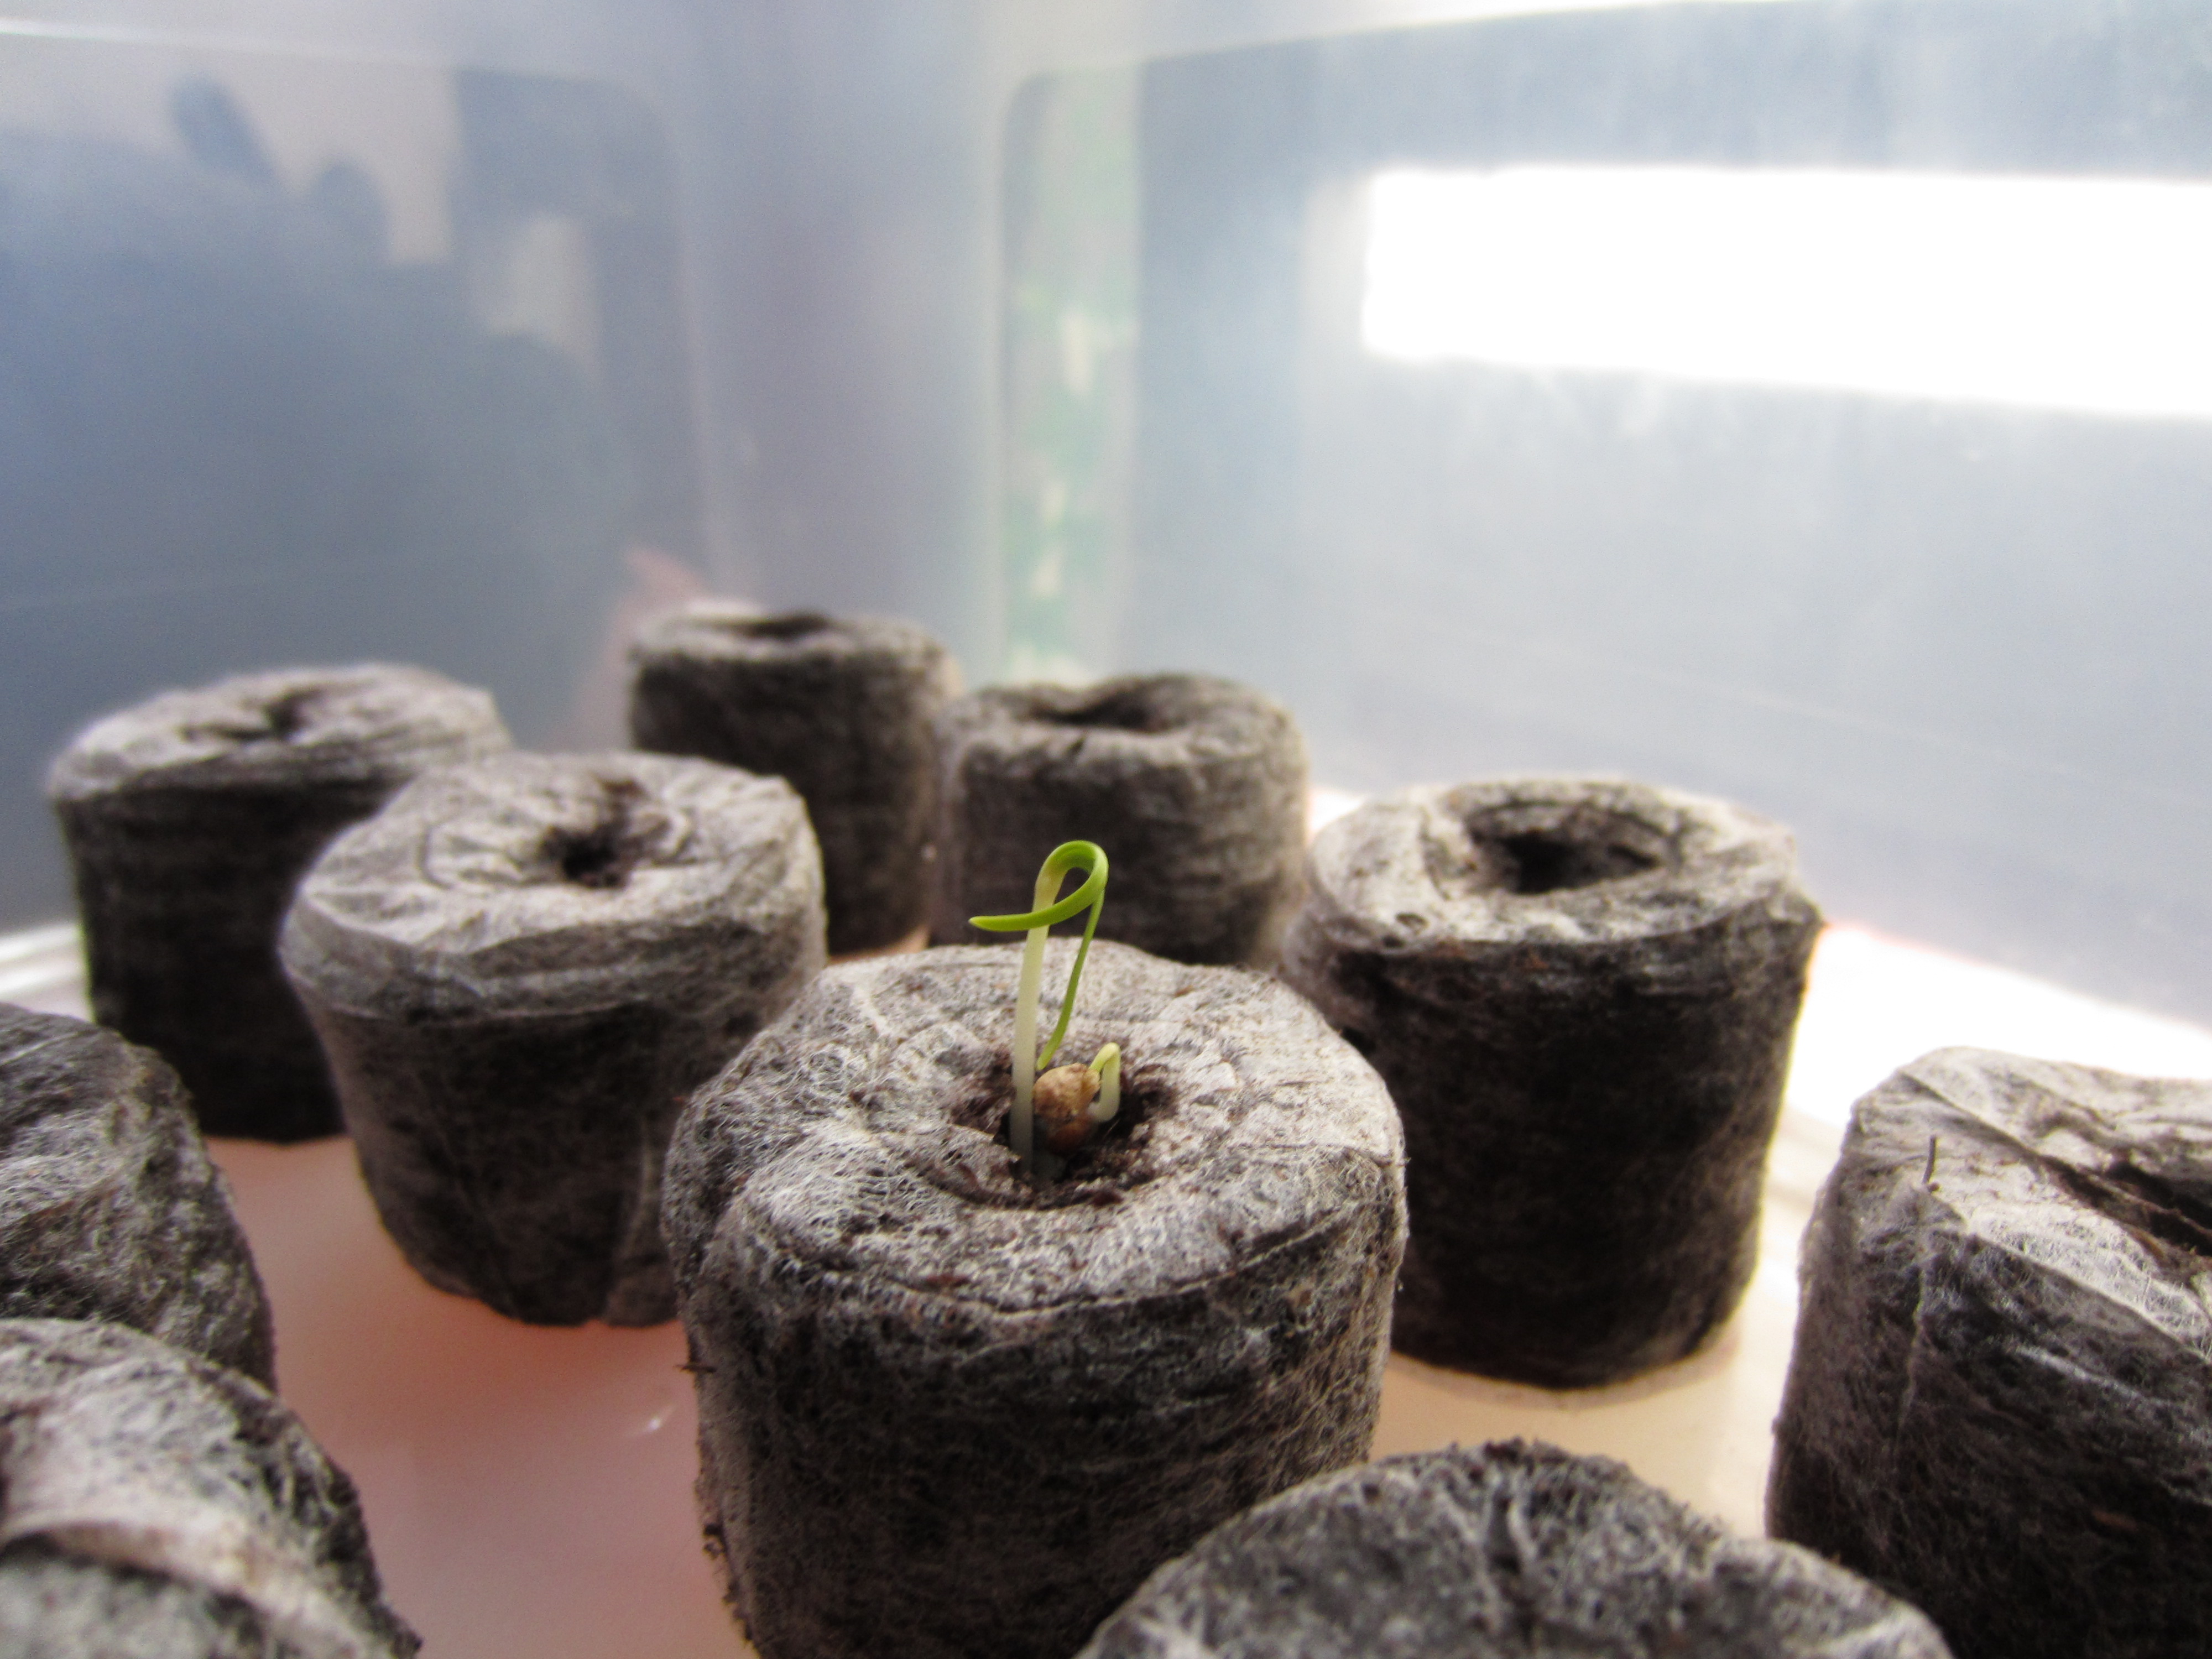
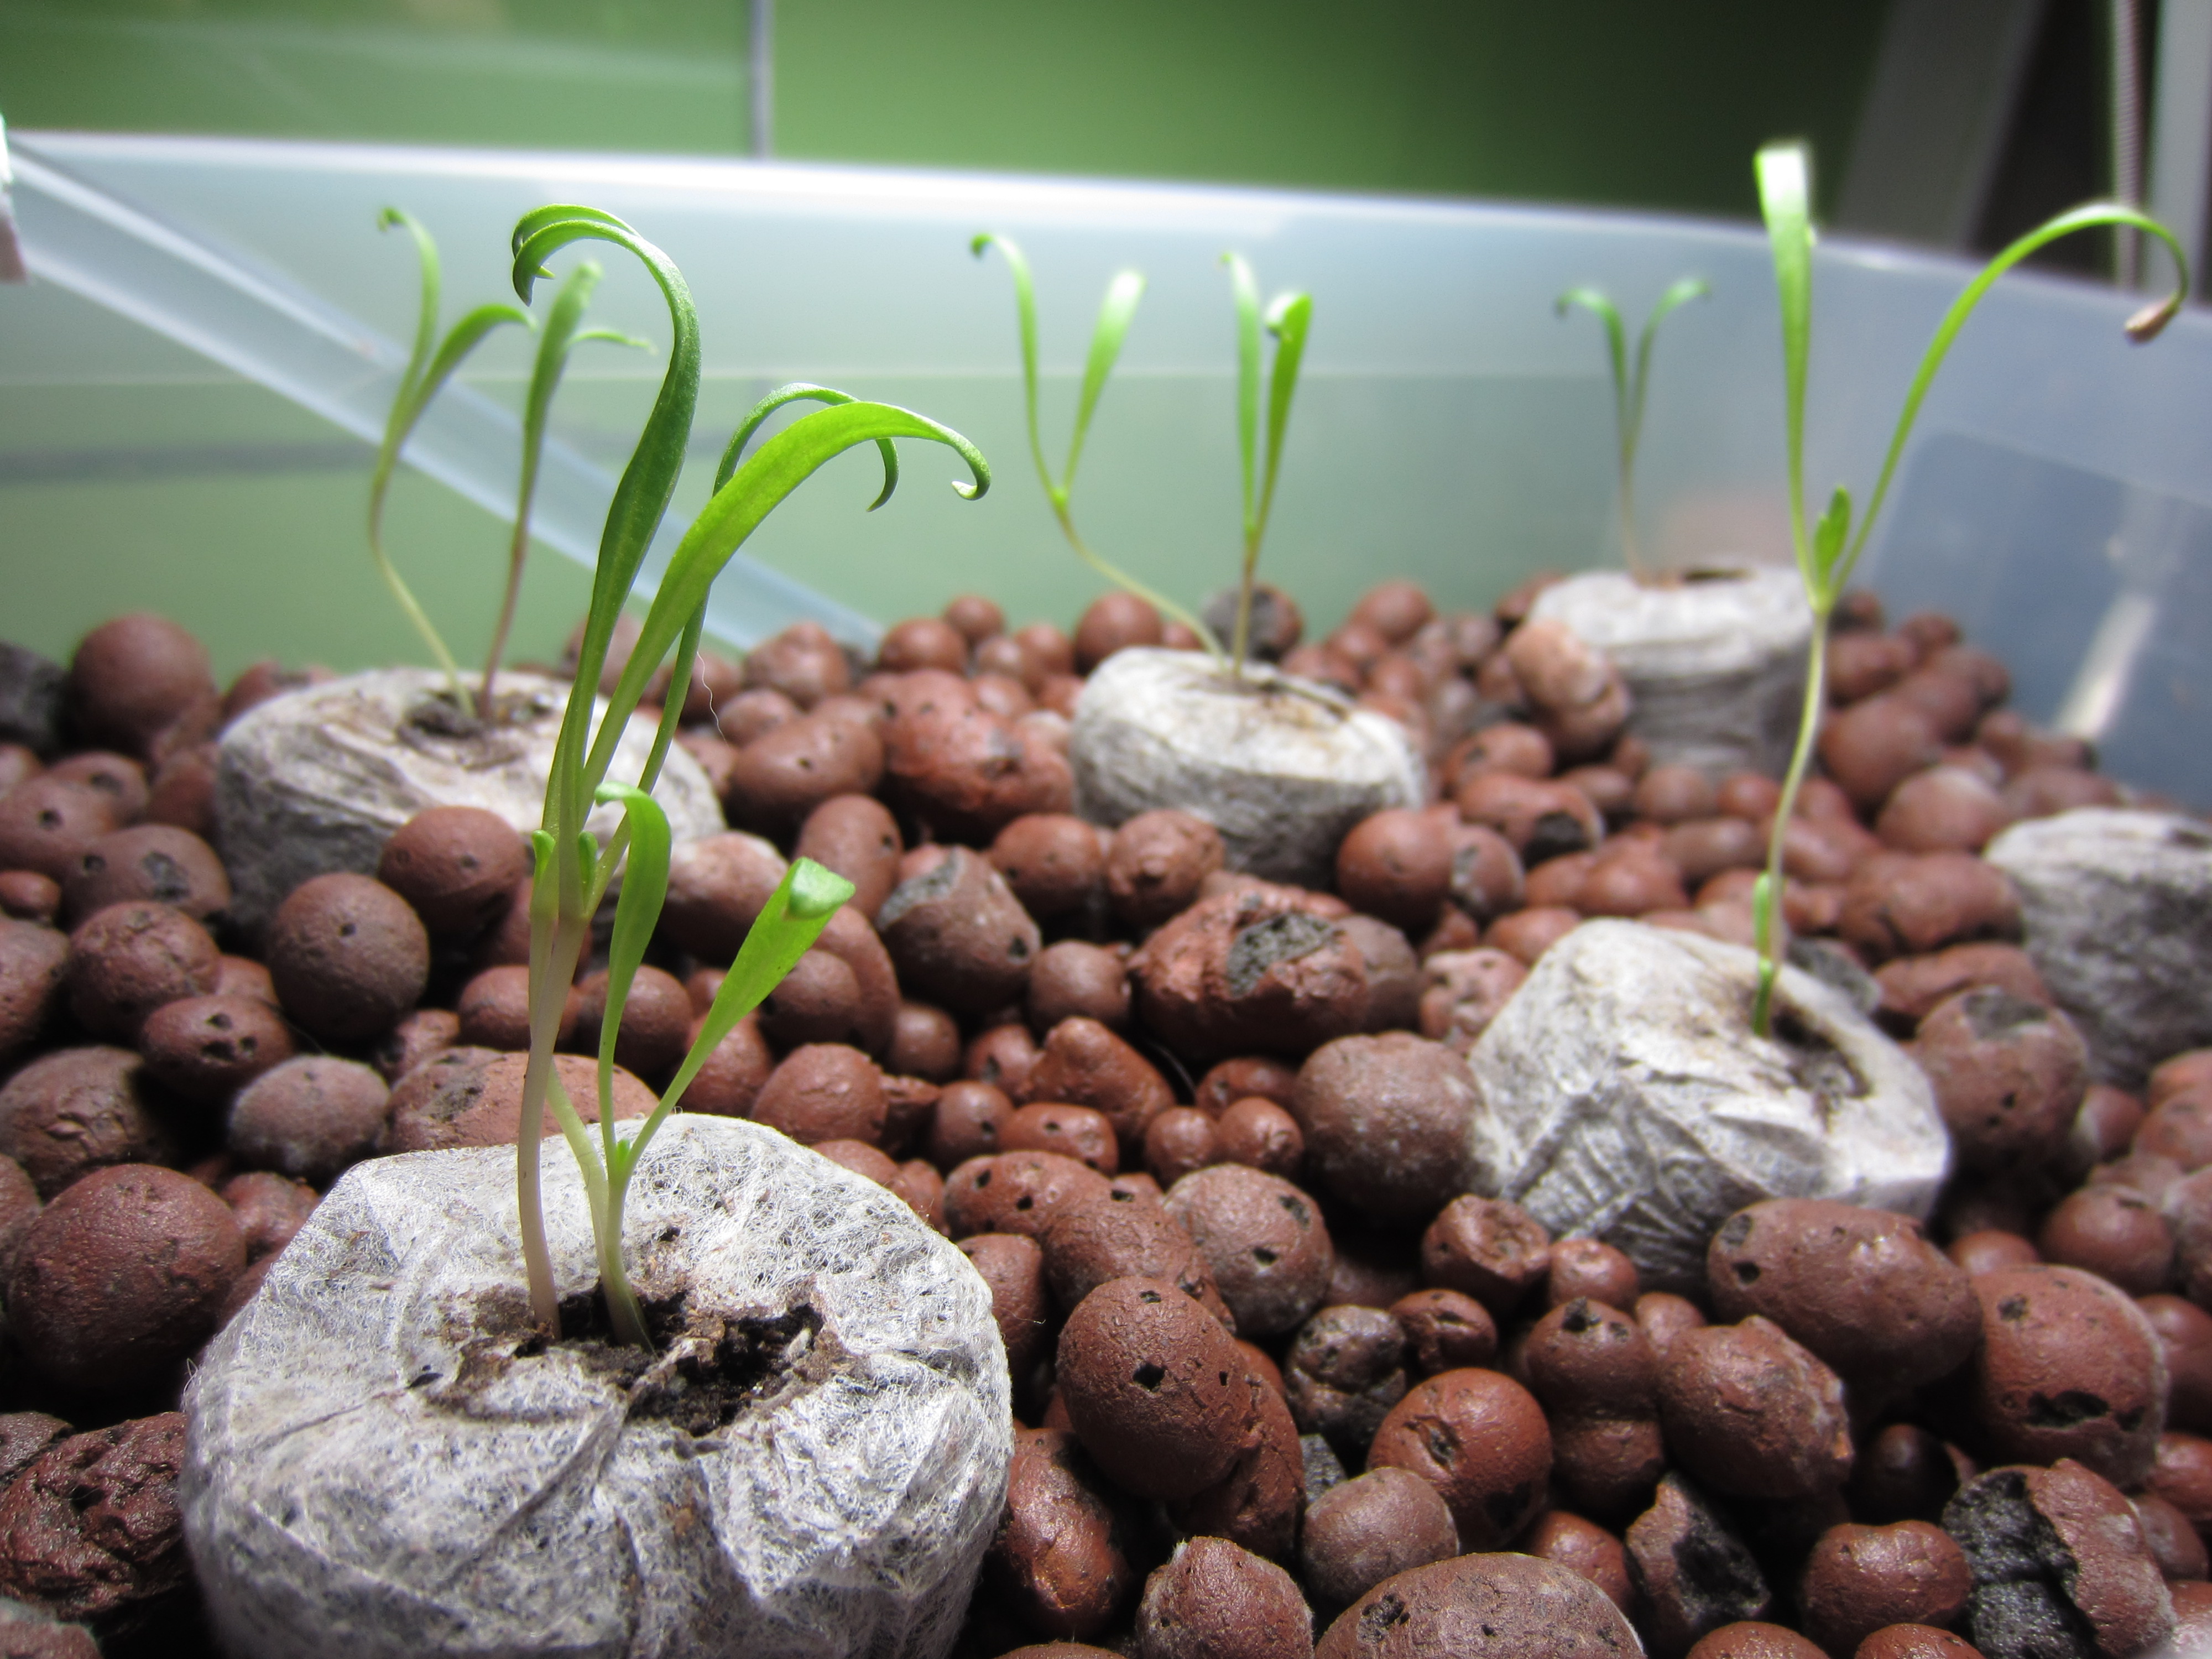
While building the system, I started spinach seeds in jiffy pots. They’re peat and sphagnum, so they work perfectly in the soiless system.
My first attempt at adding the pots to they hydroton was a bit of a disaster. I tried to shove in twice as many as could comfortably fit and ended up squishing many of them.
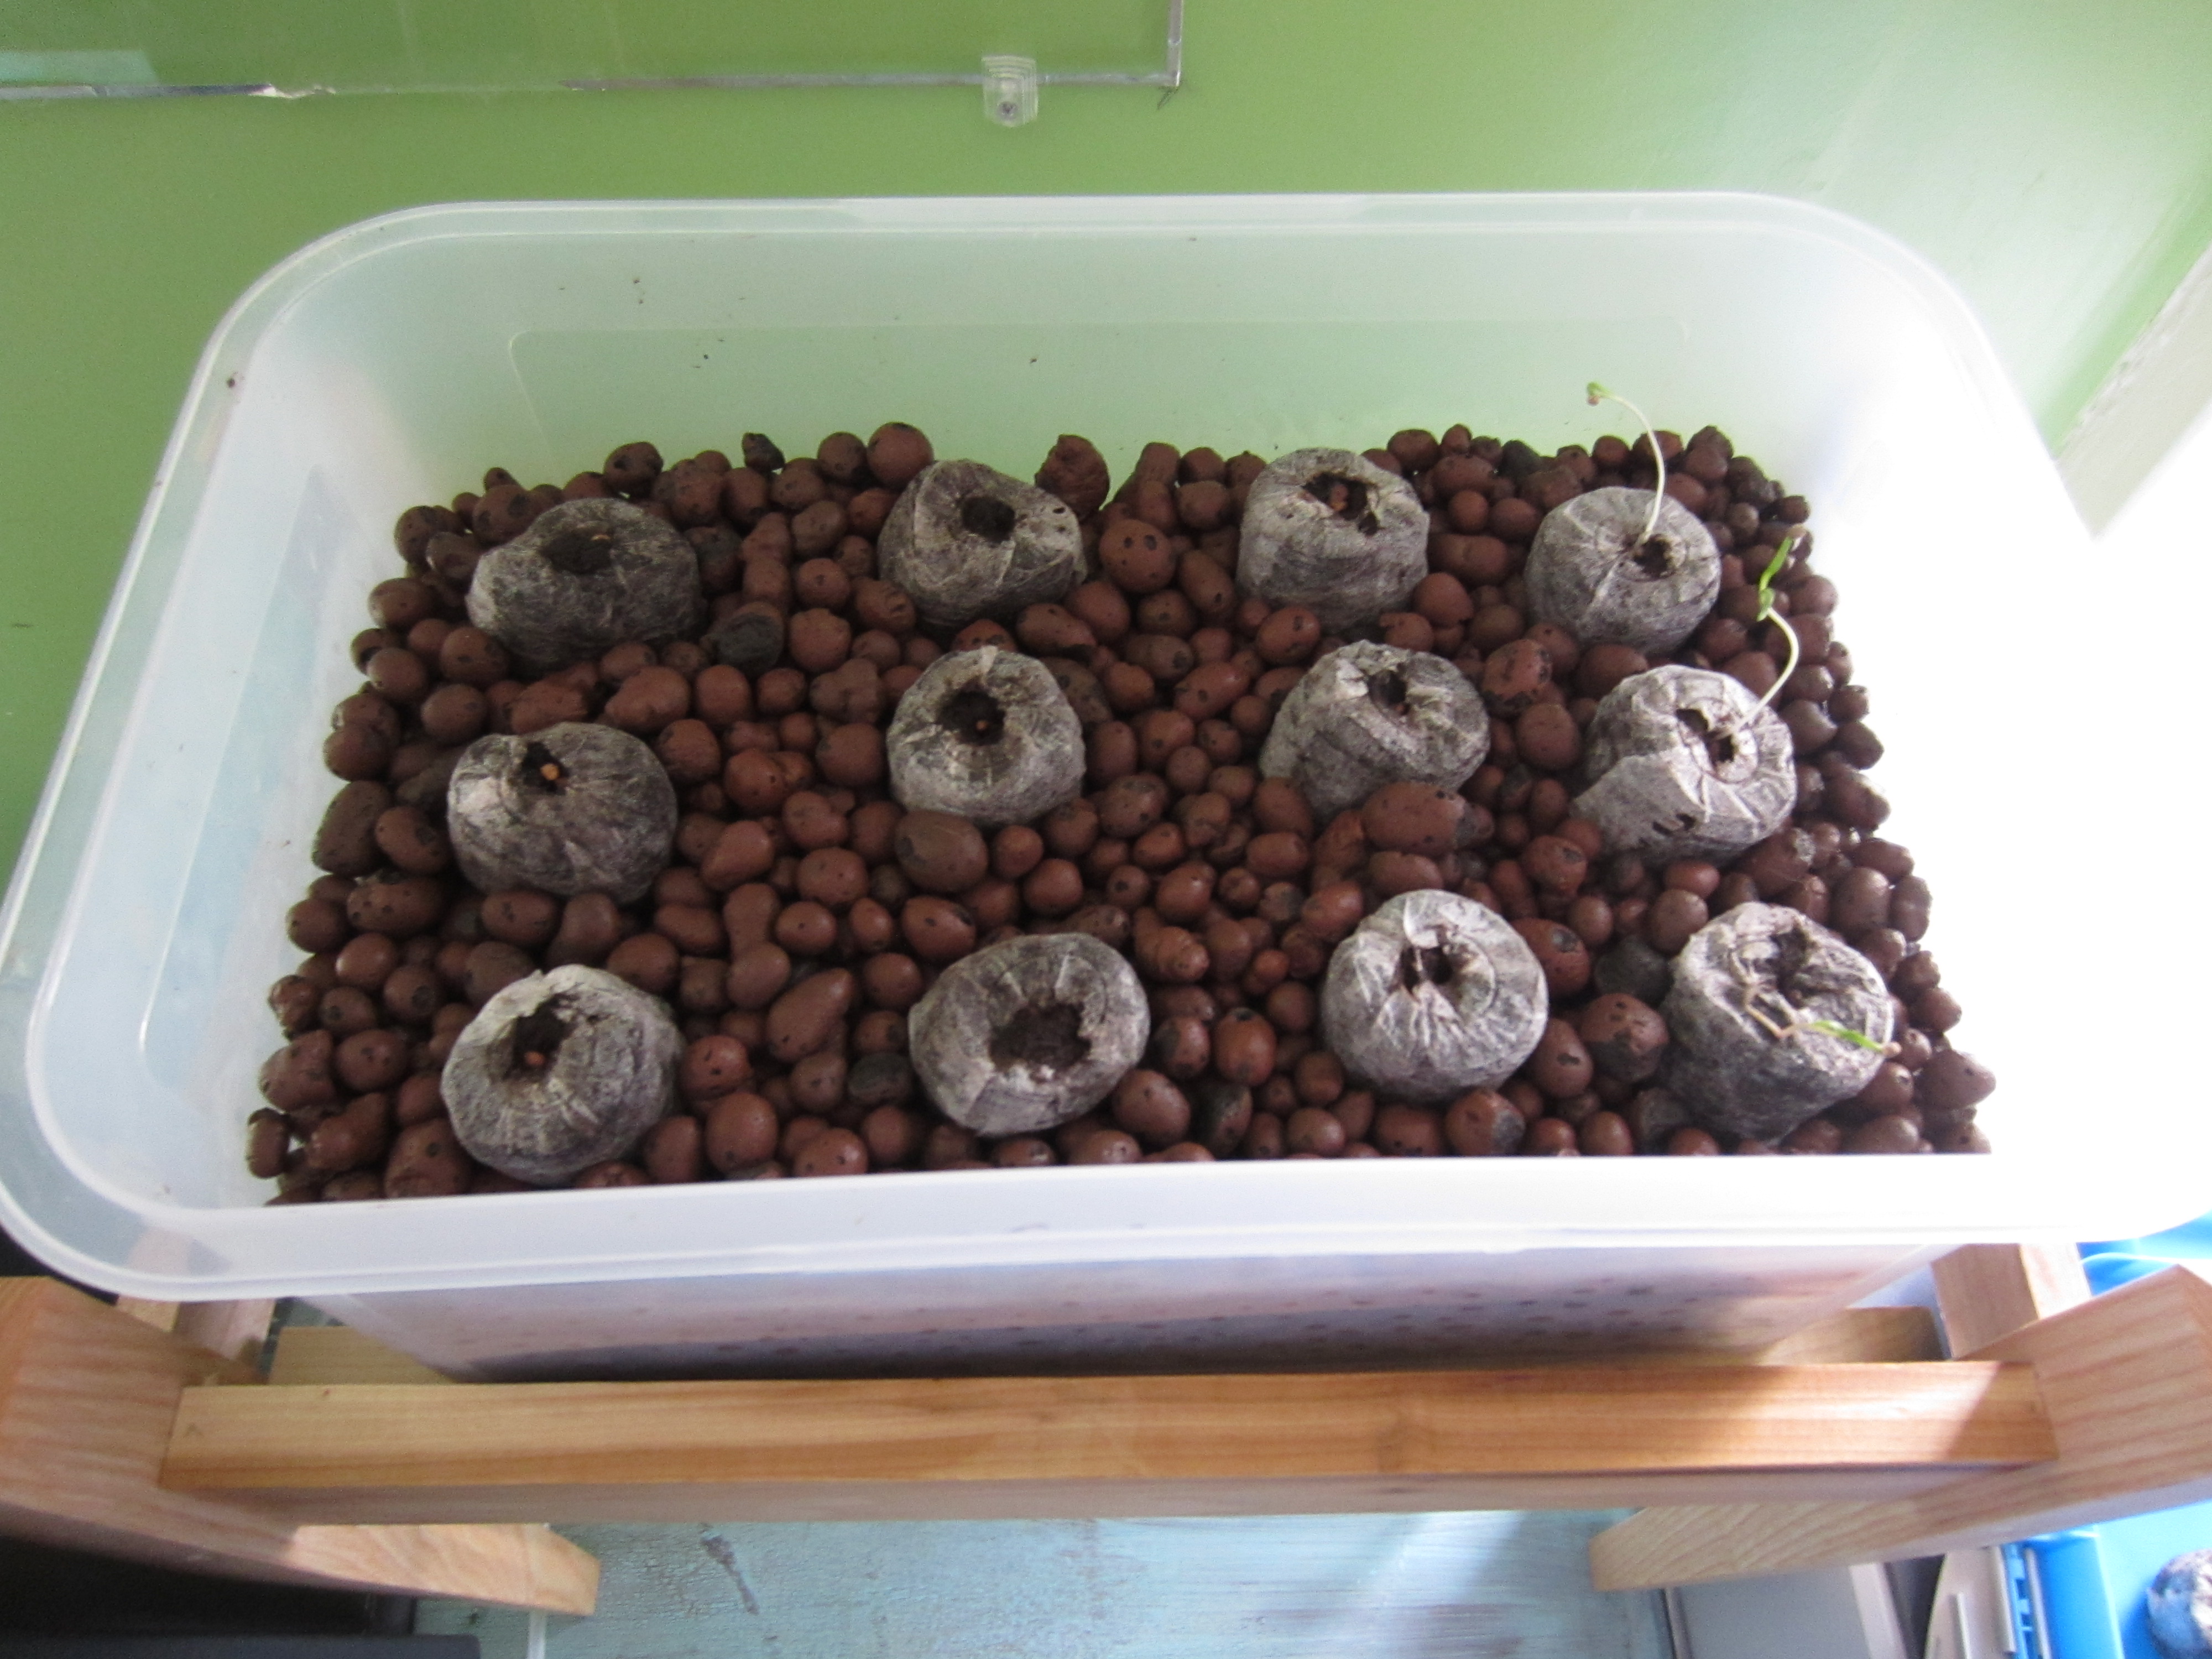
I settled on 6 pots, and that was far better.
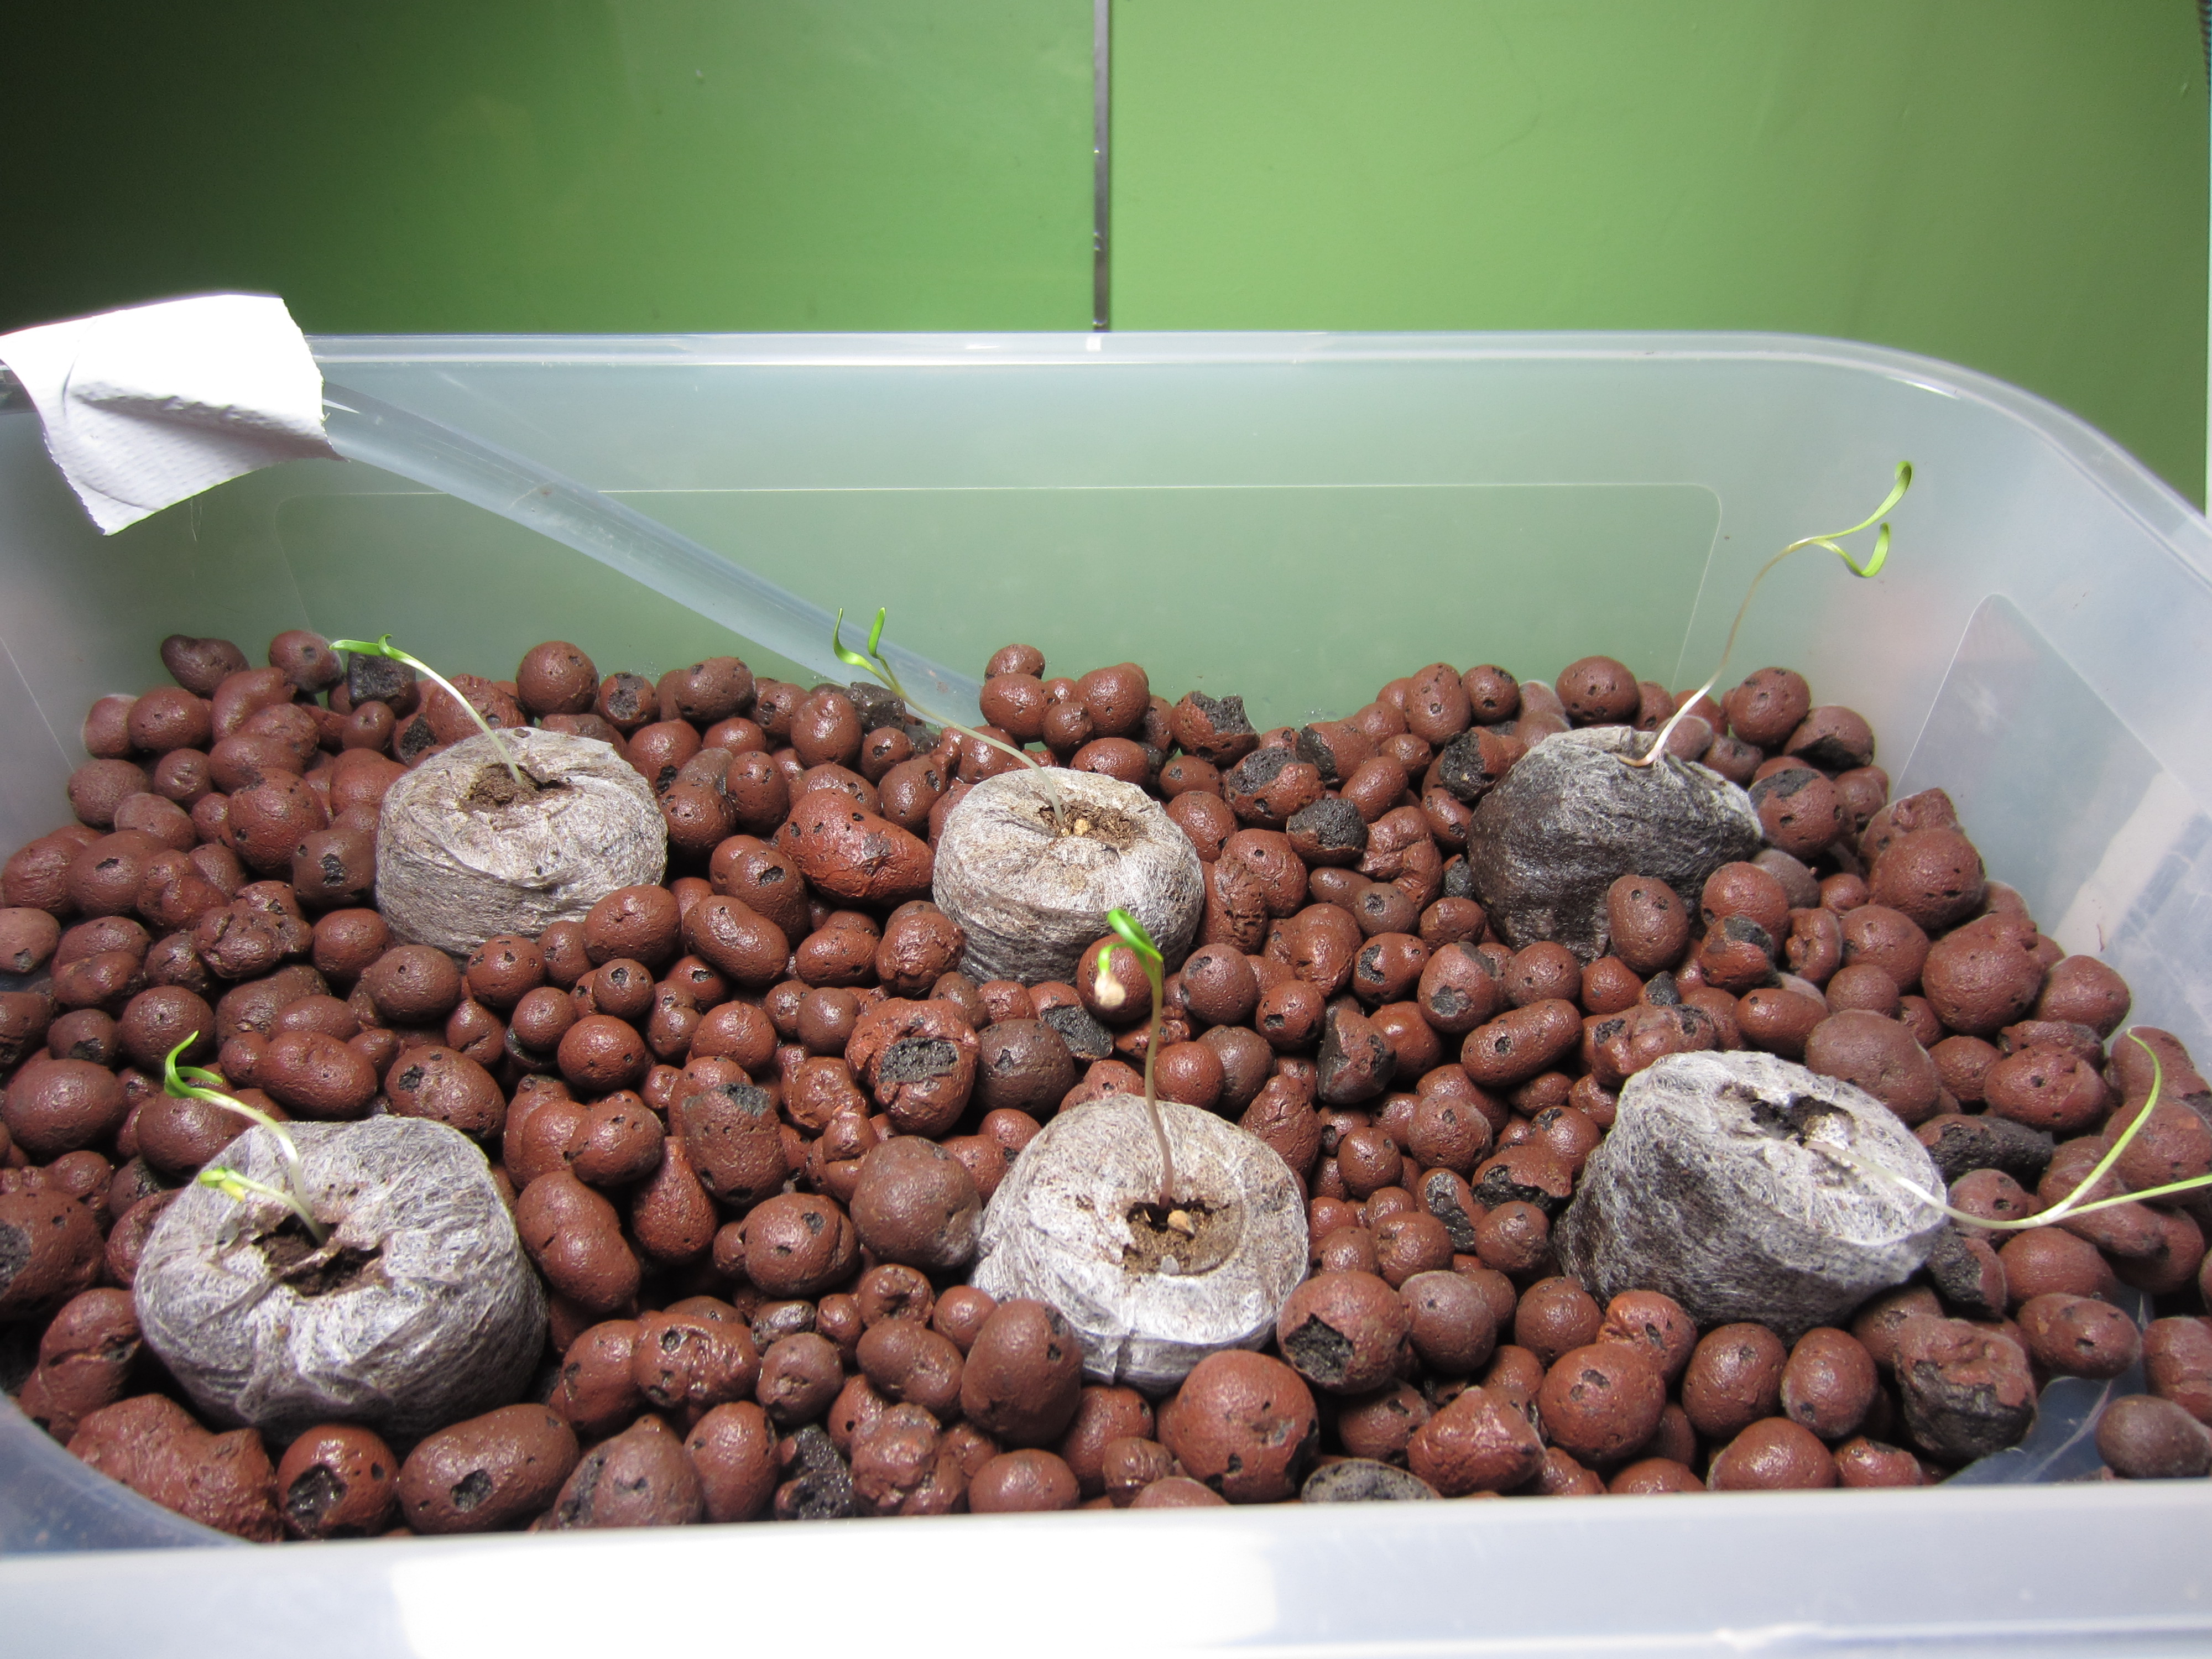
One of the issues I ran into was not enough heat and not enough light. Two of the pots molded, so I doubled the size of the heater in the tank, added a grow light, and replaced the moldy pots. Much better!
Here’s the system complete with tubing and the running pump.
Realizing that my cats would have a field day trying to stick their paws in the tank, I notched out holes for the tubing in the black grated top that came with it and added it back in.
I decided on a fishless cycle, so I’ve been adding ammonia to create the bioload needed to start the nitrogen cycle. It’s been working perfectly. Three weeks in and my nitrites have spiked and the nitrates are just coming in. By the end of the week I’ll retest but expect to be finished cycling and will add a pair of guppies this weekend!
Because this is a system that will feed plants I intend to eat, I’ve been careful not to use the usual water conditioners I’ve used in tanks before. They’re not exactly what you’d consider food safe. But I had to get rid of the chloramines my city’s water department uses, so I went the organic route and added 250 mg of vitamin c powder to start with and after every water addition. It’s almost magical how quickly it works. Science! Awesome!

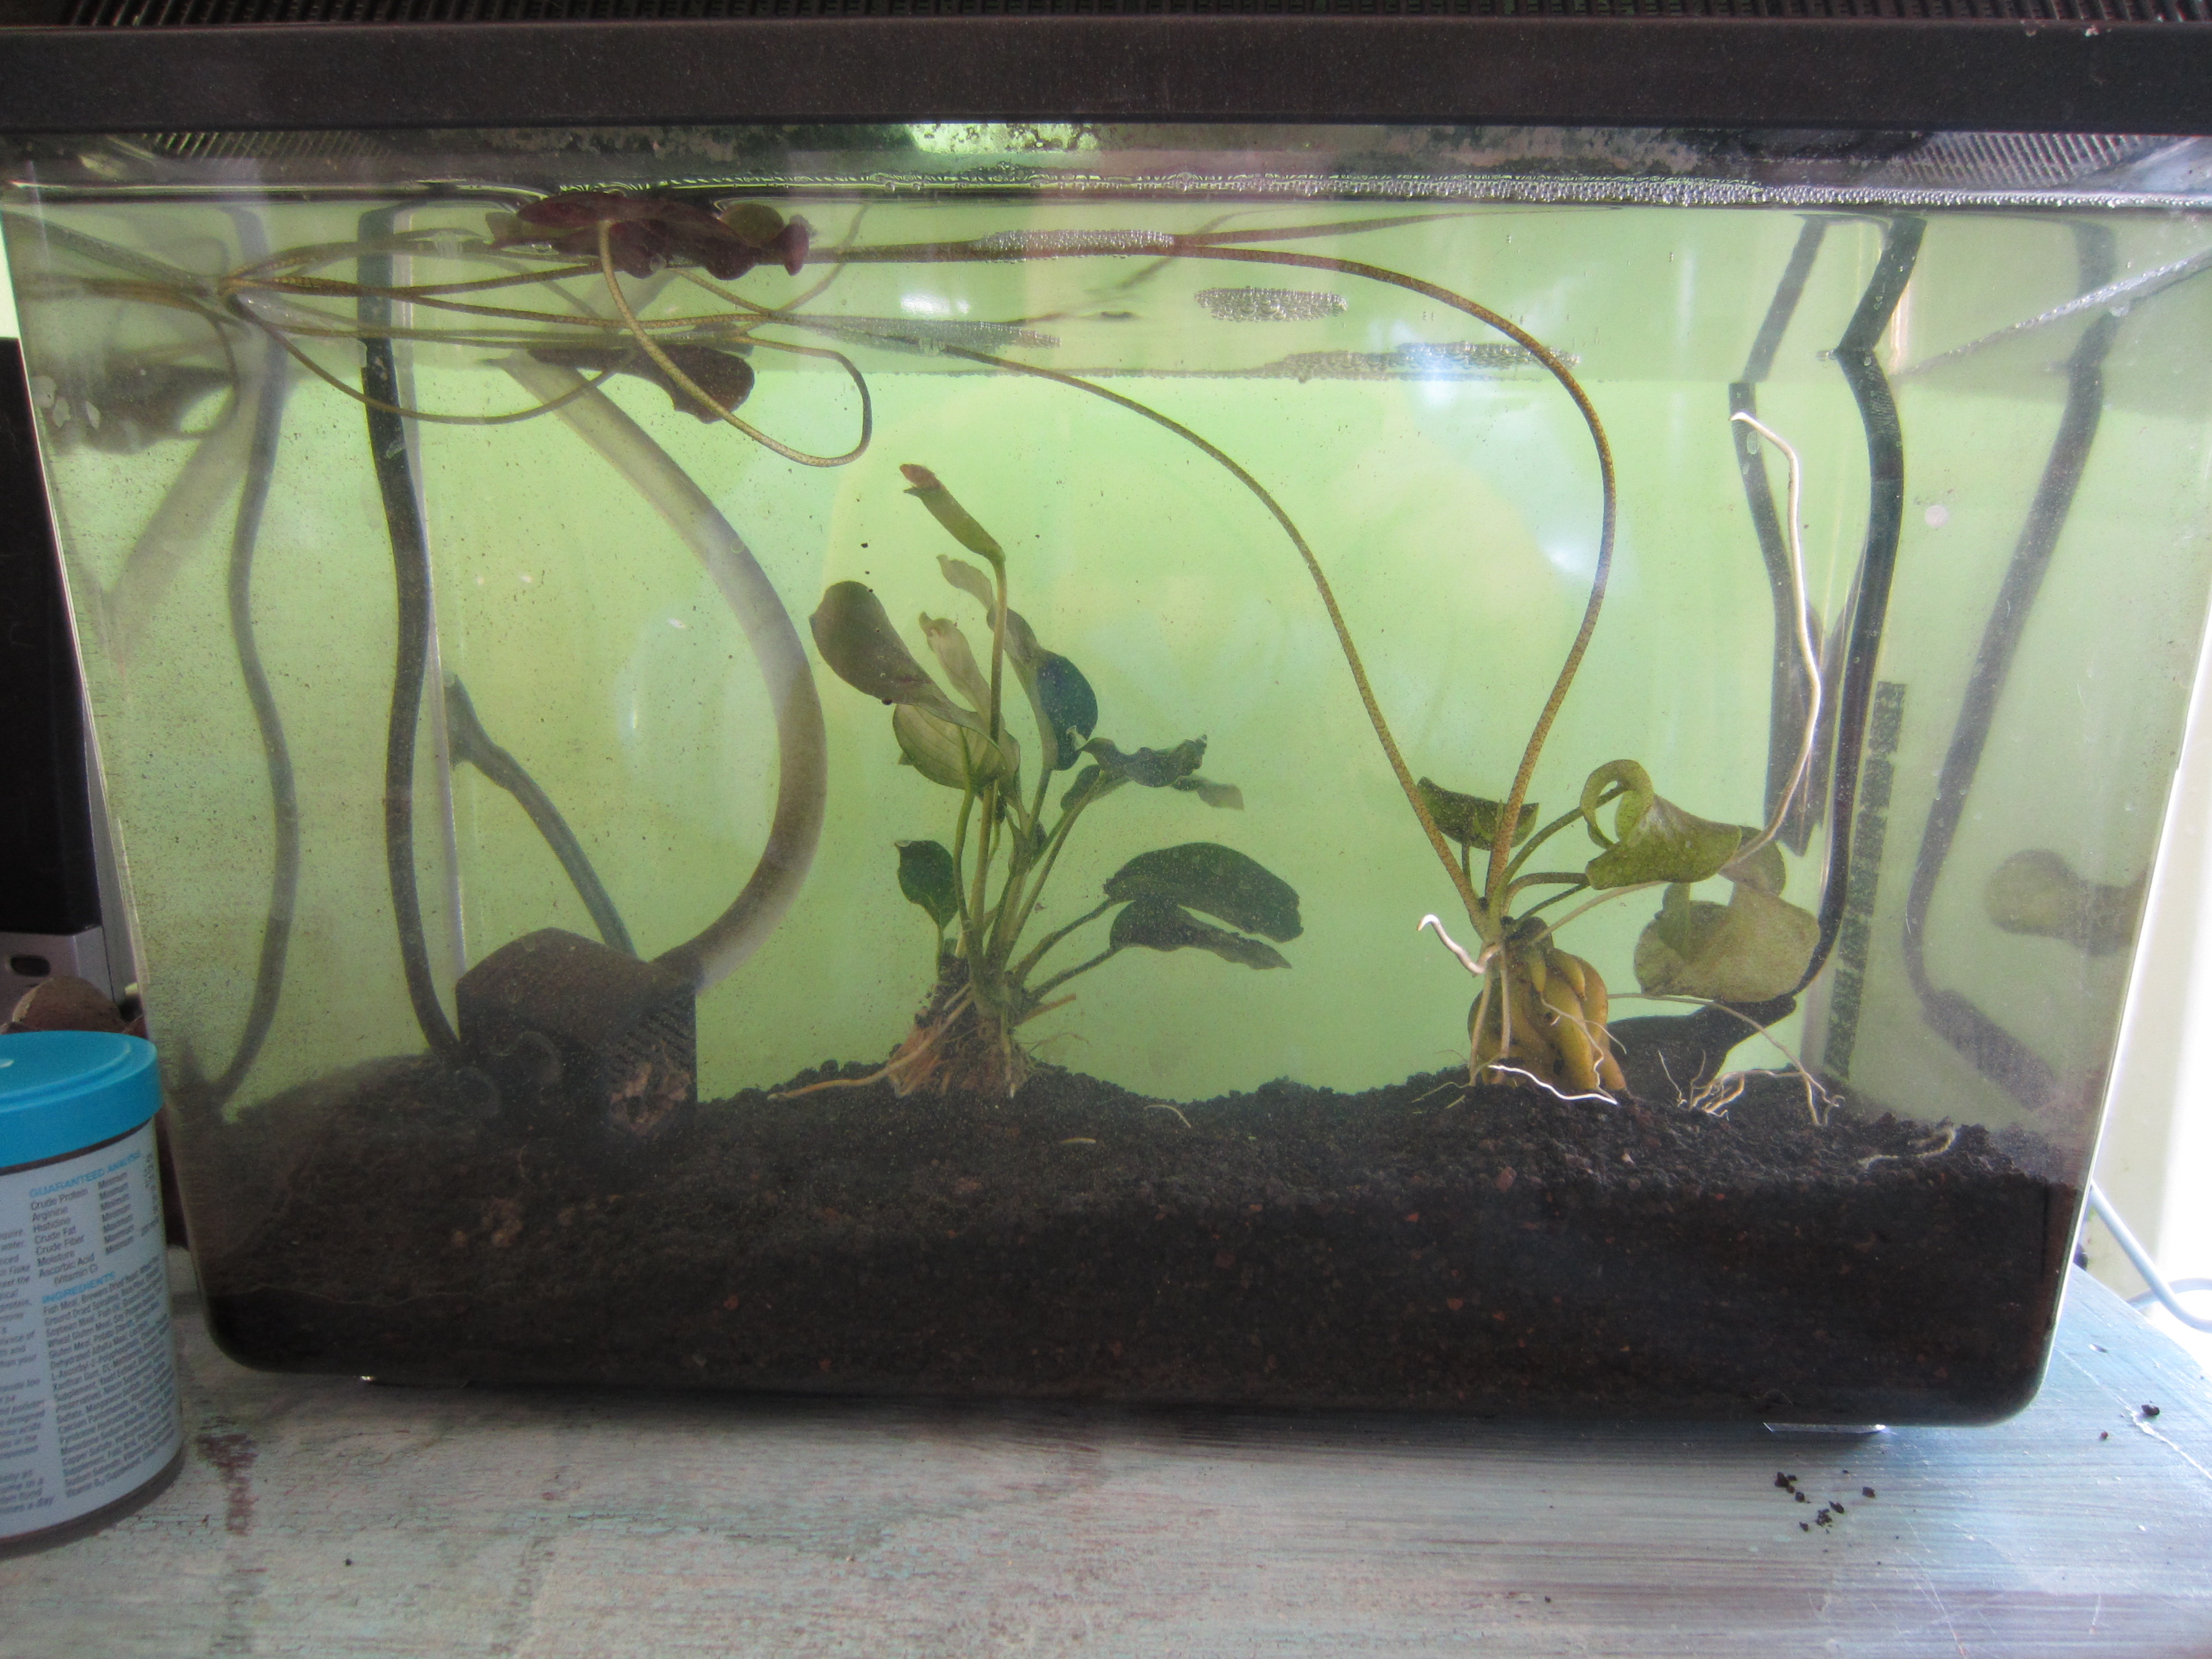
Update: It’s been ages since I geeked out at my local fish store – mostly because of the limited space I have in my home – but heading in to find a few plants for the 5 gallon that’s powering my spinach grow bed was serious fun. While traditional large scale aquaponic systems don’t have plants in the fish tank since they use up some of the bioload needed to feed the grow bed, I undersized my grow bed to accommodate the extra plants I wanted. I mean, after all, I get to make it whatever I want! I have the tank lit solely by a nearby window, so I knew I needed to go with low light plants. So two days ago I introduced an anubias nana and a banana plant into the 5 gallon and they are fan-freaking-tastic. Not only are they interesting to watch as they grow, but they’re also helping to speed up the last few days of tank cycling.
Fish are coming home tomorrow!
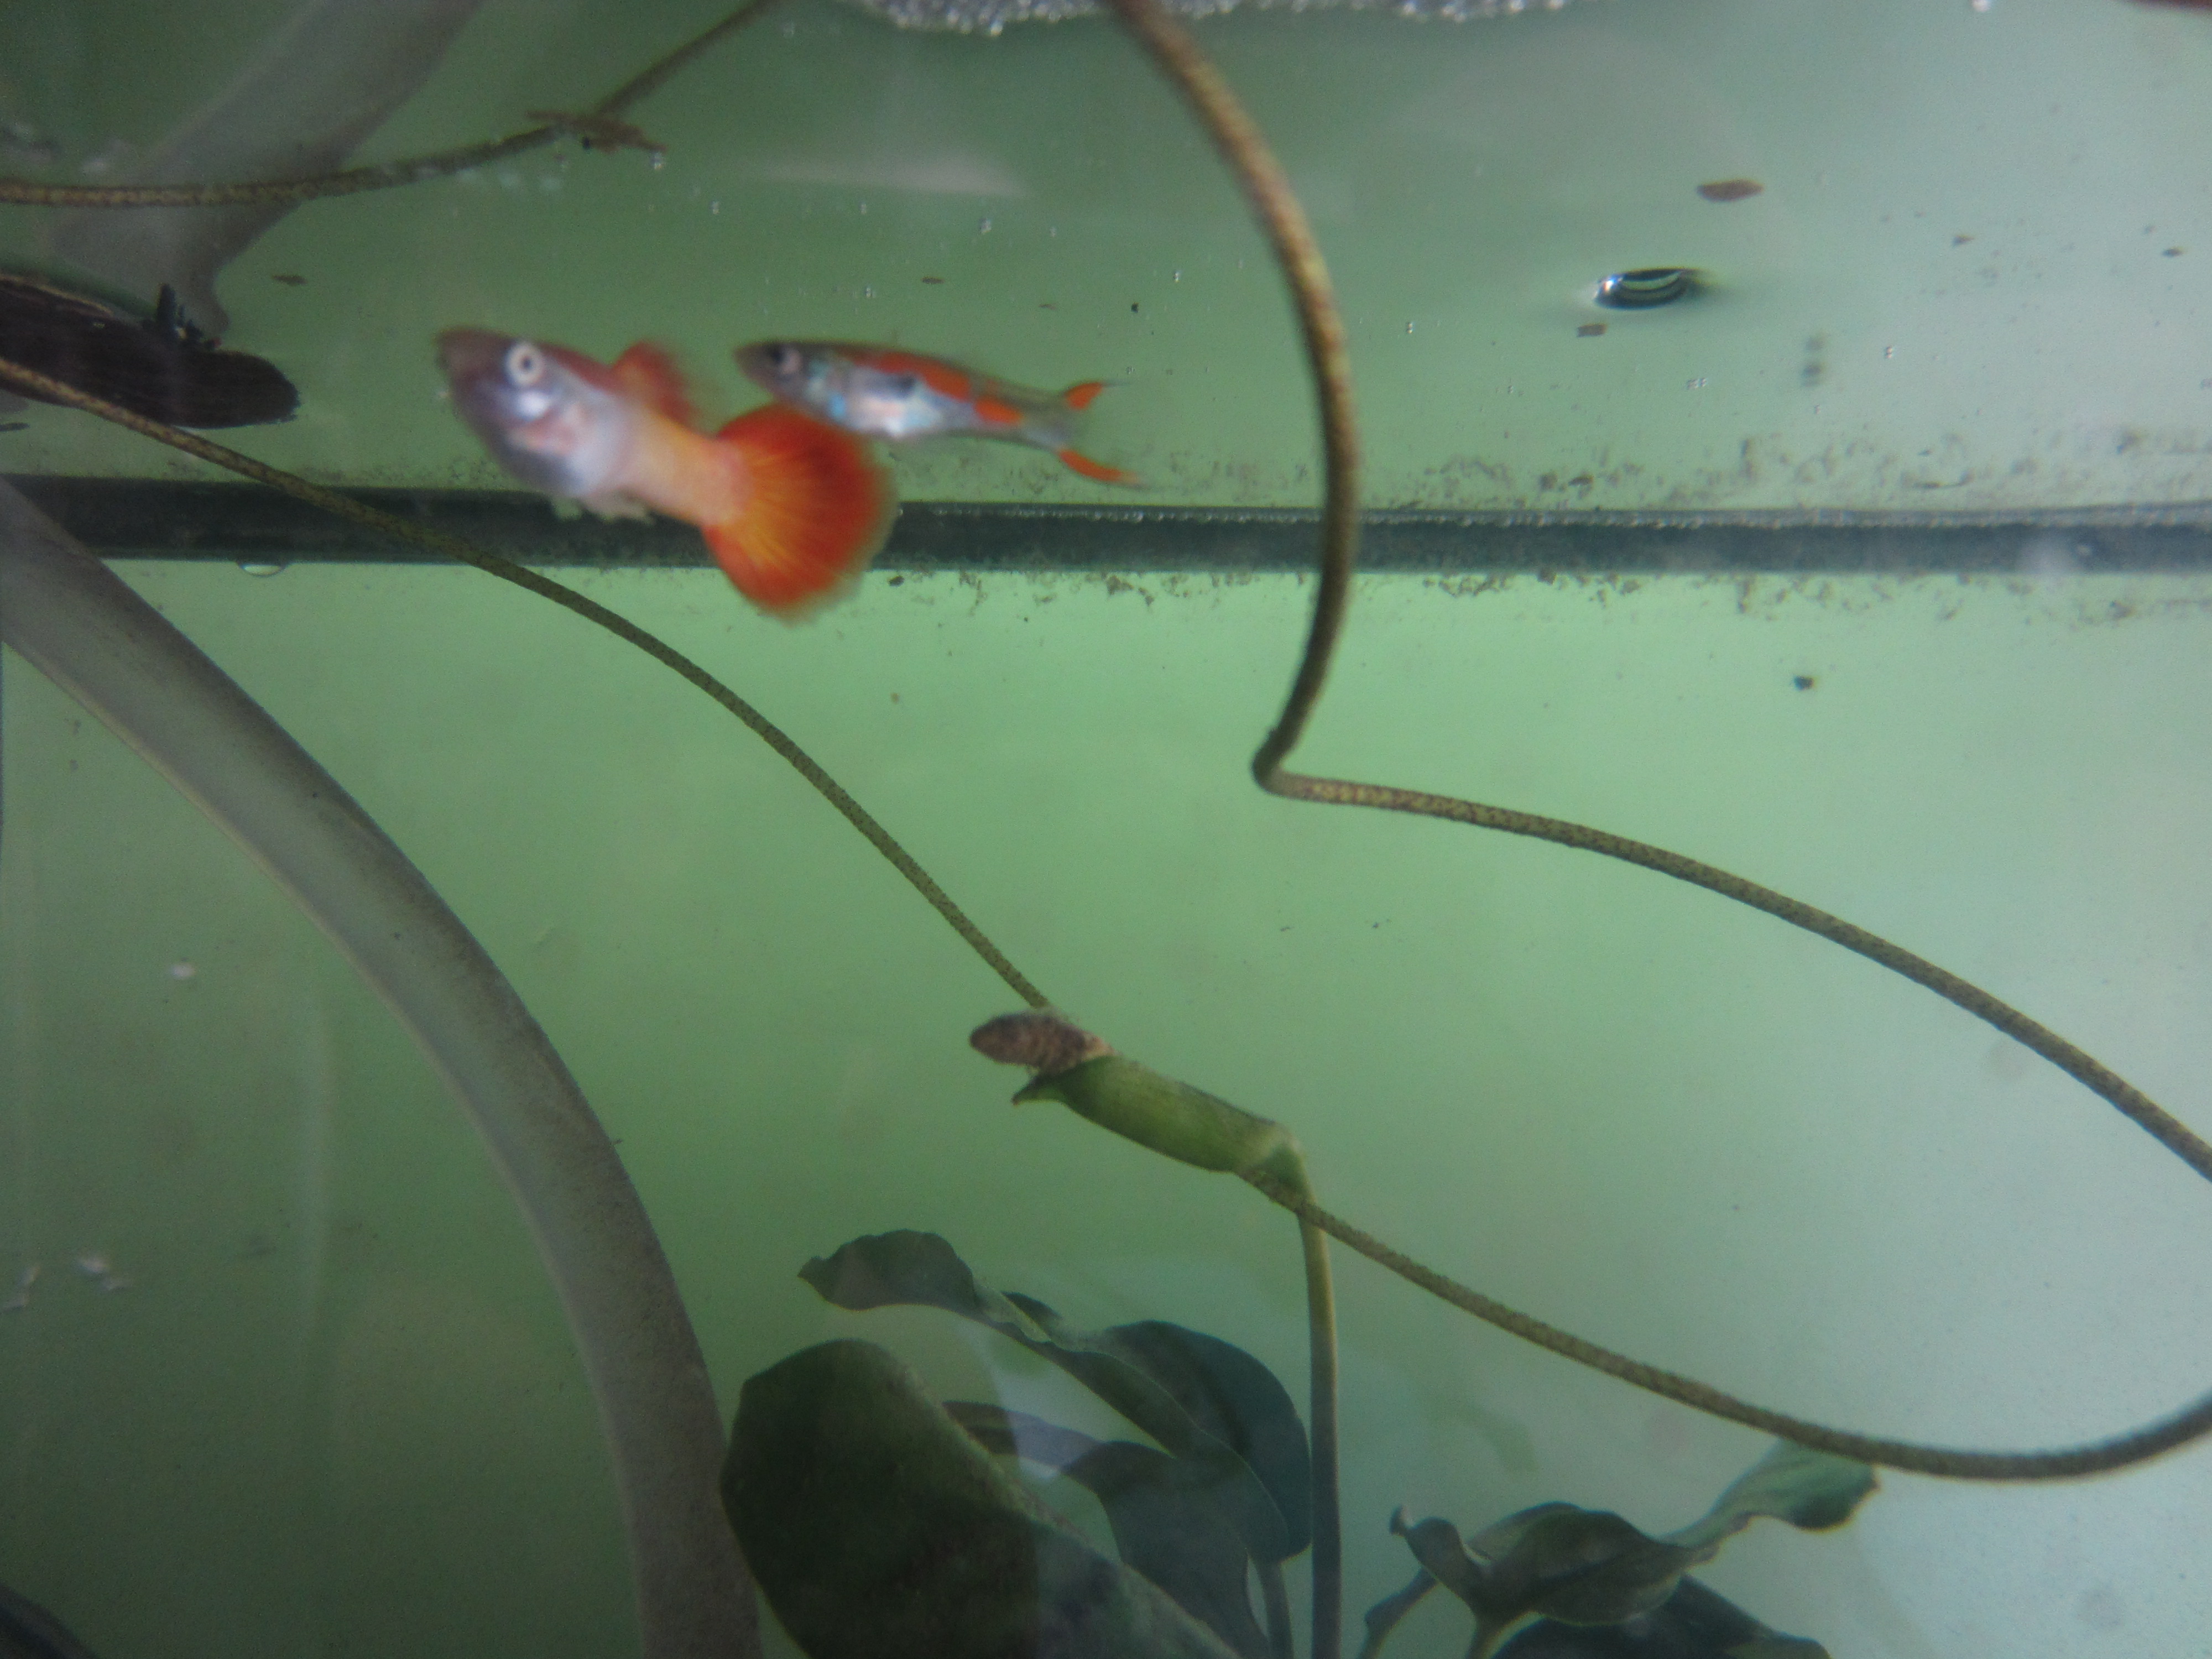
Update: Nigel and Rupert, my new guppies, are happily acclimated to their tank. Unexpected bonus – they keep my cats entertained!

So here’s a shot of the set up in the evening. The spinach is growing, but seems a little spindly. My guess is that the 13 watt cfl grow bulb isn’t strong enough, and I’m thinking of upgrading to at least 26 watts. I’ll share an update on its growth next week.

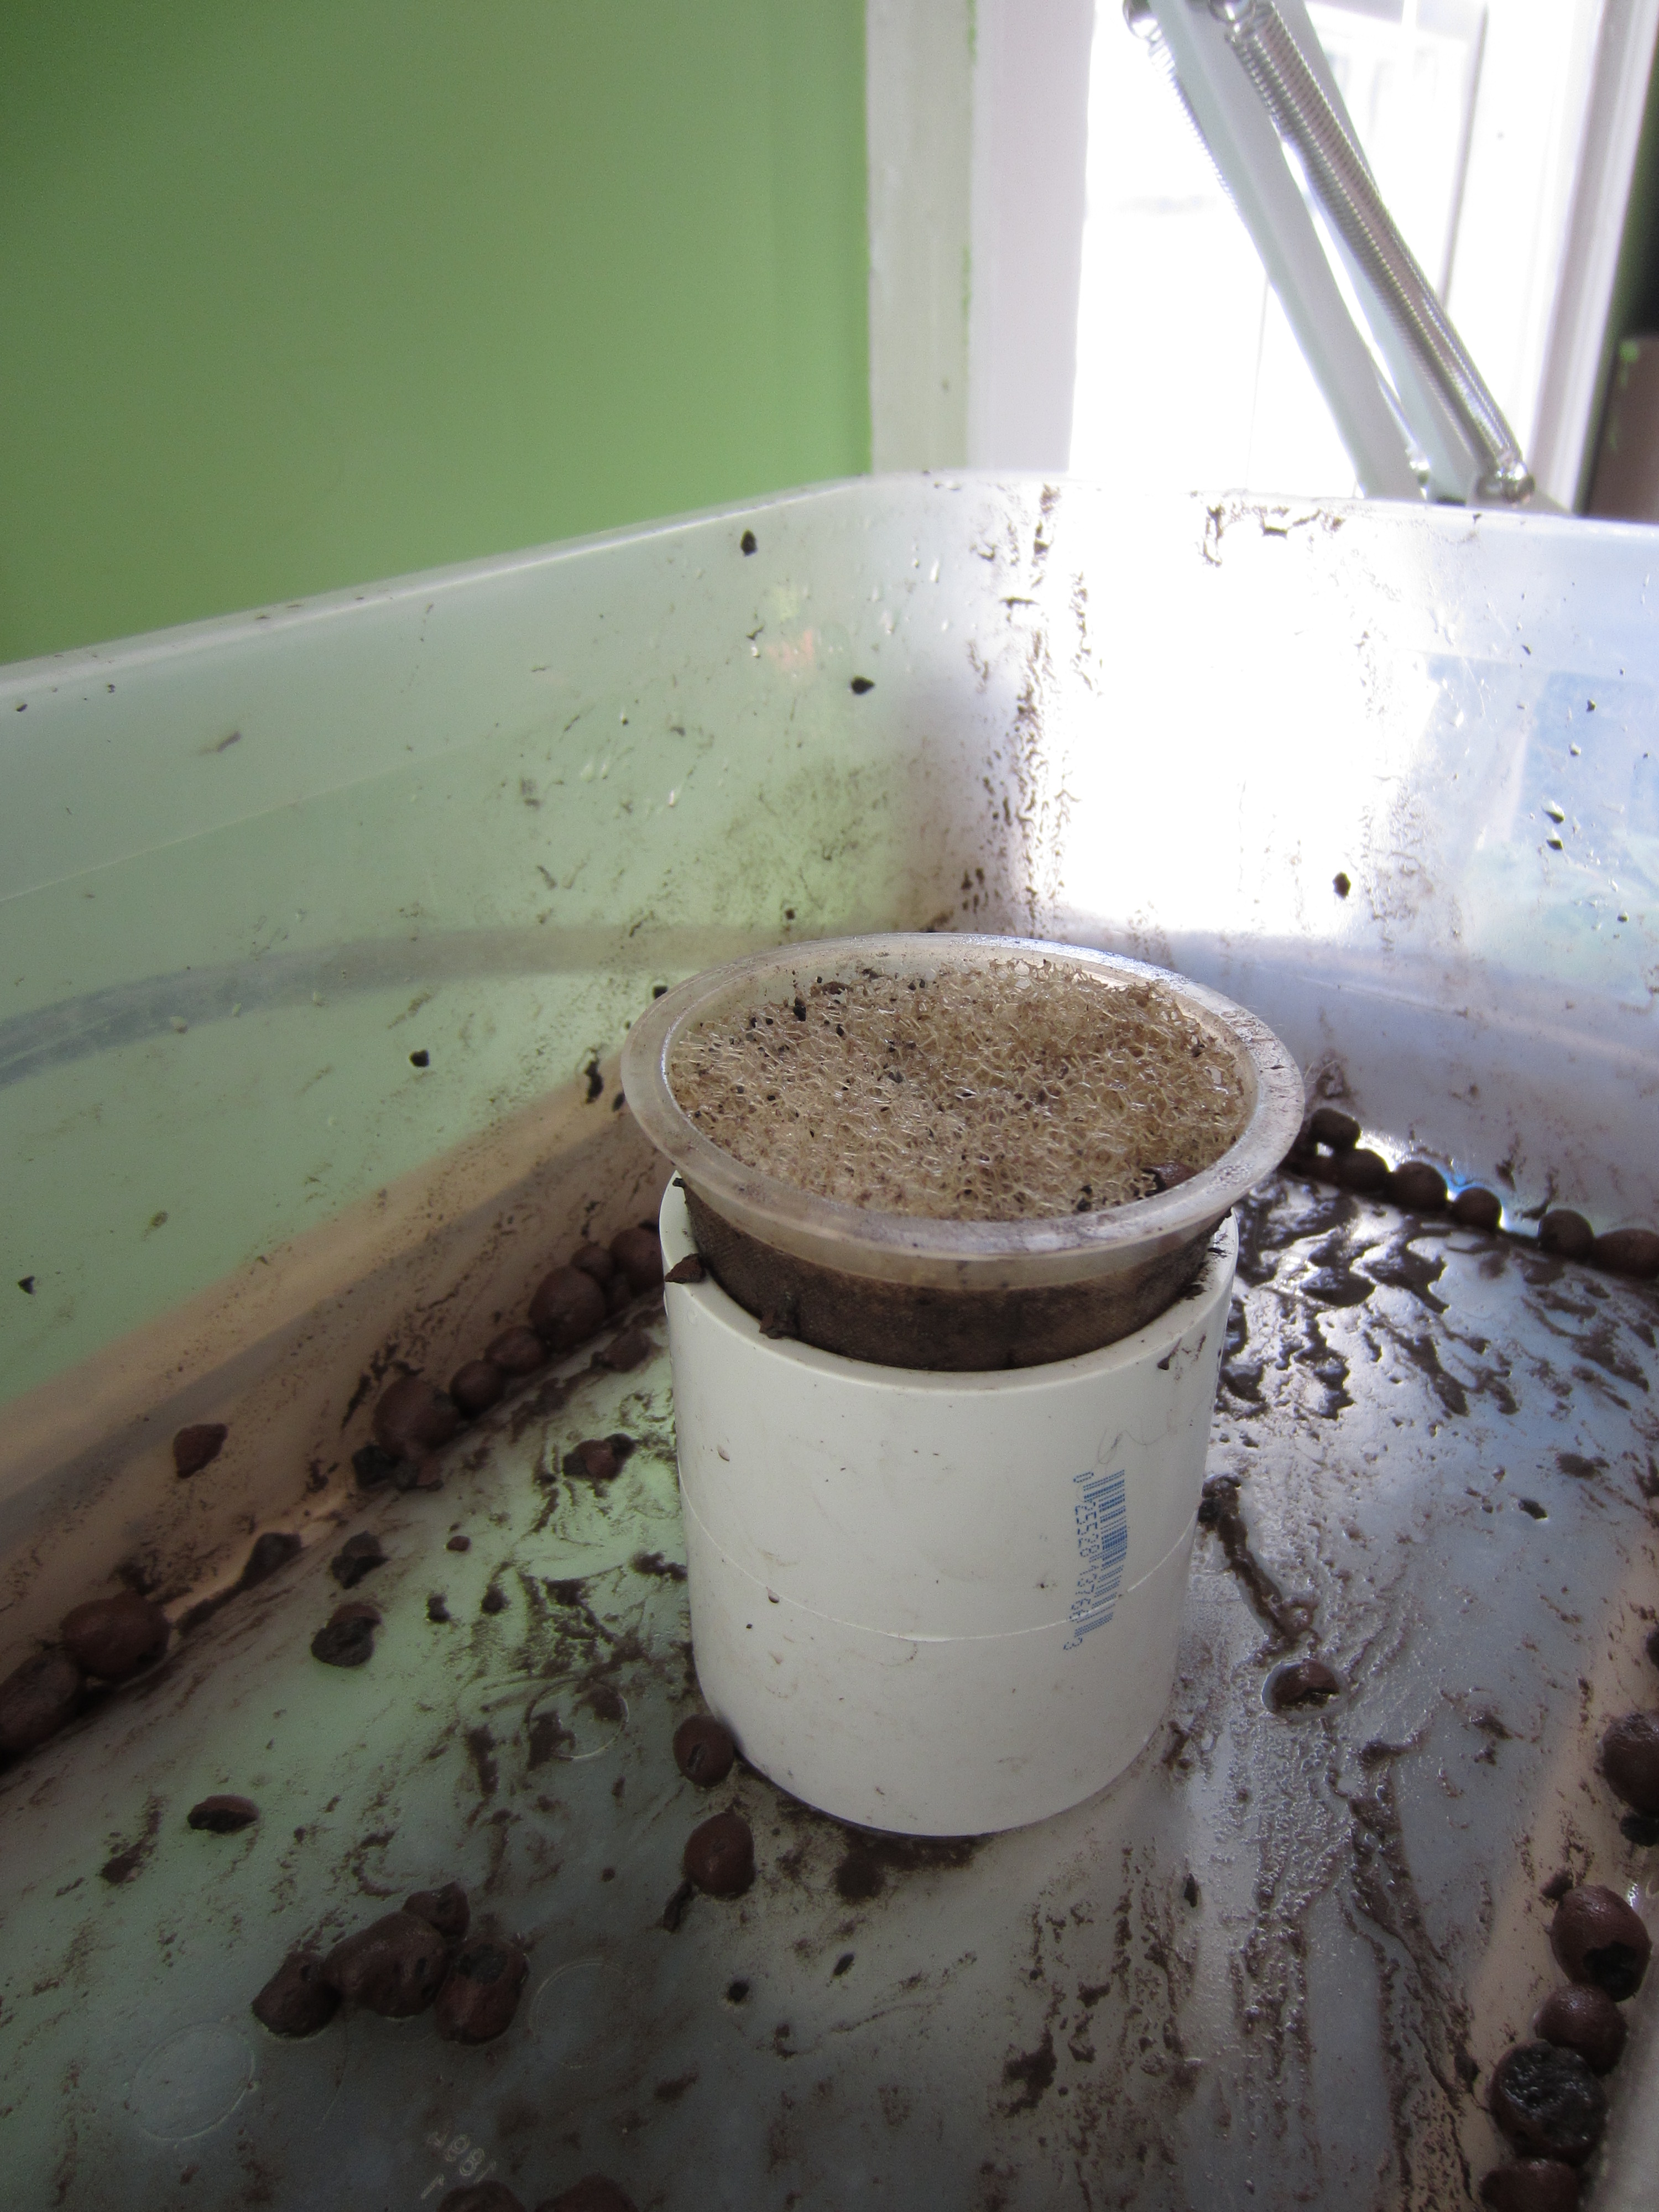
Updates a few months in: I did indeed increase the light. I needed about 4 times the light I had, which equaled out to around 50 CFL watts total. The biggest change was to the gravity fed drainage system. The hydroton was never getting completely flooded, and that was creating an uneven wicking of moisture up to the roots of the spinach, so I decided to add a really stripped down bell syphon inspired drainage system to the grow bed. Essentially I added a PVC pipe with a sponge filter in it that allowed the water to fill up to the top of the pipe and then drain down into the tank.
I decided to reuse the tea strainer with a filter sponge in it and add it to the top of the pipe:

Ideally I would have been able to find a divided threaded pipe that would fit on either side of the already drilled hole and then screw together, but all I could find was the un-threaded top piece and a threaded bottom, so I used aquarium sealant to affix them. The threaded piece was pushed up through the bottom of the grow bed so that just the threads were above the hole. I then used the sealant to glue the top pipe over the threads, mimicking what would have happened if they’d be able to screw together.

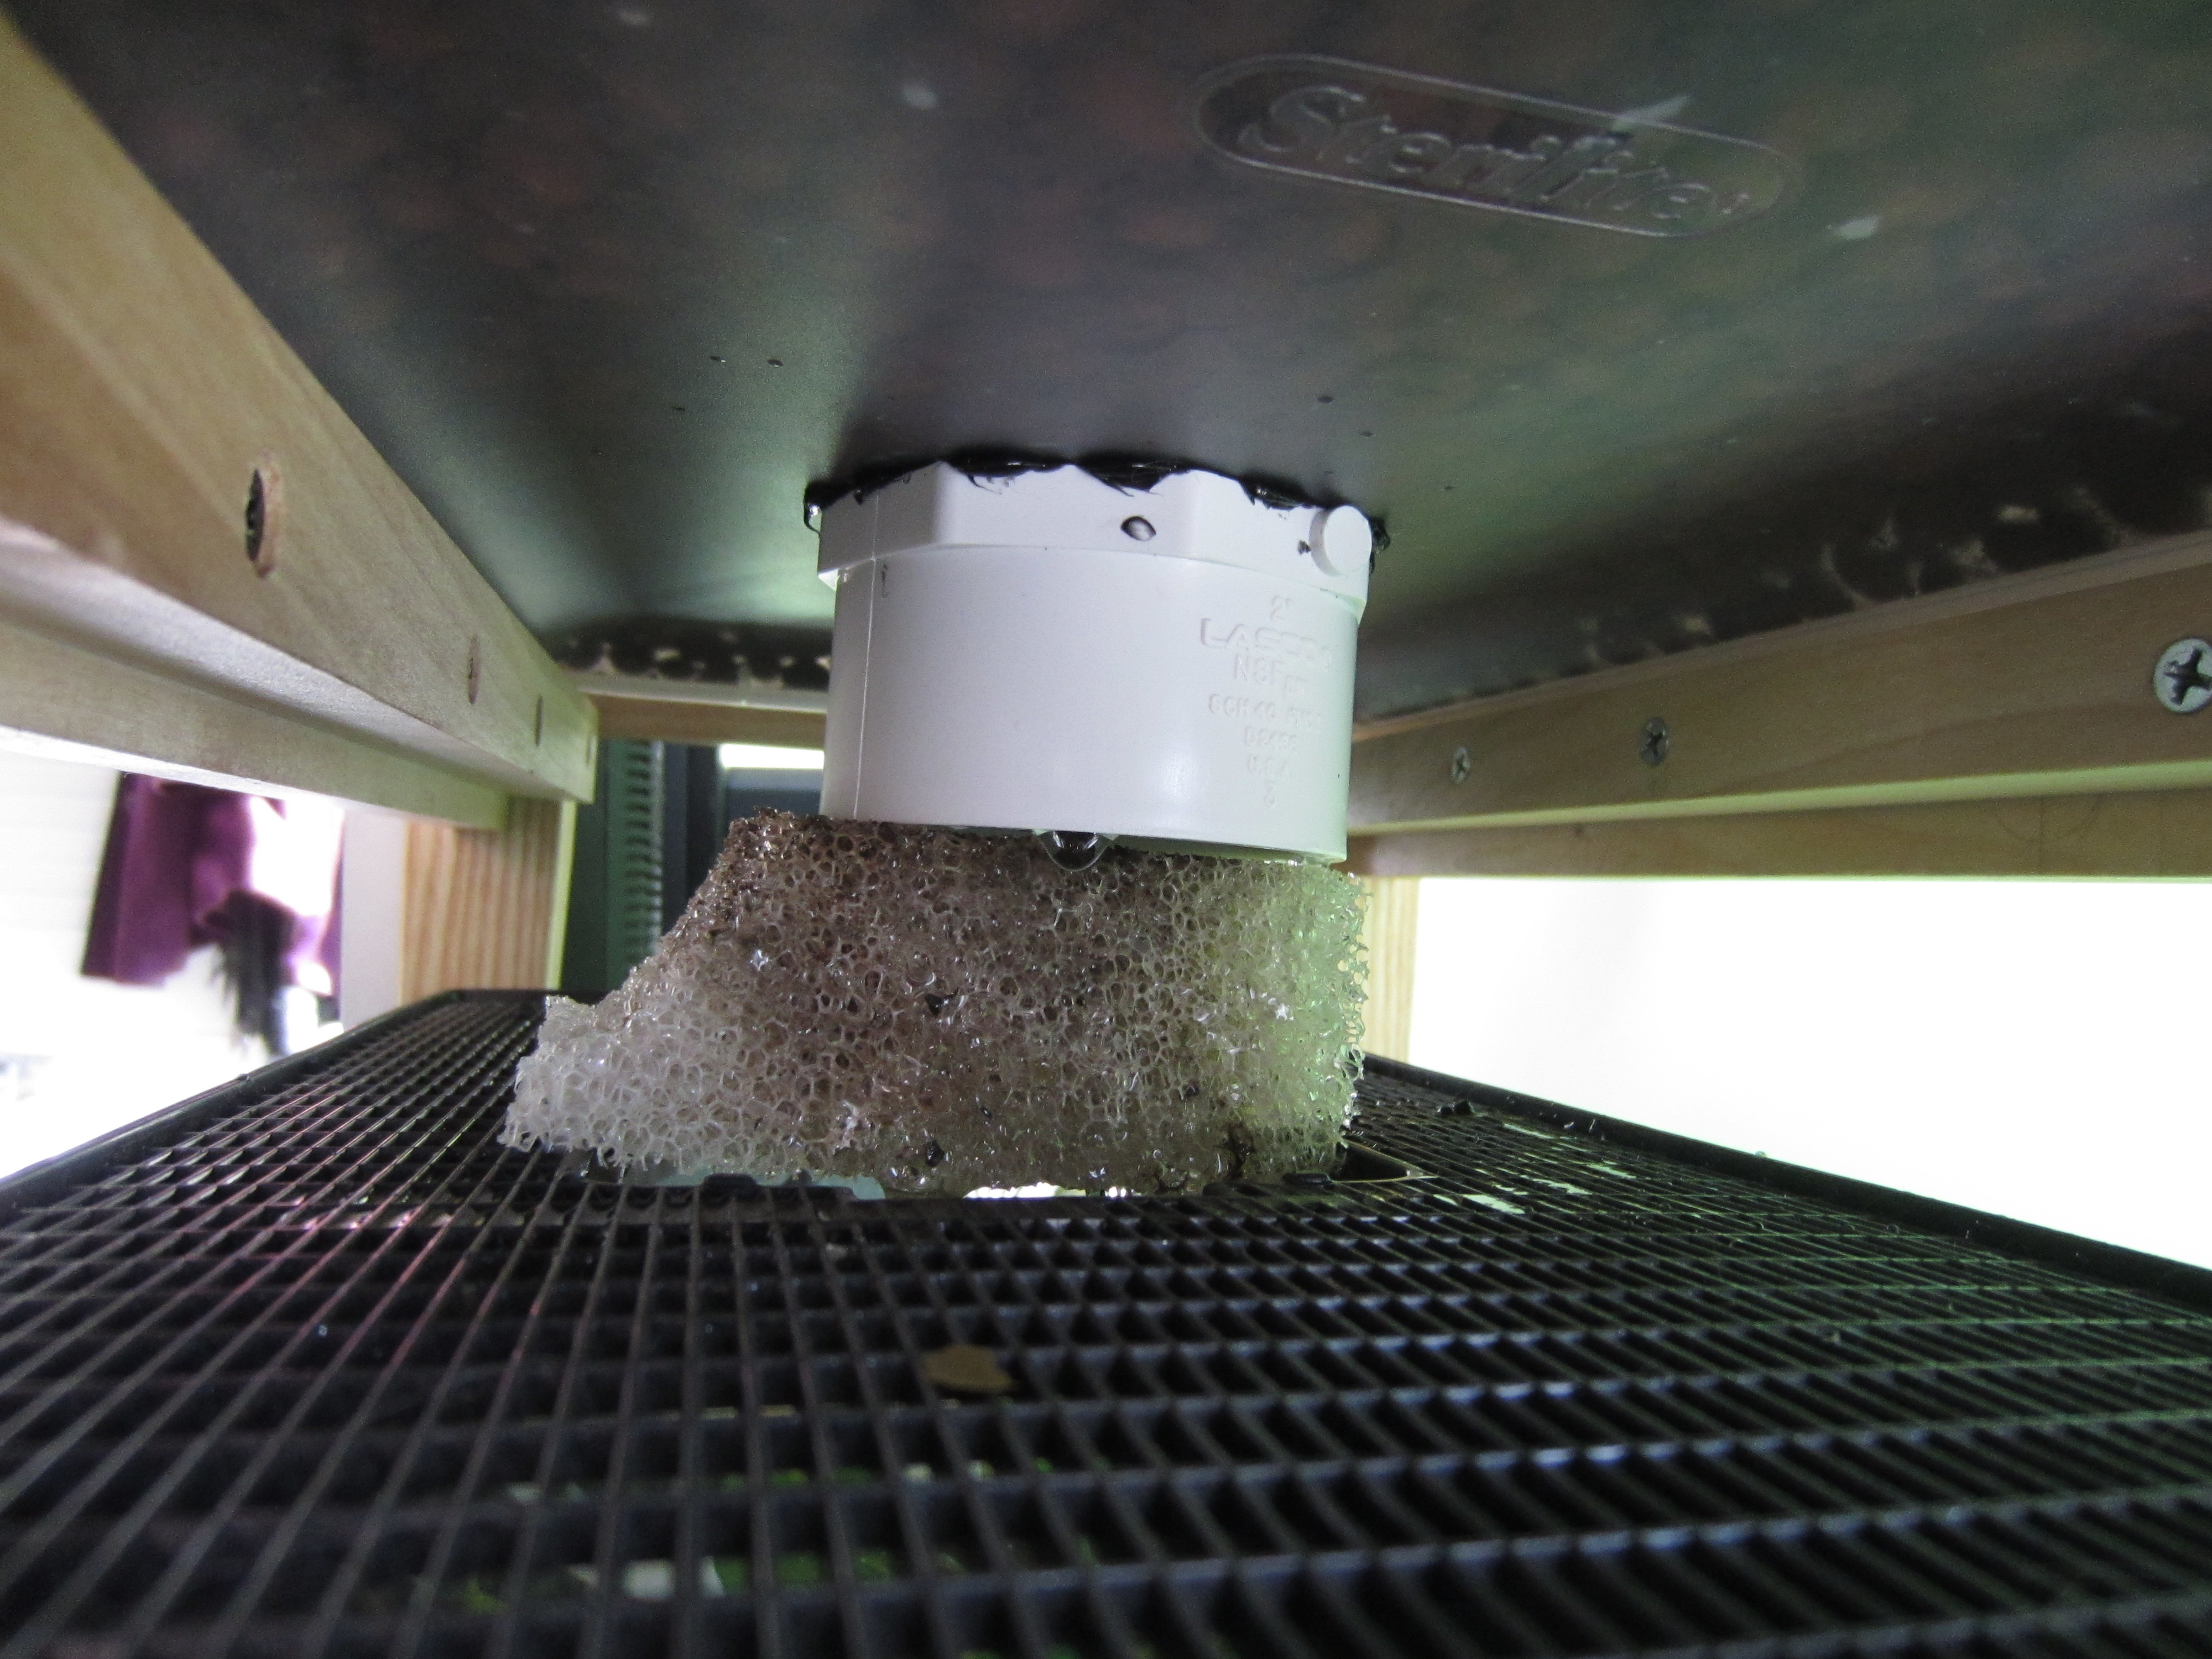
After letting them cure for 48 hours, I put the grow bed back on, added the hydroton, and (most importantly to me) I put another piece of filter sponge between the outlet of the drain and the top of the tank to muffle the sound of the constantly dripping water.

I also made one small one with things I already had around the house. I have the same critter keeper and a pump that I had from a water feature I bought years ago for my outside pond (I needed a bigger pump for it but kept the small one) and I just used a plastic tub I found in the shop and added some gravel/lava rock I found around the house. I already had some celery growing in a jar of water so I added that and made some seed pots for lettuce with washed out Kcups. I made a bunch of holes in the plastic tub and placed it directly on the critter keeper with it’s lid inverted and ran the tub up and out the hole and into the tub. Seems to be doing well, have had to adjust the flow a bit to keep the water level down. Hoping to see some seedlings soon 🙂